
This is a comprehensive tutorial on Kali Linux VMware Installation.
Kali Linux (formerly known as BackTrack) is a Linux distribution focused on Penetration testing and digital forensics. The operating system is targeted towards the users who are interesting in the security field but It doesn’t mean that you can’t try it. There are many ways to try a Linux distribution. The easiest and safest way is to install it as a virtual machine. That way, It won’t affect your current operating system even If anything goes wrong while installing Kali Linux.
Before we begin the Kali Linux VMware installation, we need to have the Kali Linux ISO file. For that, go to Kali Linux Downloads. Download the latest Kali Linux ISO file. We’re going with the 64-Bit version. Make sure to choose the right architecture depending upon your PC.

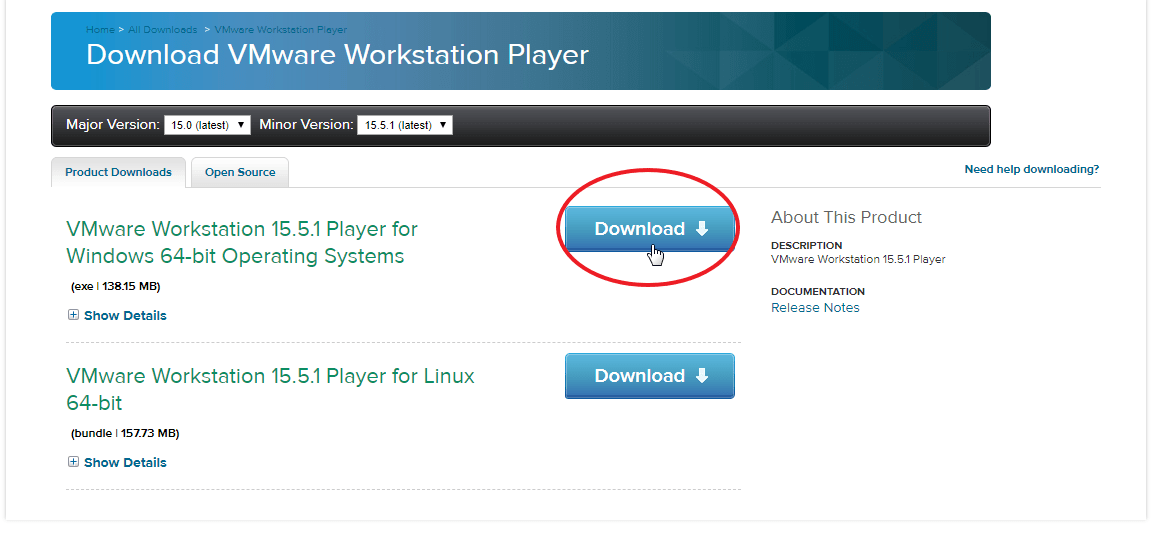
The next step is to download and install VMware. VMware provides VMware Workstation Player for free only for personal, non-commercial usage. Go to the VMware Workstation Player page and click on the Download button.

You’d be redirected to a new page from where you’d be able to download the latest version of VMware Workstation player for your operating system.
After the download is complete, install It just like you install any other program. It might ask you to restart your PC before the installation. So go ahead and restart your PC and install the program.
Kali Linux VMware Installation
VMware Setup
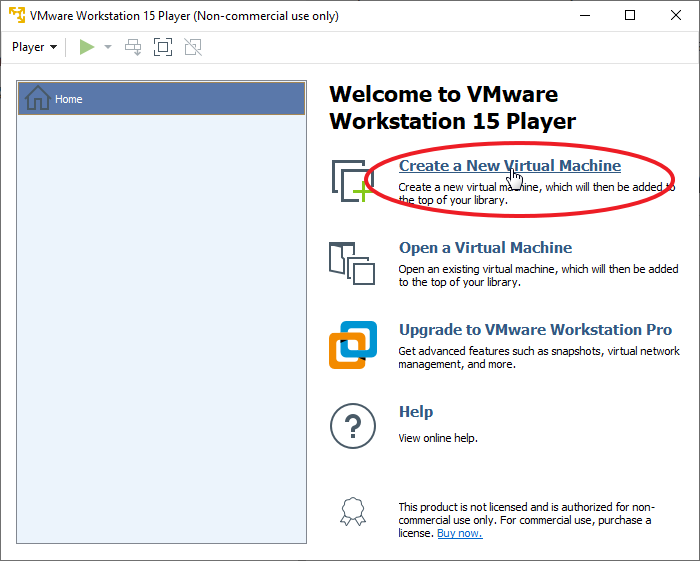
1. Open VMware Workstation Player
2. Click on Create New Virtual Machine
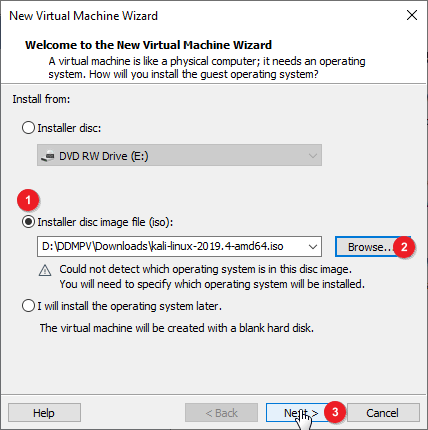
3. A new box would open asking you to choose from where you want to install the operating system. Choose Installer Disc Image File (iso). Then click on the browse button and select the iso file of Kali Linux which we’ve downloaded earlier. After that, click on Next
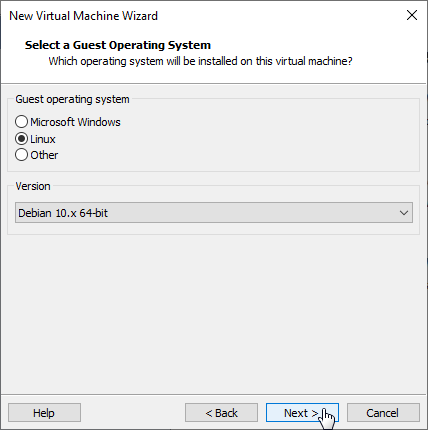
4. Now It’ll ask you to select a Guest operating system. Choose Linux and for version, choose the latest Debian x.x 32/64-bit. The reason for choosing Debian is because Kali Linux is based on Debian. There’s no separate entry for Kali Linux In VMware Workstation Player as of now. If you’re following this tutorial in future and you’re seeing a dedicated option for Kali Linux, go ahead and choose that
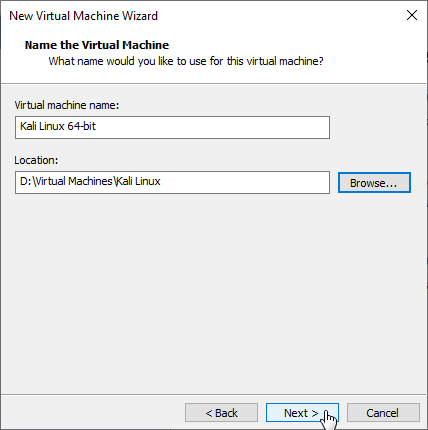
5. Enter a name for your virtual machine and choose the location where you want to save It. If you’re okay with the default option, leave it and click Next
6. It’ll now ask you for Disk Capacity. Enter at-least 20GB in maximum disk size. Leave the other option as It is and click Next

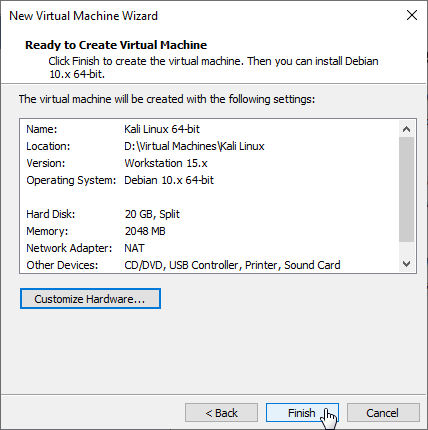
7. Everything is done, now It’ll ask you to review your settings before hitting that Finish button. Kali Linux requires a minimum of 1GB of RAM. If the memory showing to you is less than 1GB, click on Customize Hardware and increase the RAM to at least 1GB before clicking Finish
Installing Kali Linux
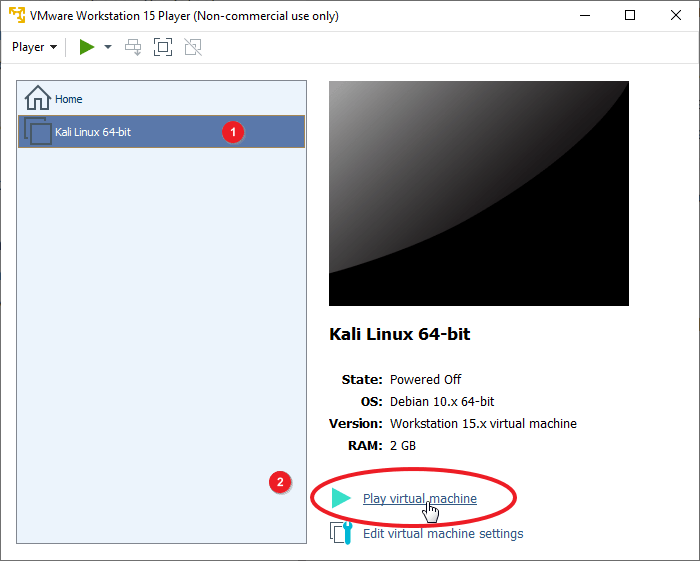
1. Now It’s time to boot into Kali Linux. Select your newly created virtual machine and click on Play virtual machine
2. A new window will open and you’ll be able to see Kali Boot Menu. Click anywhere inside the virtual machine. Select Graphic Install with your keyboard and hit Enter
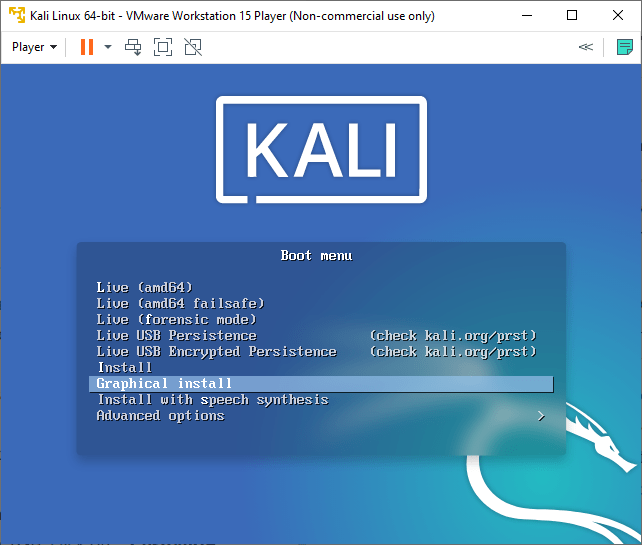
Note: Once you’ve clicked inside the virtual machine, you won’t be able to use your mouse. To use your mouse again, Press CTRL+ALT and you’ll be able to use your mouse.
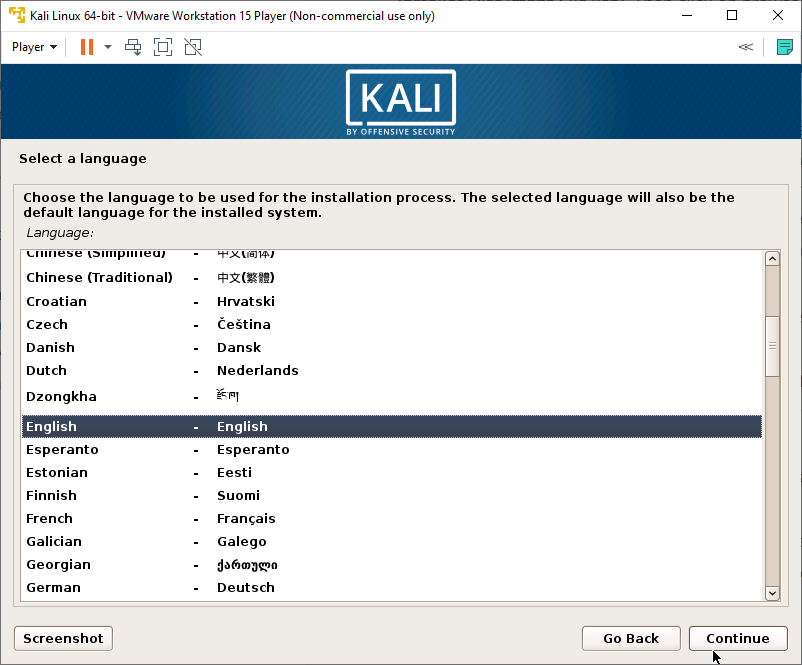
3. Now Kali Linux installer will show up, select your language and click Continue
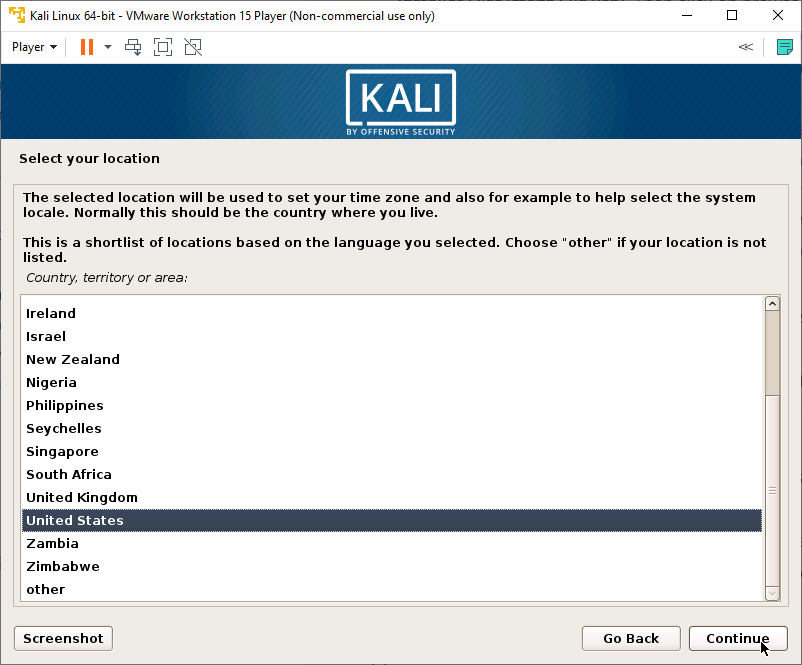
4. Then select your location and click Continue
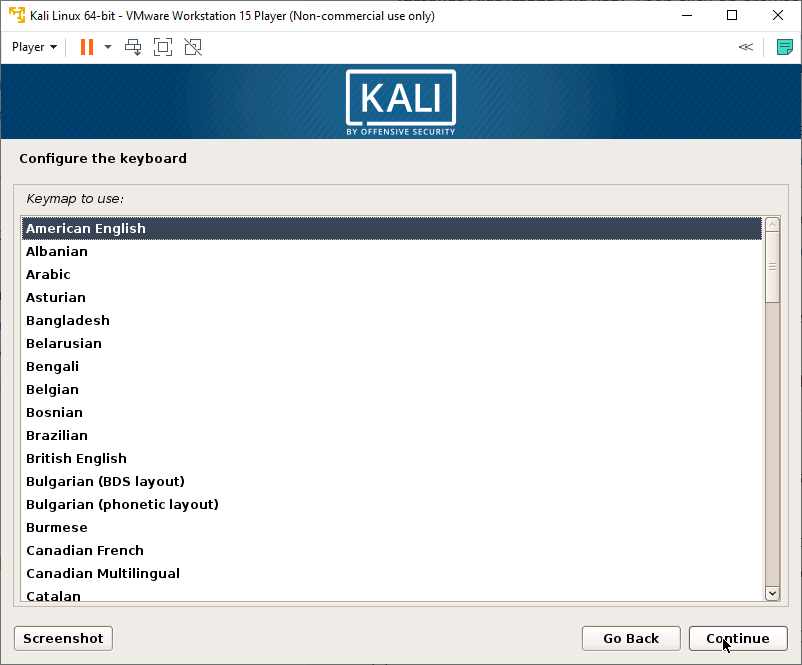
5. Choose your Keyboard layout and click Continue
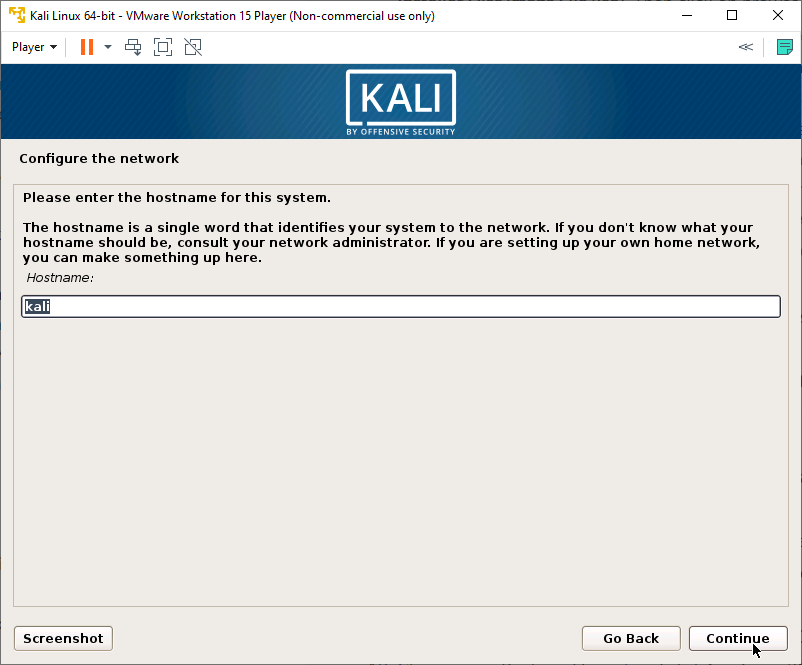
It’ll now take a minute or two to configure network and other settings
6. Enter anything hostname and click Continue
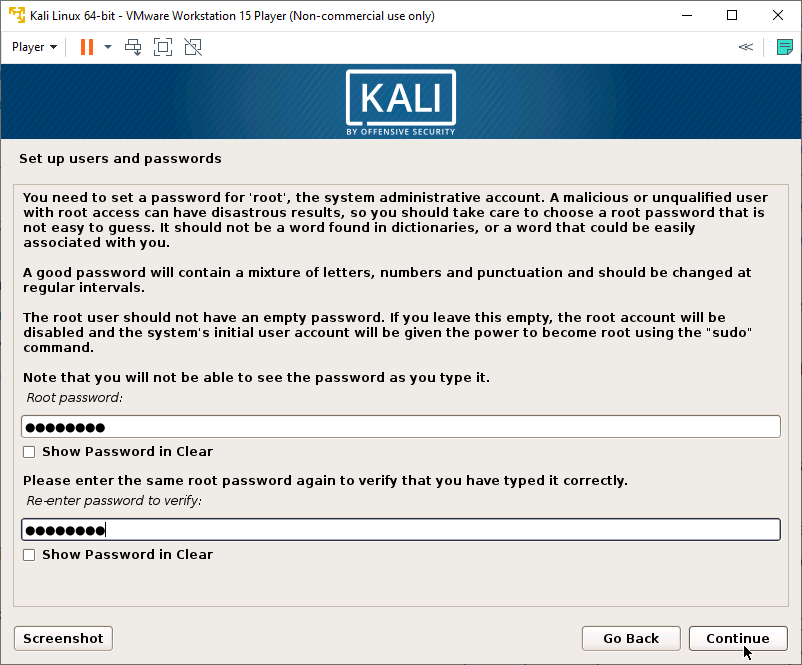
7. Now It’ll ask you to set up a password for the root user. Enter your preferred password and click Continue
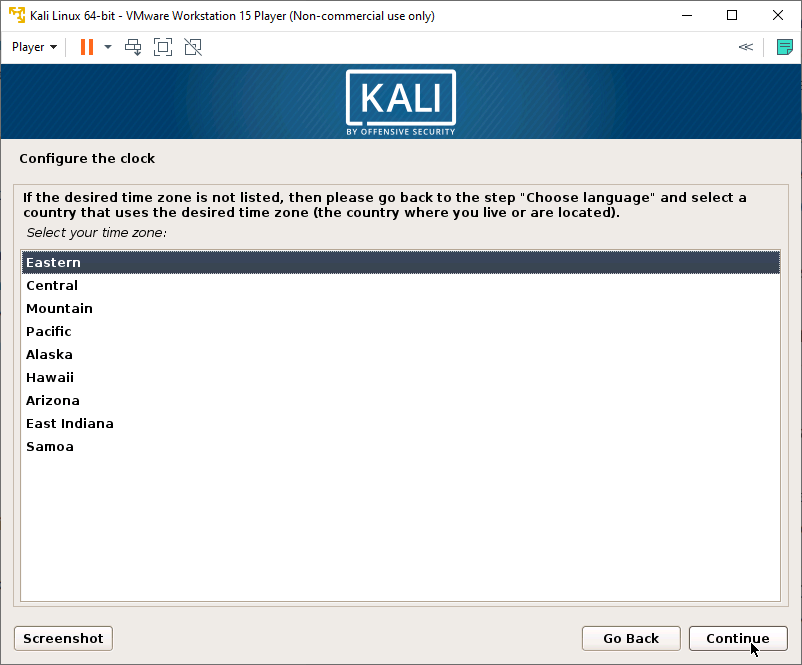
8. Choose your Timezone and click Continue
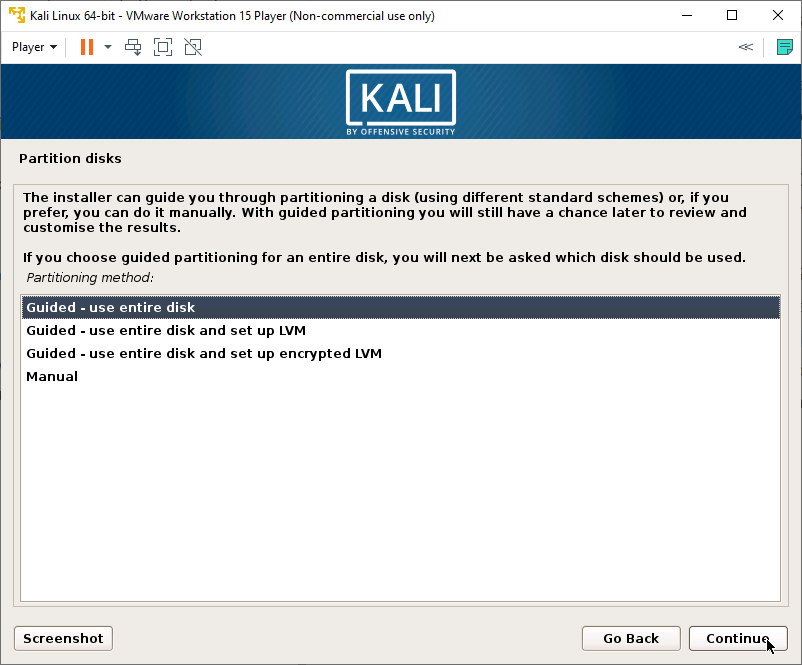
9. Now you’ll see the Partition Disk window. It’ll ask you how you want to install Kali Linux. Since we’re installing Kali Linux in a virtual machine, we can go ahead and select Guided – use entire disk and click Continue
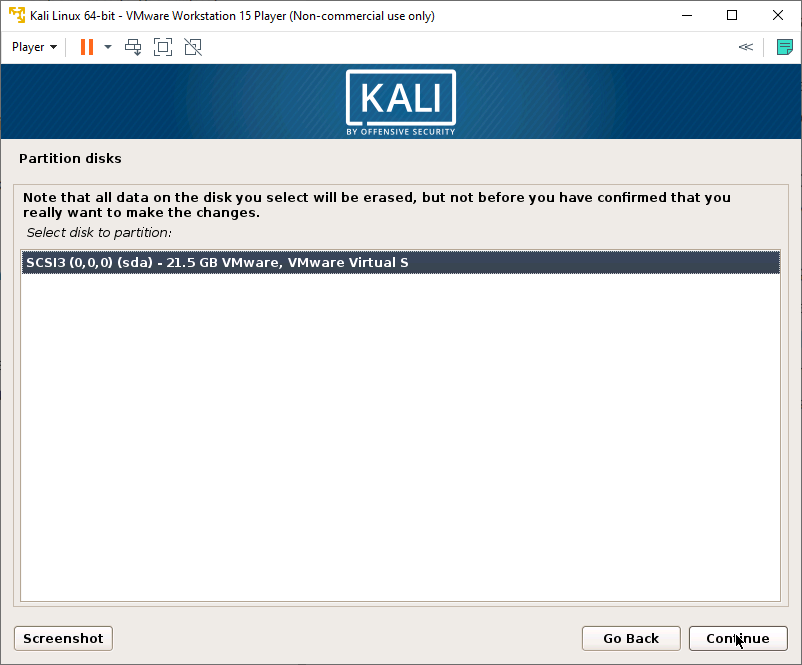
10. It’ll ask you to select Disk to partition. If you’ve followed this tutorial as It is, you’ll only be able to see one entry of around 20GB, select It and click Continue
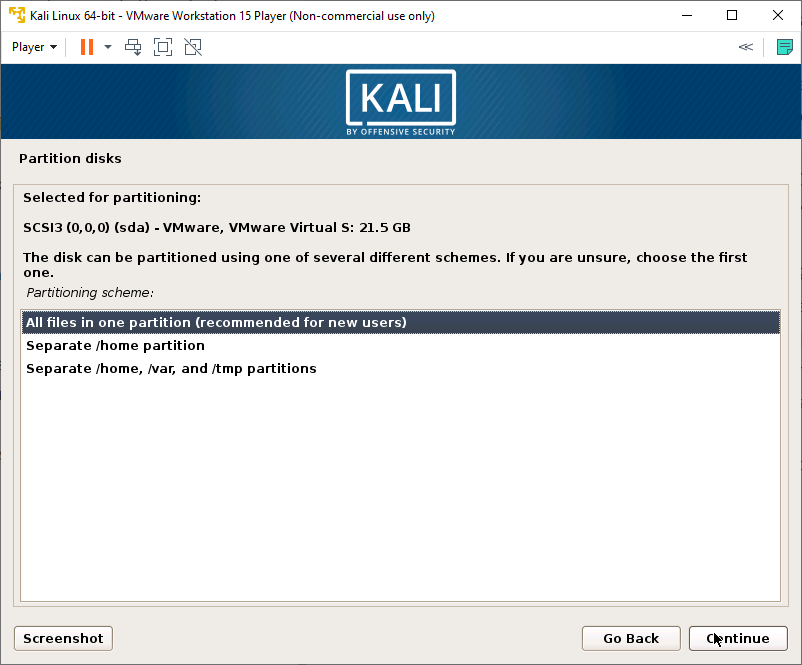
11. Choose your partitioning scheme and click Continue, we’ve chosen the default option (All files in one partition)
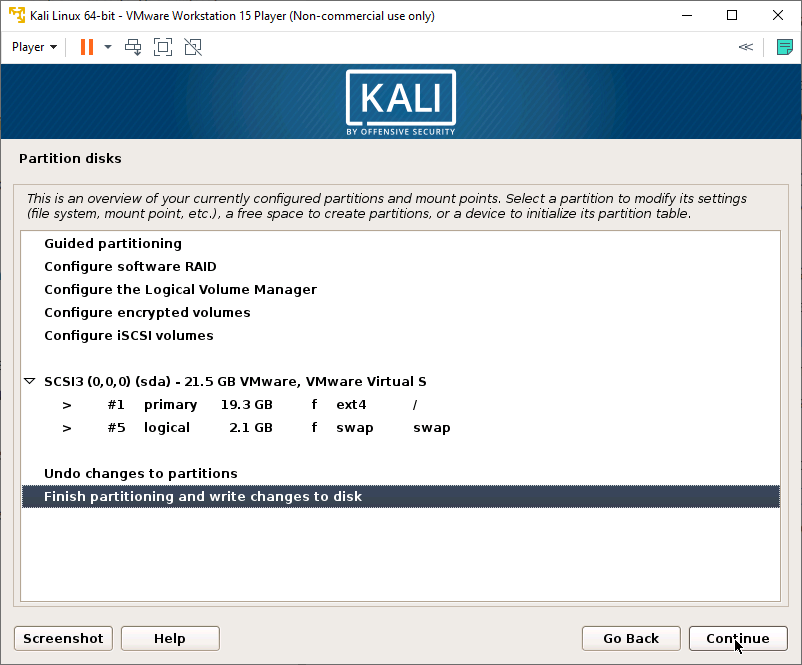
12. Now select Finish partitioning and write changes to disk and click Continue
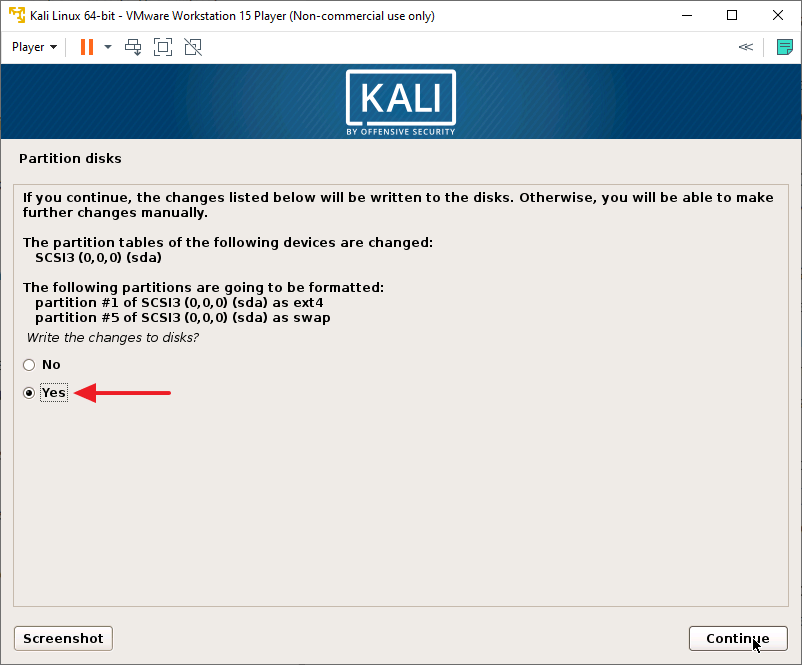
13. It’ll now ask you to confirm so that It could write the changes to the disk, select YES and click on Continue
It’ll start installing Kali Linux now. This process would take a couple of minutes to complete. Leave It and let It complete.
Kali Linux VMware setup
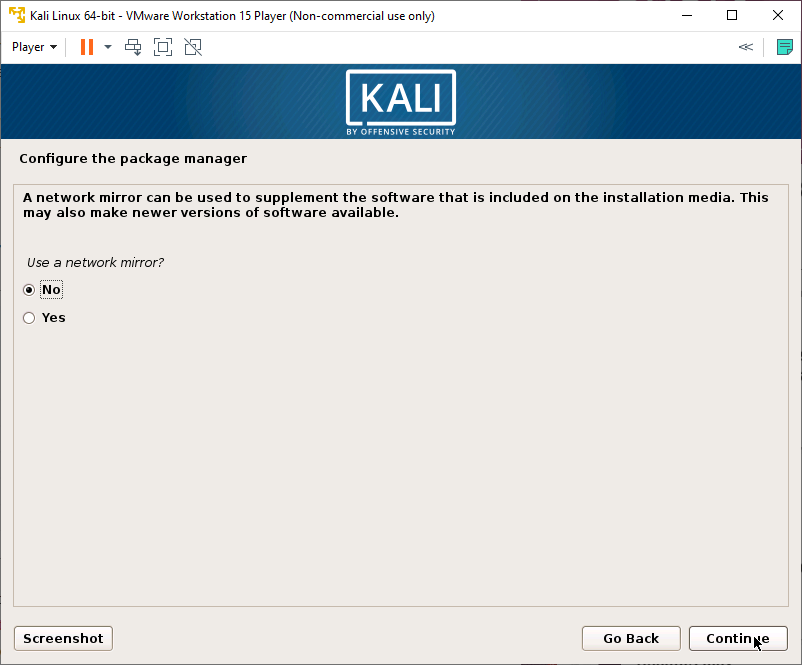
Once the installation is complete, It’ll ask you If you want to use a network mirror or no. If you want to, then select Yes and enter the details otherwise select No and click Continue
Select Yes in GRUB Bootloader window and click Continue
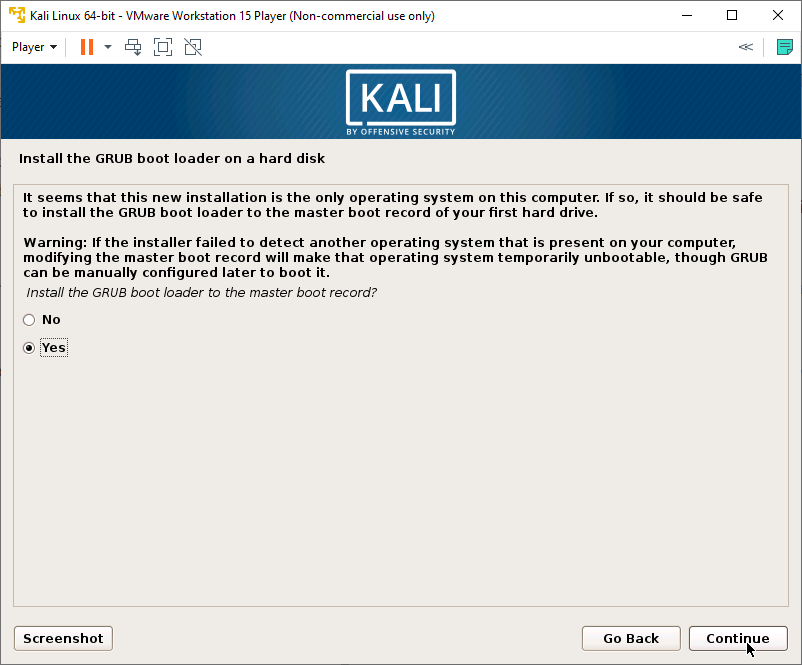
Then choose your Hard-drive (It should be like /dev/sda) and click Continue

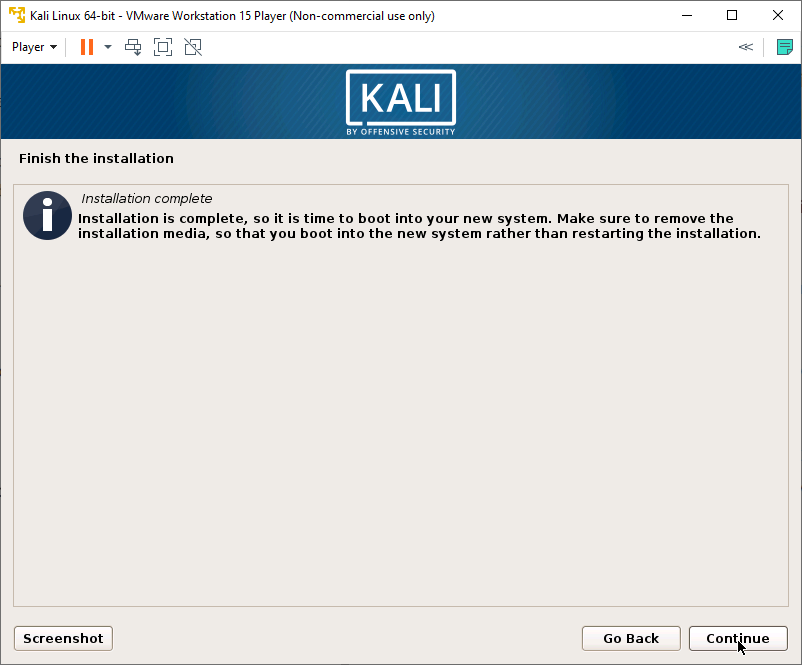
Finally, the setup is complete, click Continue
It’ll now restart and you’ll be presented with the login screen. Enter root in the username and the password that you chose during the installation and click on Login.
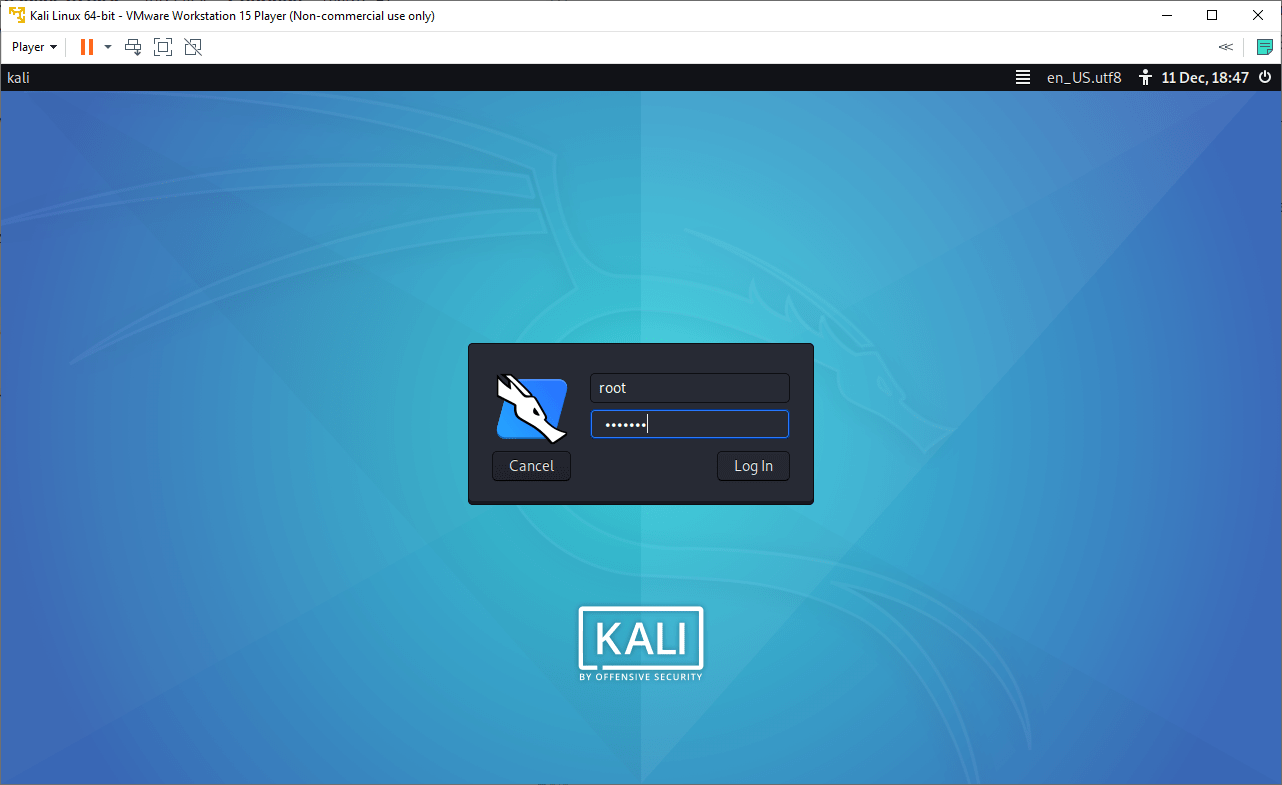
Now you can start your security testing 😉
If you have any questions, let us know through the comments.