

Network-Attached Storage or NAS is a storage server connected to a network. It is connected to a home network and can be accessed by multiple clients simultaneously at any time. NAS devices do not have a keyboard/mouse nor do they require a fully featured operating system. They usually come with vendor’s own operating system which is managed through a web browser and whose basic purpose is to transfer files.
NAS can be used for a variety of purposes such as
- Making backups
- Media servers
- Additional Storage
- etc.
It’s just like our own private cloud server. You can buy NAS devices from popular manufacturers likes Western Digital and Seagate etc. They look cool but they’re also quite expensive and not everyone can afford them.
This is why we’re writing this tutorial so you can create your own NAS server with the help of a Raspberry Pi.
Raspberry Pi is a small credit-card sized computer. You can plug in a keyboard/mouse and a monitor to use It as a normal computer or you also ssh into It If you don’t have separate peripherals. The interesting thing is the cost of Raspberry Pi. You can get a Raspberry Pi 3 for around $35 which is pretty cheap. Although you’d require some additional stuff like power cable, SD card etc. for running It. The purpose of Raspberry Pi isn’t only limited to NAS server. There are a lot of projects which you can do on a Raspberry Pi. Have a quick search and you’ll be amazed by what can you build with this small gadget.
Things Required:
To build your own NAS server using Raspberry Pi, you’d need the following:
| Hardware | Software |
| Raspberry Pi | SD Card Formatter |
| SD Card & SD Card Reader/Writer | Etcher |
| External Storage (Flash drives/Hard drives) | OpenMediaVault |
This might not look as cool as the pre-built NAS devices by big manufacturers but It also doesn’t cost hundreds of dollars.
Step 1: Download Required Software
The first step is to download the required things shown in the table above. Download and install both SD Card Formatter and Etcher from the above-given links. Then also download the ISO image of openmediavault from the above-given link. Make sure to download the image for Raspberry Pi. The above link would take you directly to Raspberry Pi ISO file.
Step 2: Prepare SD Card
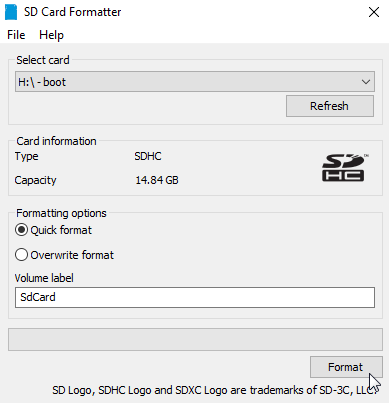
The next step is to prepare your SD card. Plug in your SD card into the card reader/writer and attach it to your computer. Now open up SD card formatter.
- Select your SD Card
- Choose Quick format
- Click Format and then click Yes to confirm
It’ll take a couple of seconds before informing you that your SD card has been formatted.
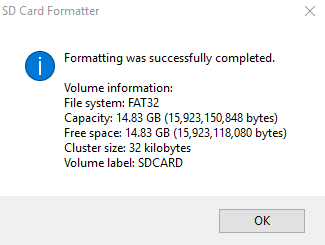
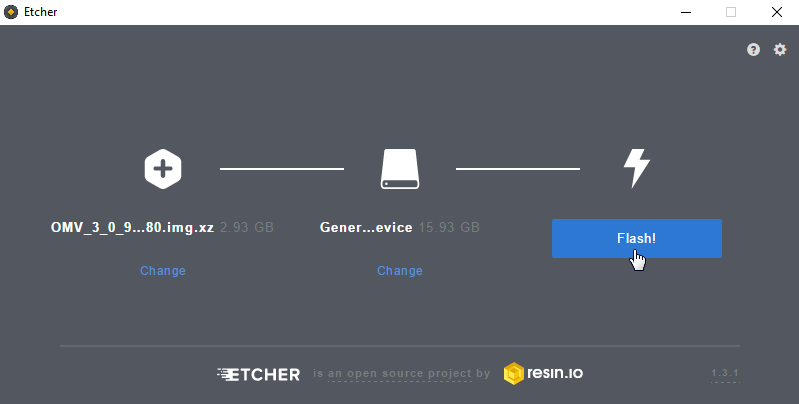
Click Ok. Now open Etcher and
- Choose your downloaded openmediavault file in Select Image option
- Choose your SD card
- Hit Flash button
It’ll take a couple of minutes before completing.
Remove the SD card from your computer once done.
Step 3: Setting up Raspberry Pi
In this step, we’ll set up our Raspberry Pi and power It up. We’re using Raspberry Pi 3 model B. It’ll work with 2B and 3B+ too.
- Insert your SD card into your Raspberry Pi
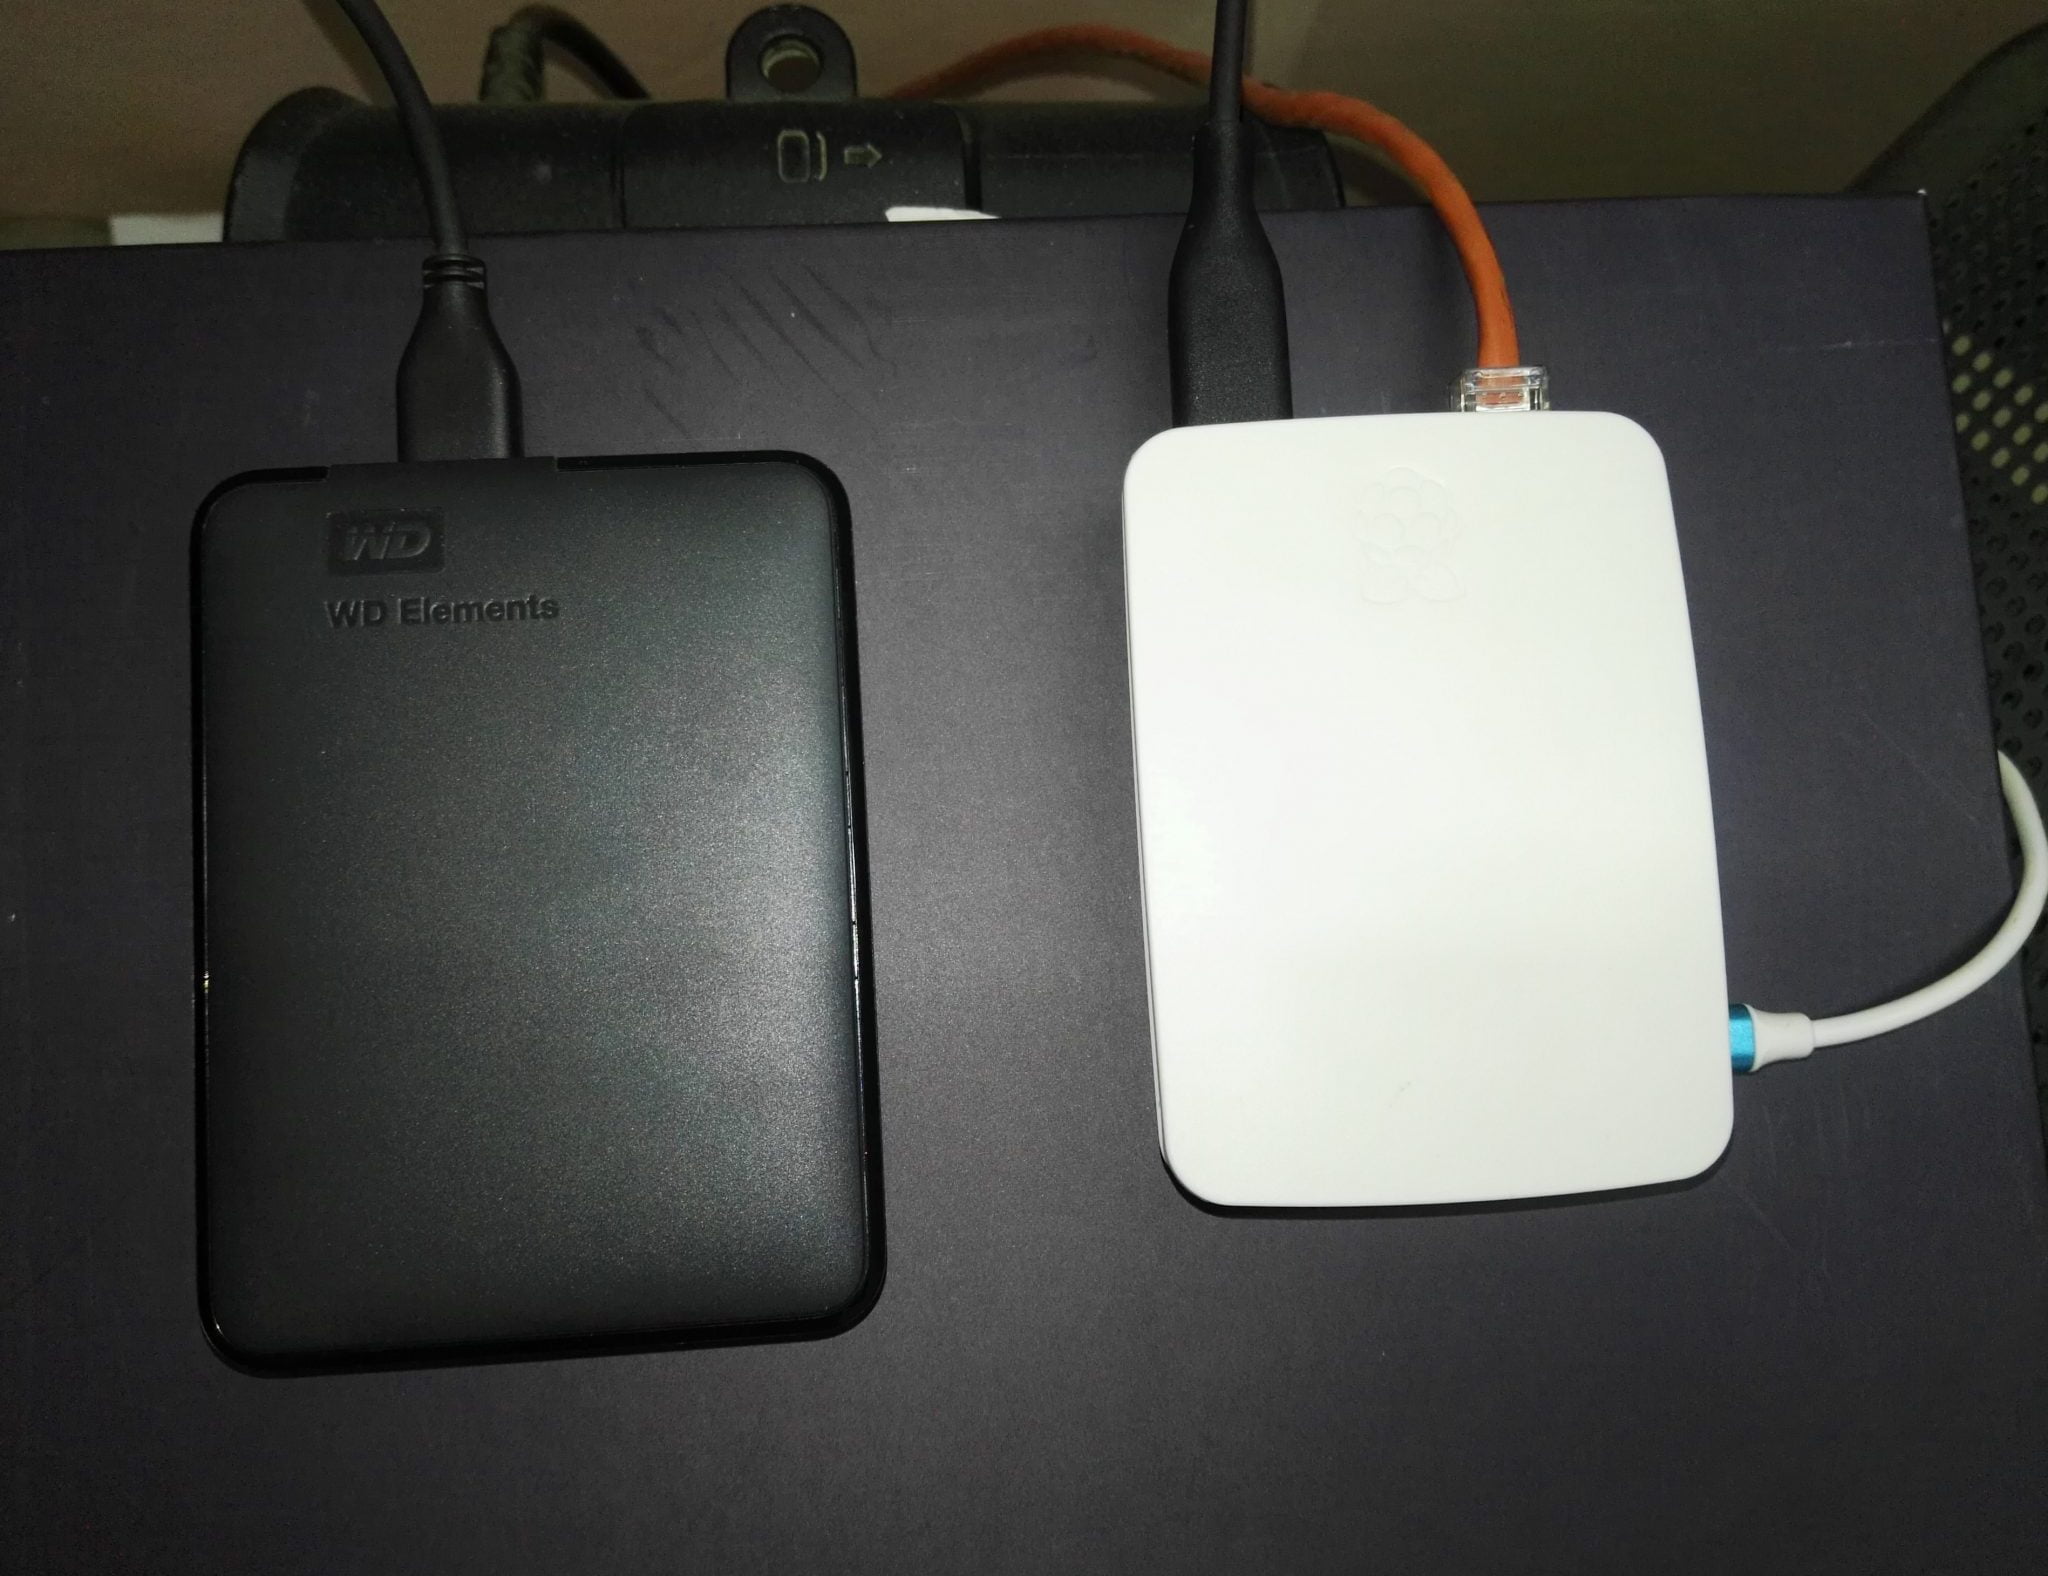
- Attach your external storage device (we’re using WesternDigital Elements 2TB portable hard drive)
- Attach your ethernet wire to your Raspberry Pi to connect it to your network
- Power up Raspberry Pi by attaching your USB adapter with It
Step 4: Getting the IP Address
Now everything’s ready and we just need to open the OpenMediaVault server but we don’t have any IP address to open It. To get the IP address which your router have assigned to Raspberry Pi, Open your router configuration/settings page. We’re using a TP-Link router and to access the settings of our particular model, we go to 192.168.0.1. Search for your one If you’re not aware of It and login to your router configuration page.
Go to the connected devices page or DHCP Client lists etc. to see the devices connected to your router. On that page, you’ll see a client with a name of raspberrypi, copy Its IP address.

In our case, the IP address assigned to the raspberry pi is 192.168.0.106. Open that up in a new tab.
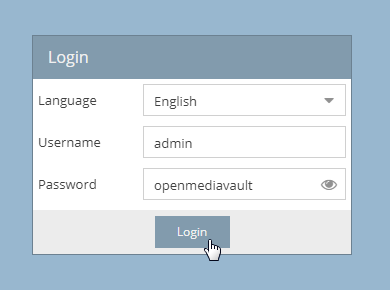
A login page will appear. Enter “admin” as username and “openmediavault” as the password and hit Login button.
After you’re logged in, go to System > General Settings > Web Administrator Password and set up a new password so no one except you could log in.

Step 5: Mounting the External Drive
Now we need to mount our attached external storage device (portable hard drive in our case) so we can start using It.
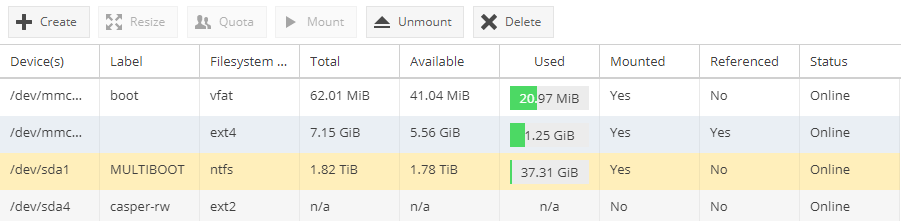
Go to Storage > File Systems. Select your external drive and click on Mount button. It’ll ask you to apply changes, hit apply and then yes.

The external drive will be mounted.
Step 6: Making a Shared Folder
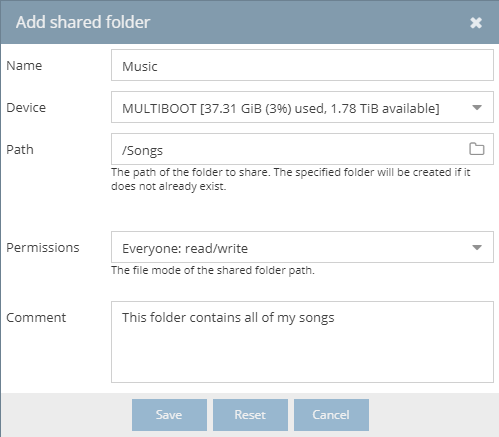
In this tutorial, we’re going to create a shared folder Song and will attach It to the songs folder (containing our songs) on our portable hard drive.
To do this, Go to Access Rights Management > Shared Folder and click on Add button.
- Enter the name of the folder you want to make (Music)
- Choose your external storage device
- Set the path (folder – already present on your drive) to which you want to link this new folder. If the folder you’re linking is not already present on your drive, then a new folder would be created
- Choose your permissions as you want. We’re choosing Everyone read/write. This means anyone from my home network can read/write on this folder
- Add a comment (optional)
- Click Save
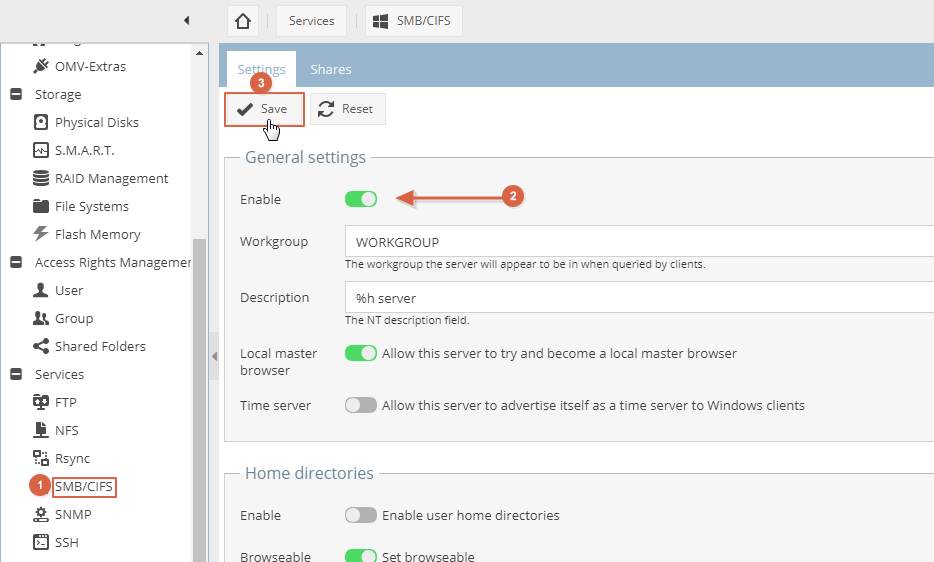
Step 7: Enabling SMB/CIFS
Now we want to enable SMB/CIFS. SMB stands for Server Message Block and CIFS stands for Comment Internet File System. These are file sharing protocols which will help us access our data on Windows and other devices.
Go to Services > SMB/CIFS. Turn on Enable and Save.
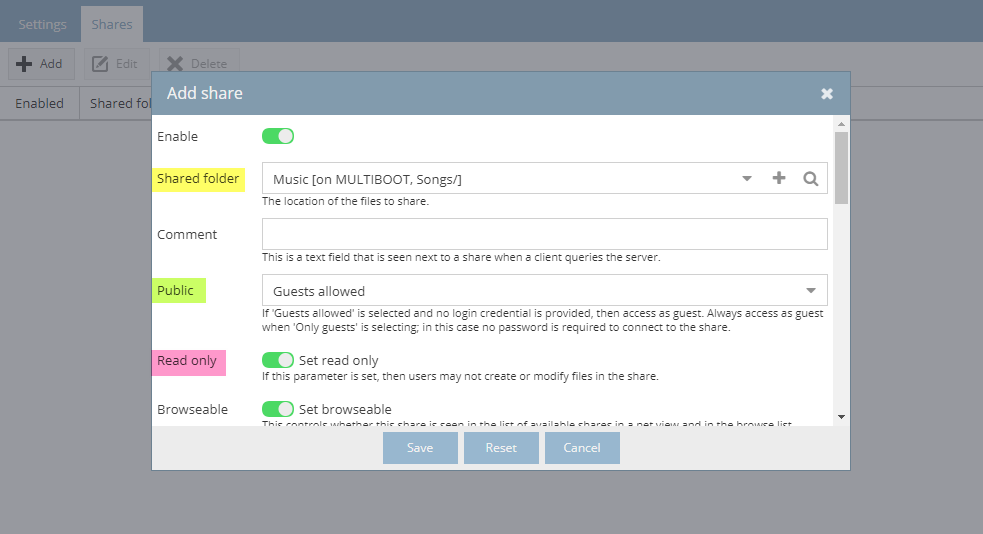
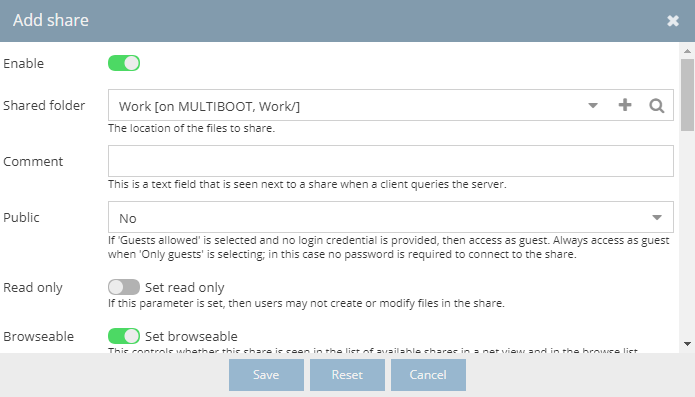
Now go to Shares tab, next to Settings tab in SMB/CIFS. Click on Add.
- Select your Shared folder
- Choose the Public option (No/Yes/Guests Allowed) as per your convenience
- We’ve also enabled Read Only to yes. So guests can’t write on your folder
- Hit Save
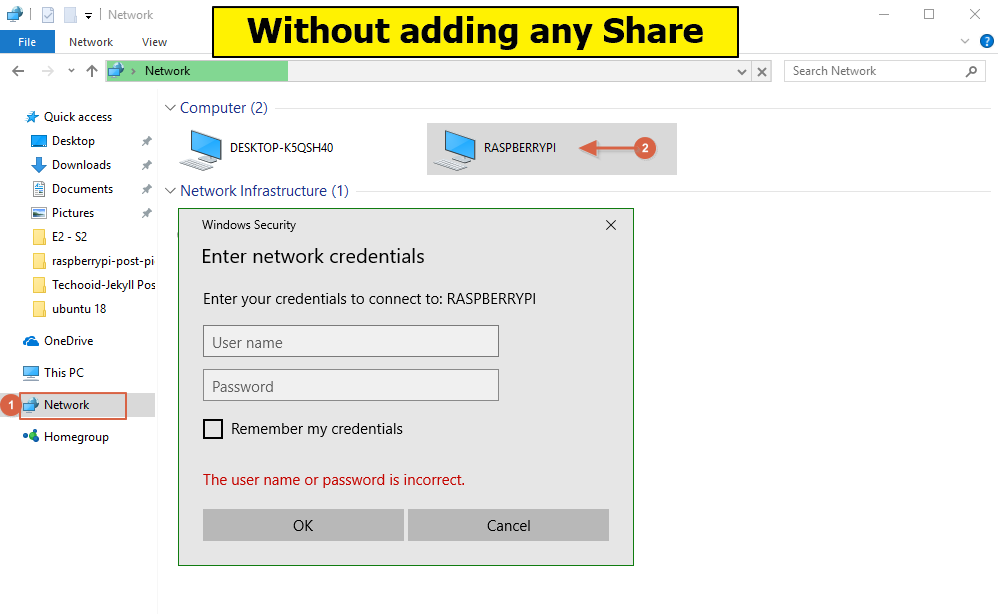
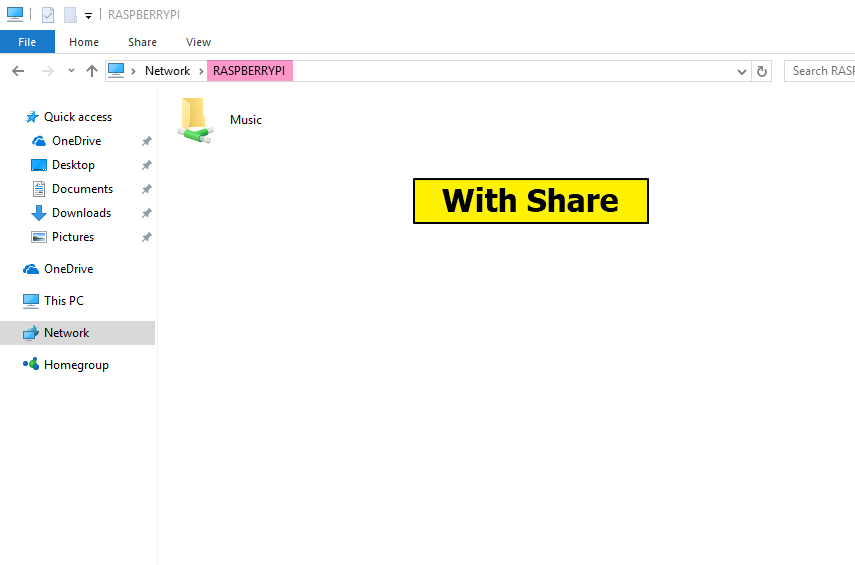
Check out the below picture for better understanding of what actually Add share does.
 |
 |
As you can see that in the first picture (without any share) when we try to open Raspberry Pi (in Network), It asks us for username and password (for which we have to create a new user, see the next step).
But in the second option where we have a share with Guest allowed and Read-only option selected. We can simply open our desired folder since public option is set to Guests allowed.
Step 8: Creating a User
Let us create a user (or multiple) and give them permissions to read/write on the folder. For example, There’s a work folder and family pictures folder. You’ll want yourself (your user) to be able to read/write on both of these folders but you’ll only want other users (your wife, children) to only have access to the family pictures folder and not your work folder.
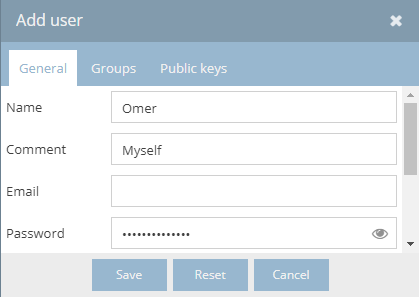
To create a user, go to Access Rights Management > User and
- Click on Add
- Enter a Name and Password. Fill out other options (like comments) if you want to
- Click Save
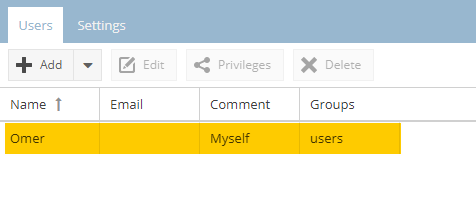
- Apply Changes
Your newly created user would start showing.
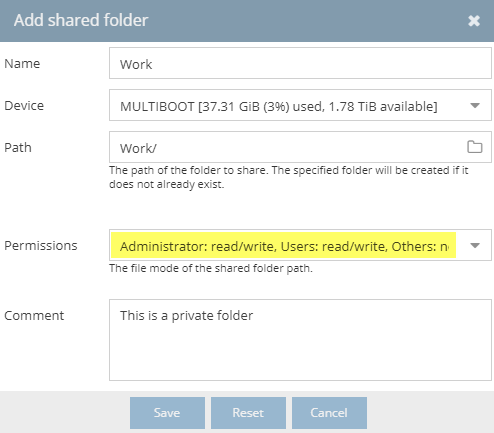
Now let us give this user both read/write access to a Work folder so that only he can read/write on It. Go to Shared Folders under Access Rights Management and Add a new folder Work.
Fill Its necessary details and in the Permissions option, select
Administrator: read/write, Users: read/write, Others: no access
This permission will ensure that
- Administrator (admin) will have read/write access
- Users (which will be specified in Shares) will have read/write access
- Guests or any other won’t have any access
Select the newly created Work folder and click Privileges button and give Read/Write access to your user.
Now go to SMB/CIFS and open shares tab. Add a new share, Select the Work folder. Also, keep the public option to No.
Save and Apply changes.
The above settings ensure the following behavior:
In Guest Mode:
- Both Music and Work folders visible
- You can only see the files of Music folder
- On trying to open Work folder, you’ll be asked for Username/Password (for the user who have access)
Your server is ready and you can now start transferring files.