
Before learning about How to block ads from apps and websites, first let’s see Why do you need to block them? The answer to this question is simple, Almost every website and application created these days has a sole purpose of earning money. There is nothing wrong in earning money via a website/application but one should not ignore the fact that some ads are annoying.
Whenever a person wants to earn money via his website or application, advertisements are the first thing that comes to his mind. The reason is that there are a lot of ad networks these days. It’s getting easier day by day to pick up any of the Ad networks and start placing Its ads on your platform. Although, not all ads are the same.
Adsense ads are nice and un-harmful. They don’t cause any trouble to the readers. They’re also not like those pop-up ads which keep appearing again and again but not everyone is Google Adsense. There are some ad networks which serve malicious ads. These ads cause a lot of harm without the user realizing It.
There are a lot of ways to block ads from apps and websites. The easiest option is to start using an Adblocker. Using a traditional Ad blocking software/extensions/applications is a quick way to get rid of ads. But problem. They won’t work on all of your devices automatically. You’ll have to manually install an Adblocker on each device. Even after you’ve installed an Adblocker on all of your devices, you’ll still see ads being displayed in applications (games etc.). This is where Pi-Hole comes to the rescue.
Pi-Hole is a free DNS based Adblocker. It doesn’t work like traditional Ad blocker plugins/extensions. Some of the Adblockers only hide the ad from you. This means that when you load a web page, the ad is also downloaded. Pi-Hole is different. It intercepts the request for advertisements and stops them from being downloading. This also results in a faster internet experience since you’ll only be downloading the content and not the ads.
In this post, we’ll be showing you how can you install and configure Pi-Hole on your Raspberry Pi to block ads from apps and websites. We’re using Raspberry Pi 3 B+ for this tutorial.
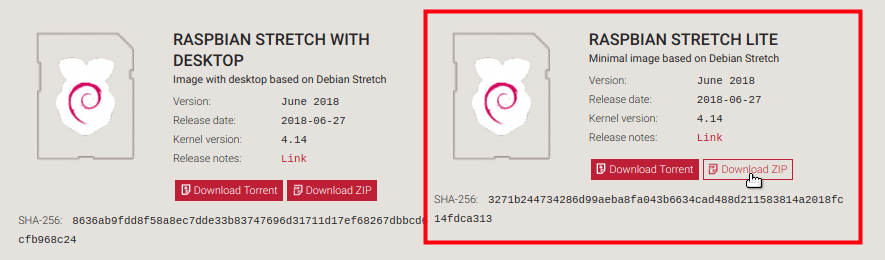
Step 1: Download Raspbian Stretch Lite
Go to Raspberry Pi’s website. Scroll down the page and download Raspbian Stretch Lite.

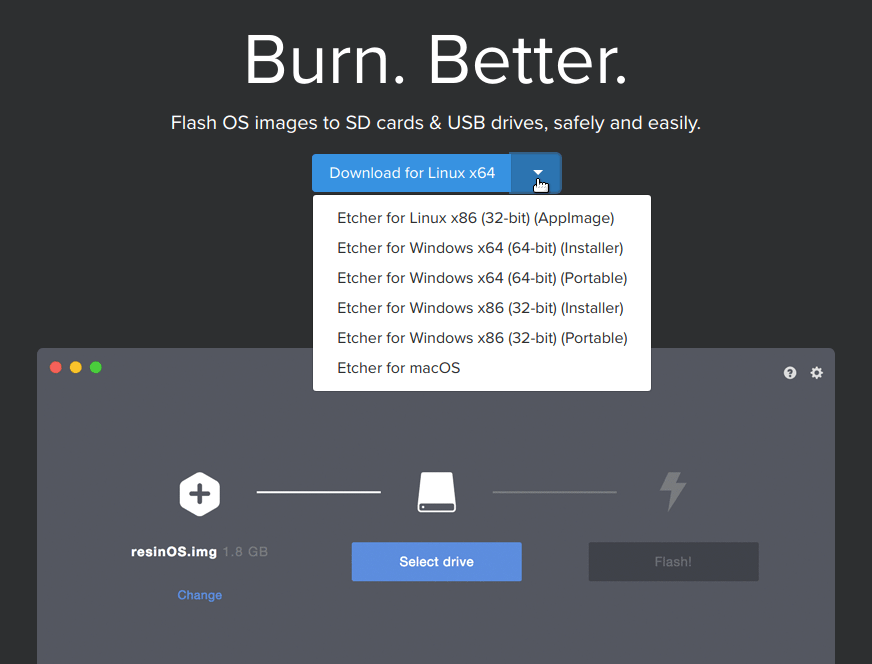
Step 2: Download Etcher
We’ll be using Etcher for flashing the downloaded Raspbian image to our SD card. Visit https://etcher.io/ and download It according to your operating system. It’s available for Windows, Linuxand macOS.

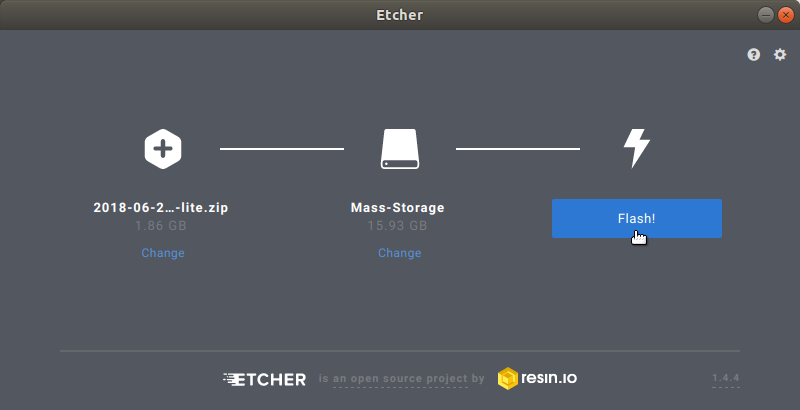
Step 3: Prepare you SD Card
After you’ve downloaded the required stuff. Place your SD card into an SD card reader and plug it to your computer. Now launch Etcher.
Select the downloaded Raspbian Stretch Lite, Then select your SD card and click on Flash. It would take a couple of minutes before completing.

Step 4: Make ssh file
Open up your File Explorer and go to your mounted SD card. You should be seeing It as boot. Open up that folder and create a new file with the name ssh
Note that there’s no extension like to It. Just the name ssh. If you’re using Linux, You can use touch ssh command to make this file while being in the boot folder. On Windows, you can make a new text file and choose to Save as and then remove the .txt extension from name and just type ssh.
Placing a file named ssh would help us in connecting to our Raspberry Pi remotely without attaching a monitor/keyboard/mouse to It. It will start up SSH as soon as Raspberry Pi boots up.


Step 5: Setup Raspberry Pi
Insert your SD card into Raspberry pi. Attach It to your router via Ethernet port and power It on using the micro USB port.
In case you don’t have an Ethernet wire, setting It up via WiFi is also possible (if your Raspberry Pi supports WiFi) but would require keyboard/mouse/monitor to first configure Wi-Fi network. If you want to go with method, then first connect It to a Wi-Fi network and then proceed forward.
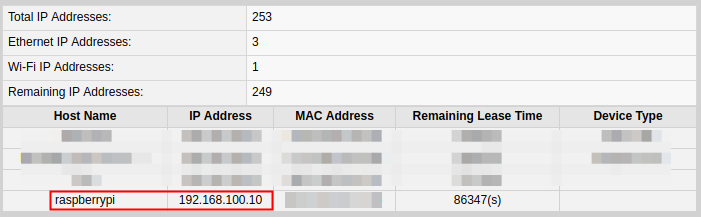
Step 6: SSH into Raspberry Pi
Before installing Pi-Hole, we’d have to SSH into our Raspberry Pi. For that, we’ll need the IP address of Raspberry Pi. Open up your router configuration/settings page. Go to the Connected devices page or DHCP client lists and look for . Copy Its IP address.

Open up your terminal and type in the following command to SSH into your Raspberry Pi. Replace X.X.X.X with your Raspberry Pi IP address.
ssh pi@X.X.X.XIf you’re on Windows. You can use PuTTY to SSH into your Pi. It will ask you for confirmation, click/type yes. Then you’ll be asked for a password. The default password is raspberrypi
Step 7: Install Pi-Hole
Now Its time to install Pi-Hole. Copy and paste the below command in your terminal (where you’ve ssh into your raspberry pi) and hit enter.
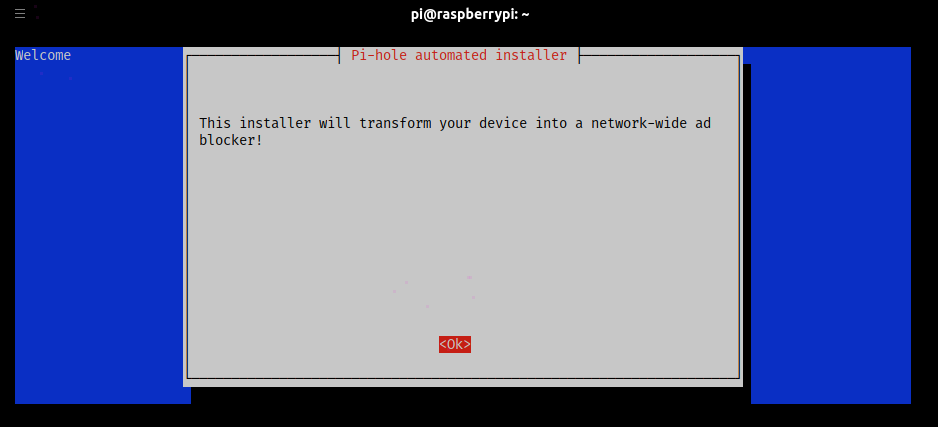
curl -sSL https://install.pi-hole.net | bashWait for a couple of minutes. It’ll start retrieving some files. Once done, It’ll present you with an installer (in your Terminal).

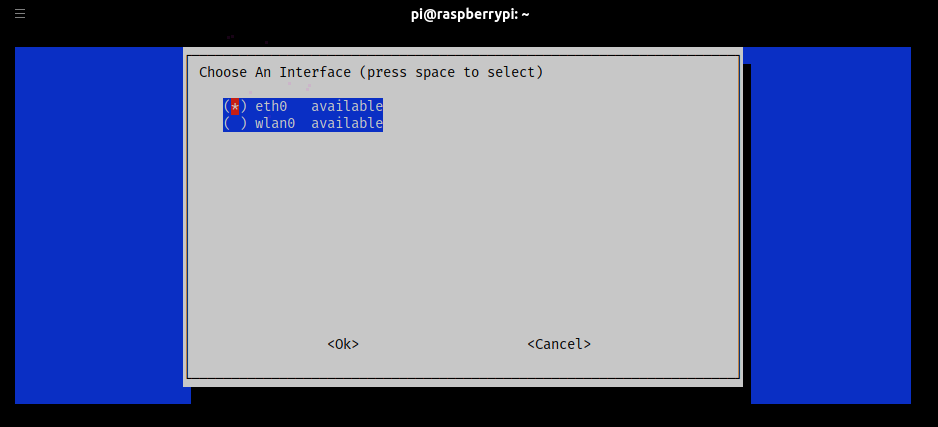
Keep pressing Enter until you see Choose an Interface screen. As we’re not using Wi-Fi, we’ll go with eth option. If you’ve opted for Wi-Fi as mentioned in Step 5, you’ll need to choose the wlan option. Use the arrow keys for moving up/down. Space key for selecting/de-selecting and Enter to move next.
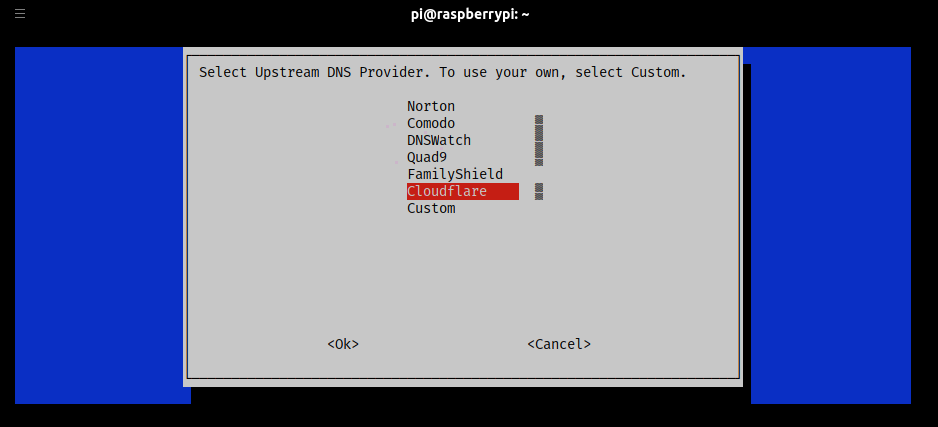
Now It’ll ask you for your Upstream DNS Provider. It’s entirely up to you which one you want to choose. If you need help in deciding, here’s a good article which compares 4 popular DNS providers.
We’re using Cloudflare in our case.
Pi-Hole uses third party lists to block ads. In the next screen, It’ll ask you de-select any ad list if you want to. Keep all of them select (default) and hit Enter.

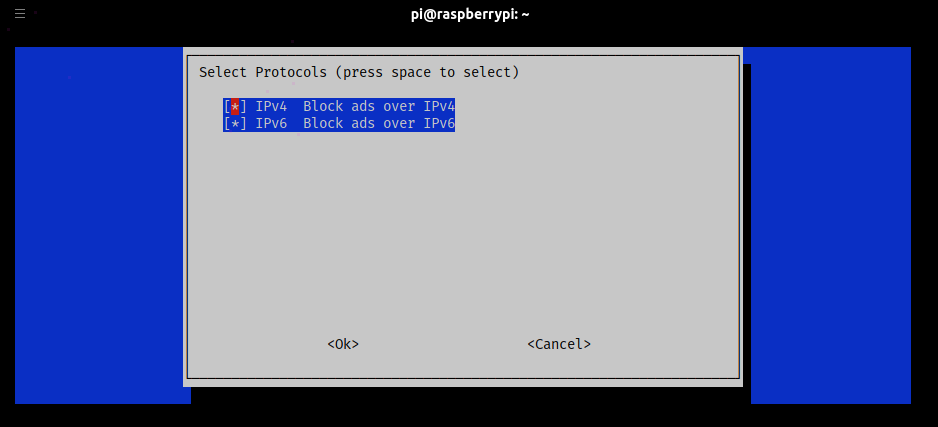
Select the protocols (IPv4/IPv6). By default both of them are selected, leave them as It is and hit Enter.
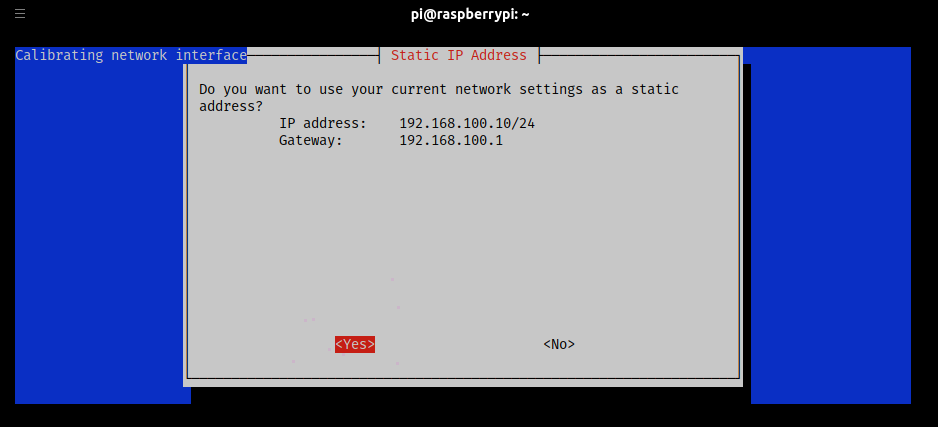
Stay with the default settings for Static IP address and hit Enter.
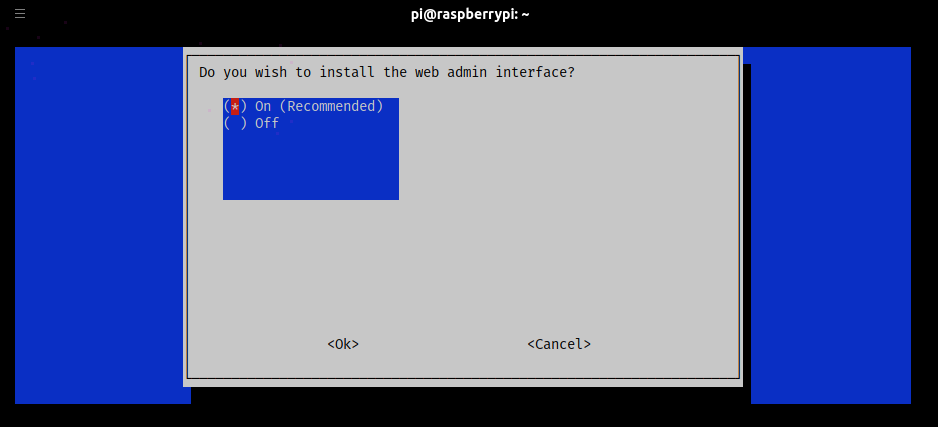
Again hit Enter on FYI: IP Conflict stage. Then select On for installing web interface.
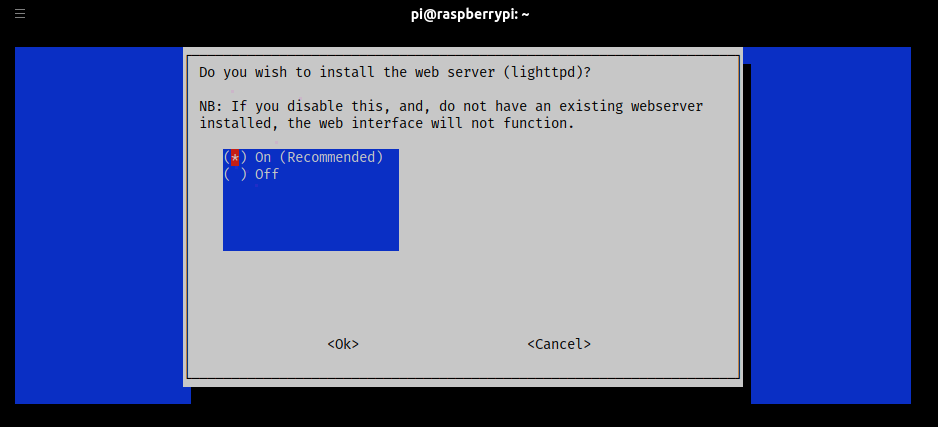
Install the lighttpd server by selecting On. If you don’t install It, your web interface won’t work unless you have another server already installed.
Go with the default option (On) to log queries and hit Enter. Now It’ll start installing all the required packages. Wait for a few minutes and let It complete.
Once It’s done, It’ll show you an Installation Complete screen. It will also show you the password for logging in to the web interface of Pi-Hole. Copy and Paste It somewhere so that you can log in. You can also change this password by using the below command
pihole -a -p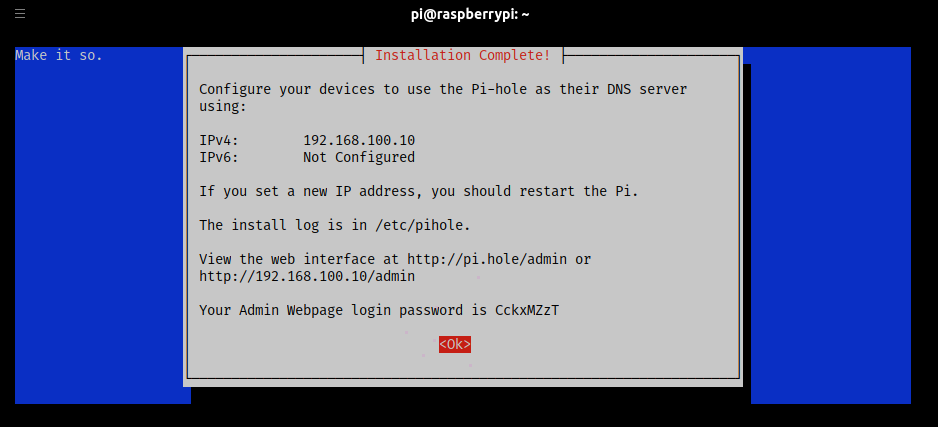
Now the installation is complete. Your Pi-Hole is now working. You just need to configure your devices to use your Pi-Hole as their DNS server.
If you don’t want to configure each and every device (PC’s, Laptops, Mobile Phones, Smart TV’s etc.) separately. You can go ahead and configure your router to use Pi-Hole as Its DNS server. This will cause all the devices connected to your router to automatically start to block ads from apps and websites.
Configuring your Router
- Open up your router’s settings
- Go to DHCP Server Configuration (It will be somewhere under LAN depending upon your router)
- Change your Primary DNS server to your Pi-Hole IP address and Save

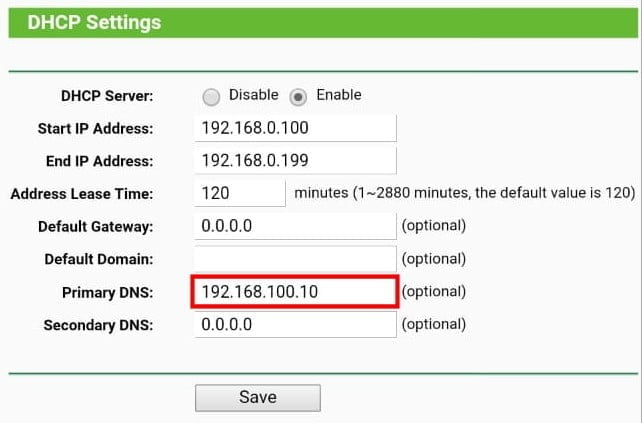
Every device connected to that router will start blocking advertisements.
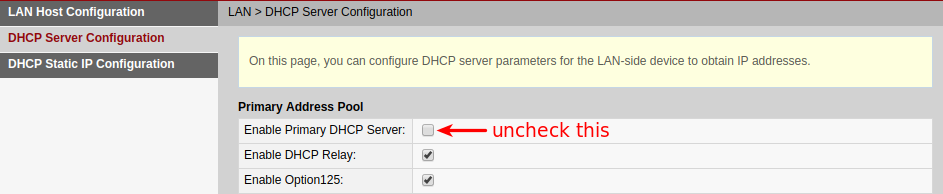
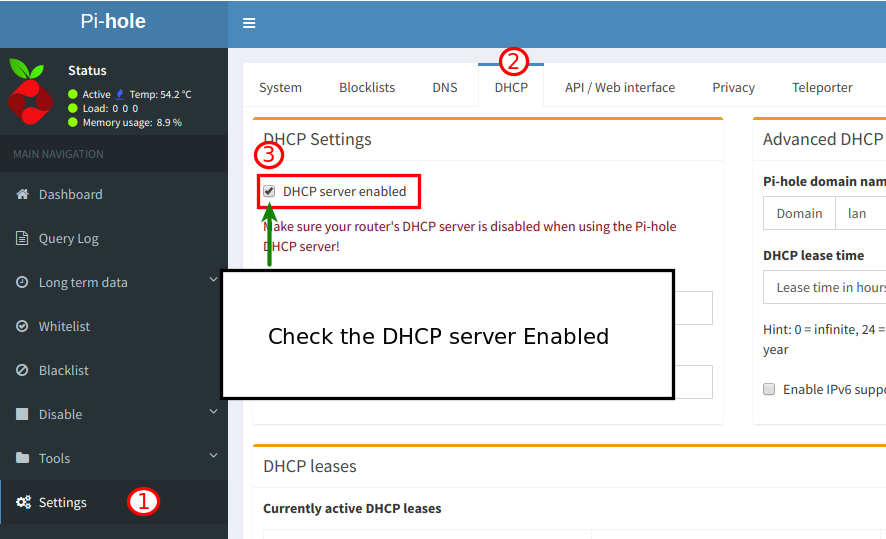
Some routers don’t allow changing DHCP settings. If this is the case, then you can disable the DHCP server on your router and enable It from the Pi-Hole settings available in the web-interface.


Configuring each device separately
If you don’t want to block ads on your entire network and only for specific devices, we’ve got you covered.
For Windows
- Open Control Panel
- Click on Network and Internet
- Click on Network and Sharing Center
- Click on Change adapter settings
- Choose the connection and right click > Properties
- Select Internet Protocol Version 4 (IPv6) or Internet Protocol Version 6 (IPv6)
- Click on Properties
- Select “Use the following DNS server addresses”
- Enter your Pi-Hole IP address in both fields
- Click Ok
- Restart connection
For macOS
- Go to System Preferences > Network
- Select the Network connection for which you want to change DNS
- Click Advanced
- Go to DNS tab
- Click “+” button
- Add Pi-Hole IP address
- Click Ok
For Linux (for most of the Linux distros)
- Go to Settings > Network Connections
- Select the connection > Edit
- Go to IPv4 or IPv6 tab
- Enter Pi-Hole IP address in DNS field
- Click Apply
For Android
- Go to Settings > Wi-Fi
- Hold on to the connection whose settings you want to change
- Choose Modify Network
- Then select Show Advanced Options
- Change IP settings to Static
- Enter your Pi-Hole IP address in DNS 1 and DNS 2 fields
- Re-enter your WiFi password
- Click Connect
For iOS
- Go to Settings > Wi-Fi
- Tap the “i” circle next to the network which you want to configure
- Scroll down and tap on Configure DNS
- Choose Manual
- Remove the already present DNS servers (If there are)
- Tap on Add Server and enter your Pi-Hole IP address
- Tap on Save
There is a lot of stuff which you can do to Pi-Hole. Check It out in Pi-Hole web interface. You can add more sites to black-list or white-list some already present sites. At this moment, you’ve finally able to block ads from apps and websites.
If you have any questions, let us know through the comments.