


PowerPoint is not reserved for the Presentations or Slides only. This tool can also be used to create interactive Flowcharts to show different processes, decisions, tree diagrams and concept maps. Later on, these flowcharts can be saved in many file types including .png and .pdf. In this tutorial, we will learn about how to make flowcharts in Microsoft Office PowerPoint using five very simple and easy steps.
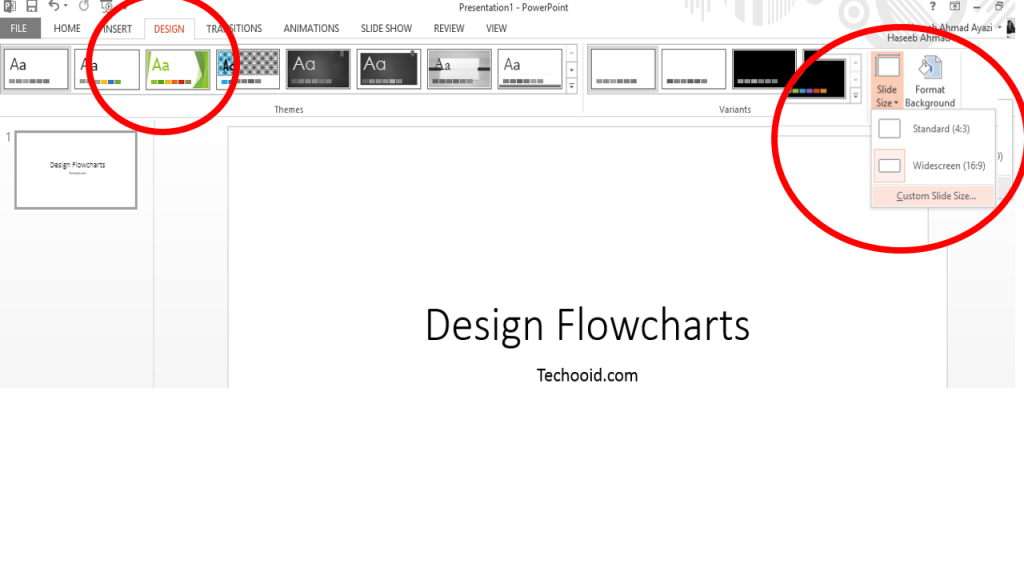
Configuring Slides Size
- Open the PowerPoint application.
- Add new Blank Slide.
- Click on “Design” Tab.
- On Right side, Click on “Custom Size” Option in slide size icon.
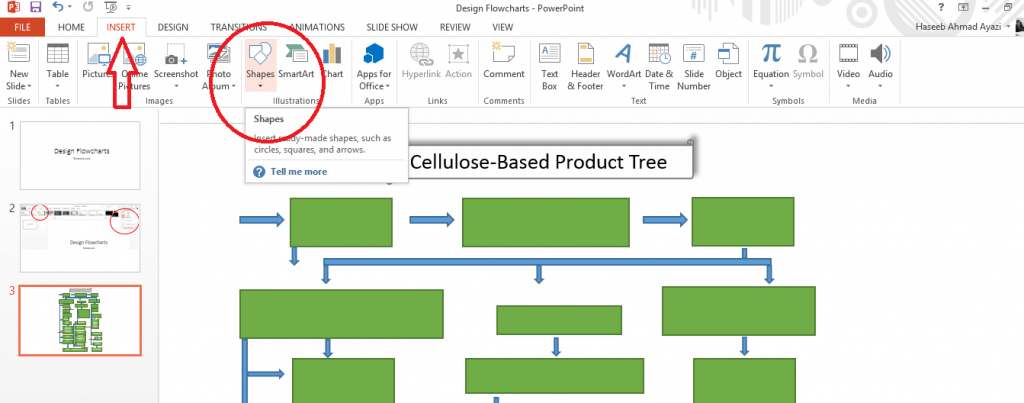
Draw Shapes of the Flowchart
- Click the “Insert” tab
- Click on “Shapes” and select the appropriate shape for your flowchart.
- Join these shapes with different arrows.
Tip: Copy/Paste the shapes and arrows to keep their size same.

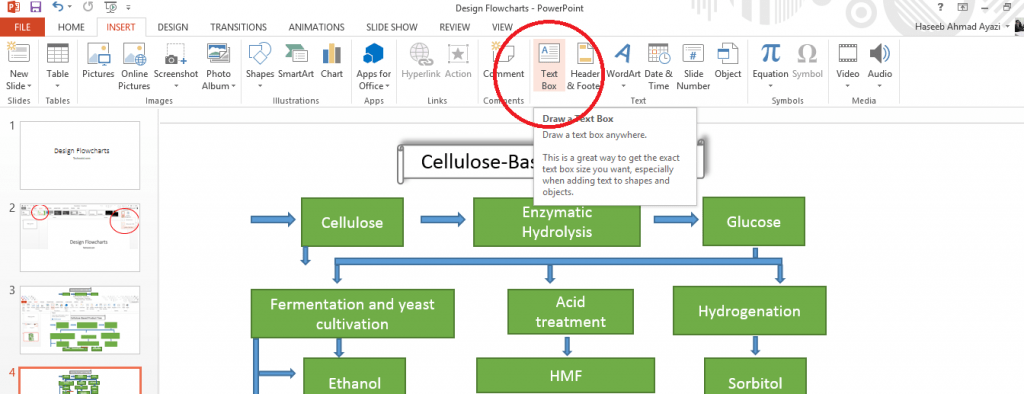
Write content in the Shapes
- Click on the “Text Box” and add boxes in the shapes
- Write content in the text boxes
- Adjust the size of text box and font of the text according to need.

Final touch to your flowchart
- Check the size of the different shapes and align them in a possible way.
- Change colors of the slides according to your requirement.
- Make sure Arrows are of the same width.
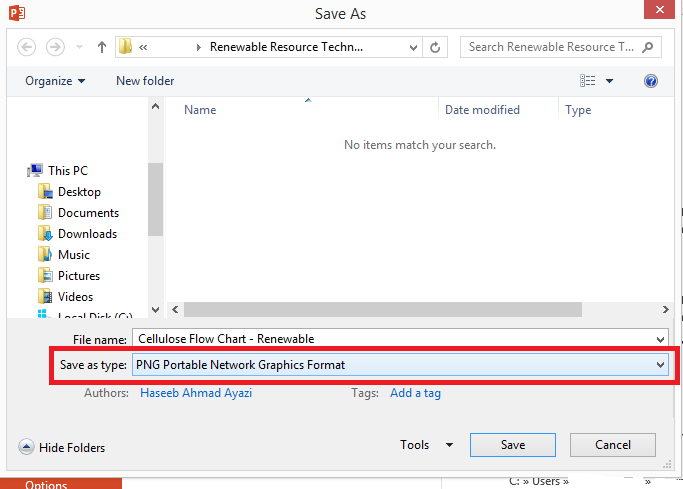
Saving your Flowchart as PDF or PNG
You don’t always have to present that flowchart using PowerPoint presentation. You can save it as PDF or PNG to use it in any article or your other publication. So this how you do it.
- Click on “File”
- Select “Save as”
- Decide your destination
- Select “Portable Network Graphics (PNG)/PDF” in “Select as type” while saving.

Download: Sample Flowchart of Cellulose Based Product Tree
Please make sure to share your views and comments with us in the comment section so we can make our tutorials more better for you.