


If you’re into Penetration Testing and Security related stuff then you should’ve heard of Kali Linux (formerly known as BackTrack). This operating system is based on Debian and is focused towards those people who are interested in Computer Forensics, Security Research, Reverse Engineering etc.
It isn’t recommended for anyone who wants to try out Linux for the first time. For those, Ubuntu/Linux Mint is a good option.
Installing Kali Linux on a Raspberry Pi gives you a kind of portable hacking machine. Though for making It fully portable you’d need a couple of more stuff like battery/power bank etc. We’ll not go into details of making It fully portable hacking machine in this tutorial.
In this tutorial, we’re going to tell you how you can install Kali Linux on your Raspberry Pi 3. If you aren’t familiar with Raspberry Pi then you should first read What is Raspberry Pi? Specs and Components.
Step 1: Download Kali Linux (for Raspberry Pi)
First of all visit https://www.offensive-security.com/kali-linux-arm-images/.
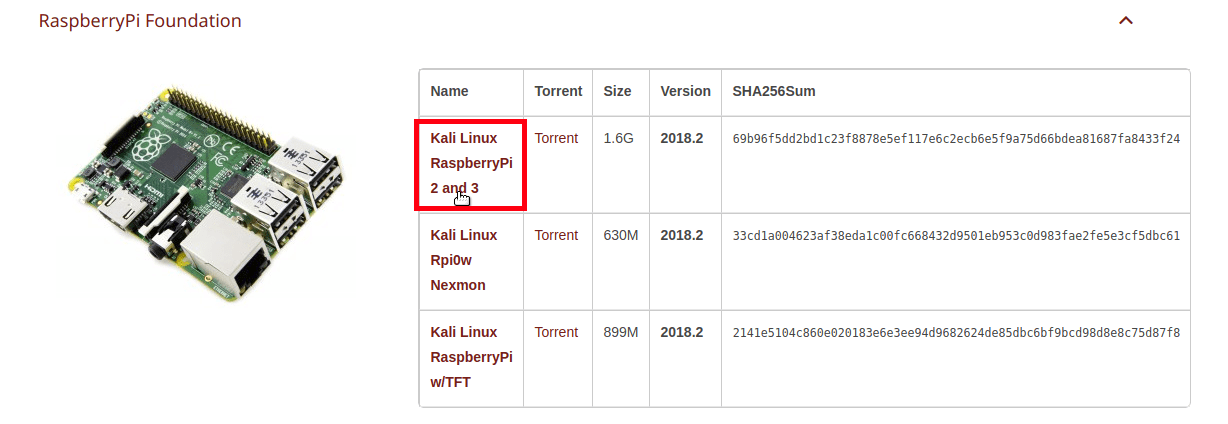
Scroll down until you see RaspberryPi Foundation then click the arrow next to It to expand It and download Kali Linux RaspberryPi 2 and 3 edition.
Step 2: Download Etcher
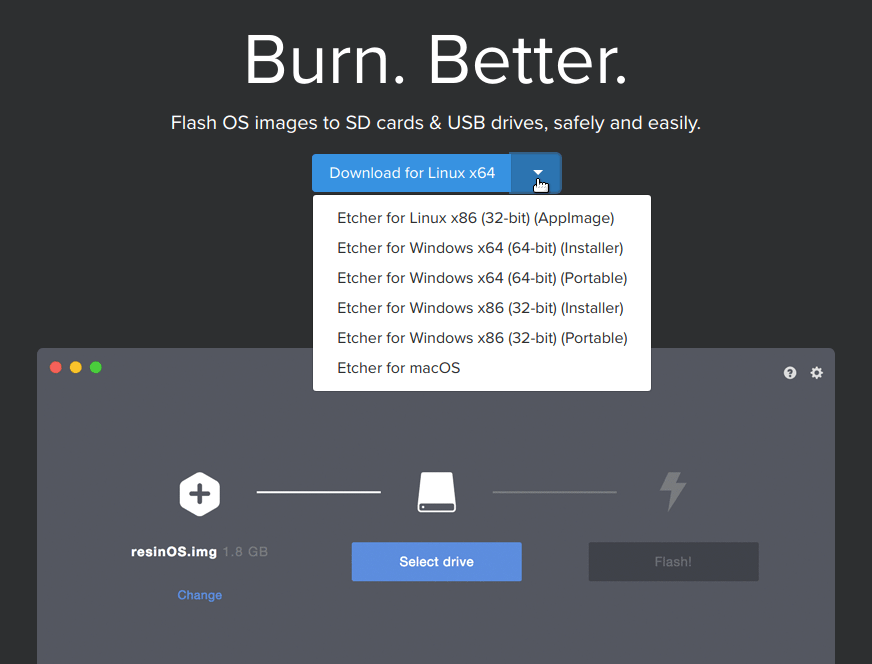
Etcher is a nice program which helps us in flashing operating system images to SD Cards and Flash drives.
Visit https://etcher.io/ and download It according to your operating system. It’s available for Windows, Linux and macOS.
Step 3: Prepare your SD Card
Place your SD card into SD Card reader and open up Etcher.
Choose the Kali Linux image file which you downloaded in the first Step. Then choose your SD Card in the second option and click on the Flash button.

It’ll take a couple of minutes before completing the process.
Step 4: Setup Raspberry Pi
Place your SD card into Raspberry Pi 3. Attach a Keyboard/Mouse to It via the available USB ports, the HDMI port to connect It to a monitor and the micro USB port to power It on.
You can also attach an Ethernet wire to connect It to your network or use Wi-Fi. We’ll use the internet to update the Kali Linux.
Step 5: Configuring Kali Linux
Once It’s loaded up. You’ll be presented with a login screen asking you for username and password.
The default username is root and the default password is toor.
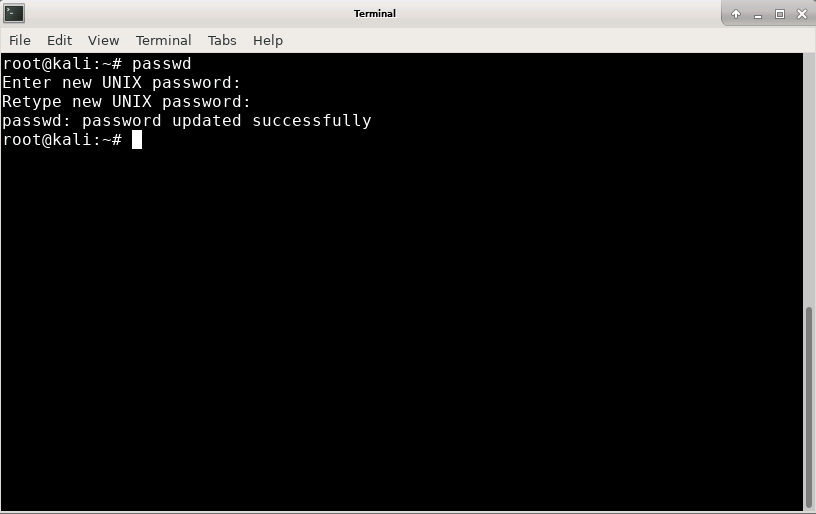
Once you’re inside Kali Linux, the first thing you should is to change your default password. Open up terminal and type the following command
passwd
Step 6: Connecting to Wi-Fi
If you’ve already connected your Raspberry Pi to an ethernet cable then you can move onto the next step.
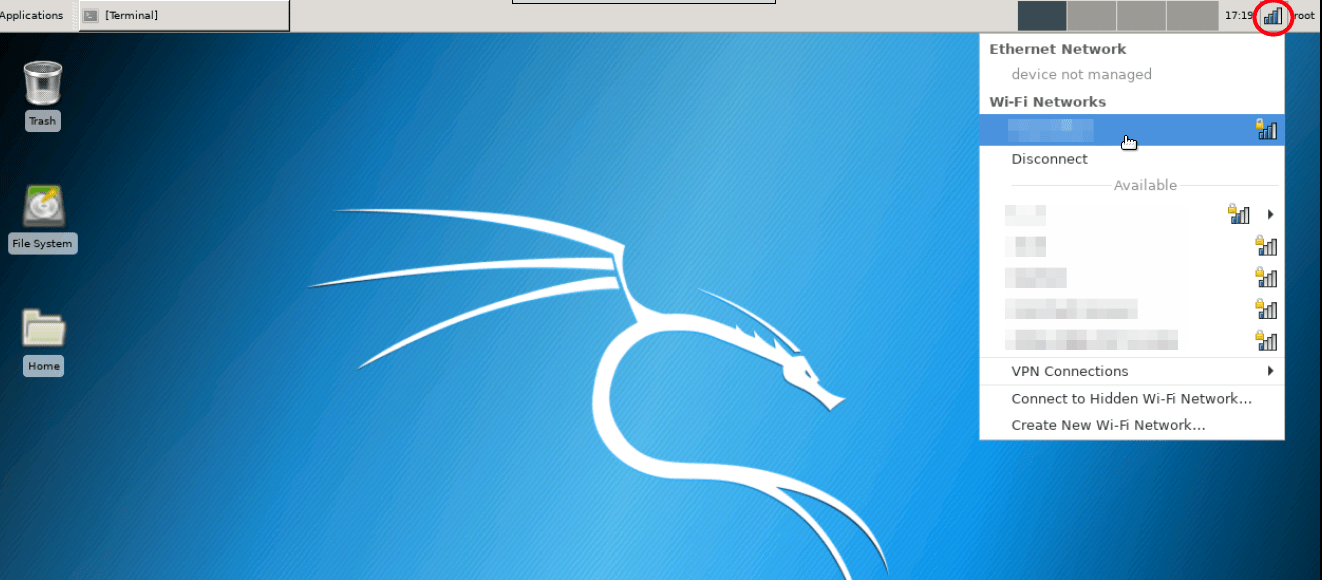
You can connect your Raspberry Pi to your Wi-Fi network by clicking on the network icon on the top right side of the screen and choosing your Wi-Fi.
For some reason, the above procedure wasn’t working for us. We had to connect to our Wi-Fi network by using the command line.
In case you’re also having trouble connecting to your Wi-Fi network, run the following command in the terminal.
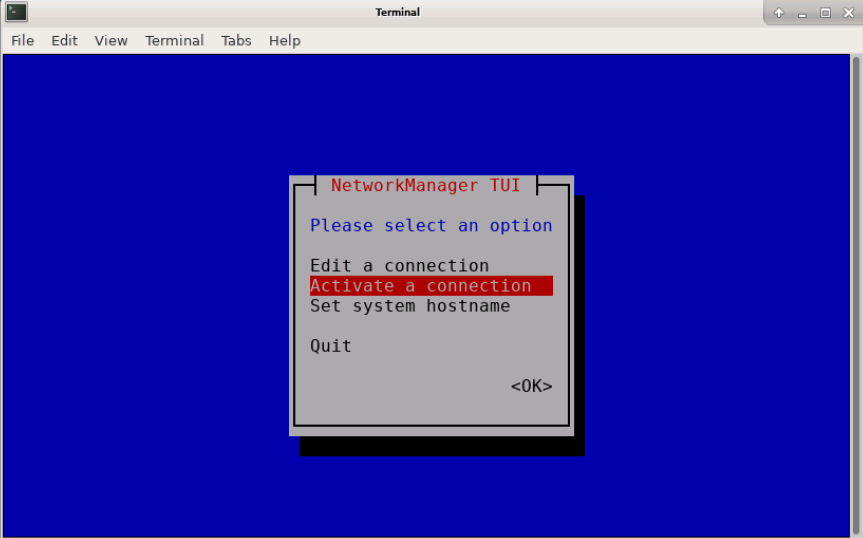
nmtui
Enter the second option, Activate a connection. Then choose your Wi-Fi network, enter Its password and you’ll now be connected to your Wi-Fi network.
Step 7: Resizing the Partition
Currently, we’re using a 16GB SD card. If you type the following command in the terminal
df -h
It’ll show you that It’s only able to get 6.7 gigs and only 338 Mb is available.
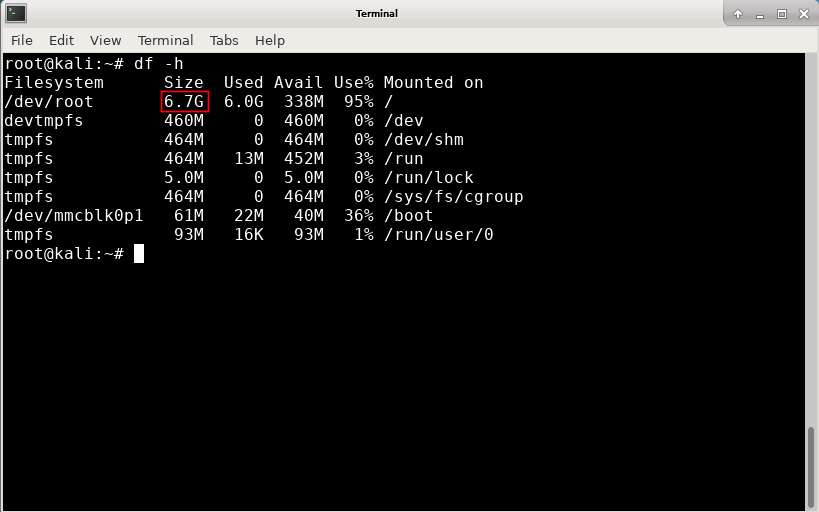
We need to make sure that Kali Linux is using our full SD card. To do that we’ll need to resize the partition.
You can use parted which is already available in Kali Linux to resize the partition but It’s a command line tool and makes this process a little harder for newbies.
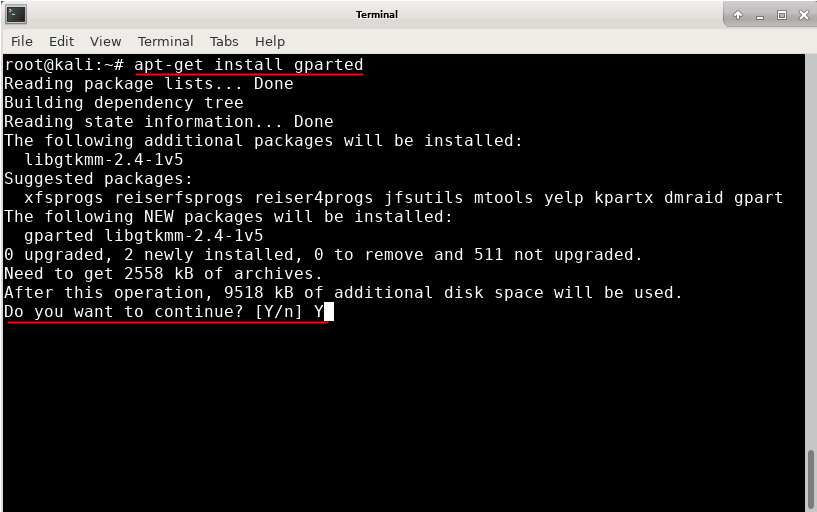
Due to this, we’ll install Gparted. It’s a nice GUI tool to manage disk partitions. Type in the following commands in your terminal.
apt-get update
apt-get install gparted
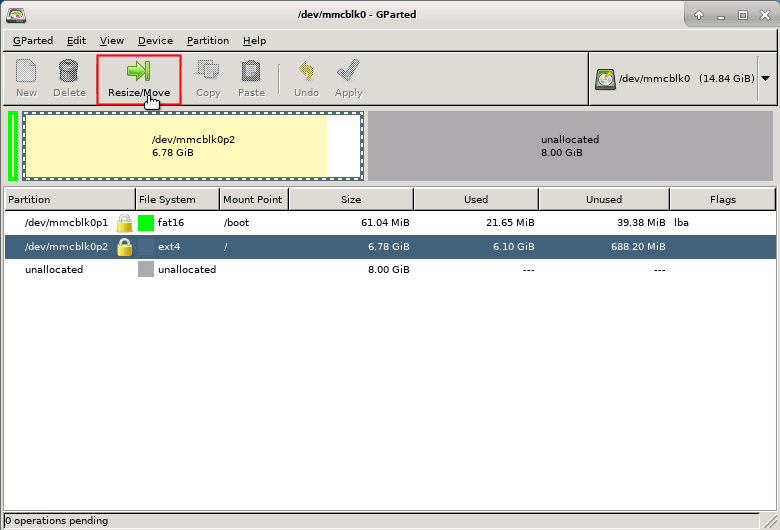
Once It’s installed. Type gparted in terminal to open It up.
In our case, The root partition is only taking up 6.78 gigs and around 8 gigs is unallocated.
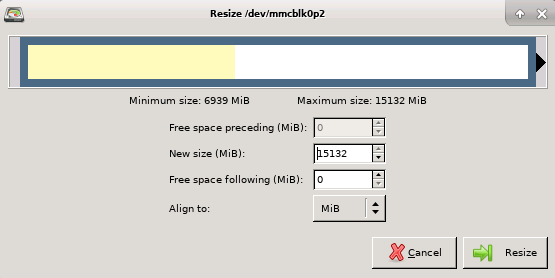
We’ll resize our root partition to take that unallocated space so It could use the full SD card. Select your root partition and click Resize/Move button.
A new box would appear asking you to resize It. Click and hold the arrow and take It all the way to the end to use the full partition. You can also type the maximum size showing in the New Size field.
Then click Resize.
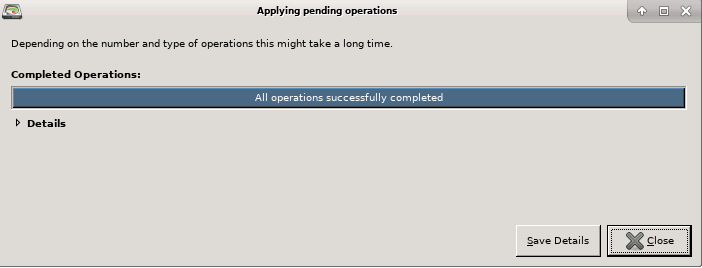
Then click Apply.

It’ll take a few seconds (depending on how big is your SD card) before completing.
Now we’re using all the available space. You can also confirm this by typing the following command in the terminal.
df -h
Step 8: Install Kali Linux Full version
At this moment the Kali Linux which we’re using isn’t the full version. It has a limited number of tools available. To get all the tools, we’ll need to install the Full Kali Linux version.
Run the following command in the terminal to install the full version of Kali Linux.
apt-get install kali-linux-full
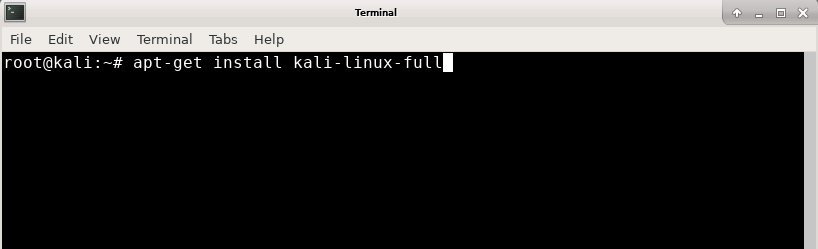
Type Y and hit enter when It asks you for ‘Do you want to continue? [Y/n].
It’ll take a long time to download and install all the tools (depending on your internet connection). So sit back and relax until It’s completed.
Step 9: Changing SSH keys
SSH (Secure Shell) helps us to communicate with our Raspberry Pi via another computer or mobile. The function of an SSH key is just like a username and password. Instead of entering username/password, these keys make this process automated.
The reason we need to change these SSH keys is that all the ARM images are pre-configured with the same SSH keys.
To change your SSH keys, run the following commands
rm /etc/ssh/ssh_host_*
dpkg-reconfigure openssh-server
service ssh restart
Now you can start using your newly installed Full version of Kali Linux on your Raspberry Pi 3 without any problems.
If you have any questions, you can ask us through comments and we’ll answer them as fast as we can.