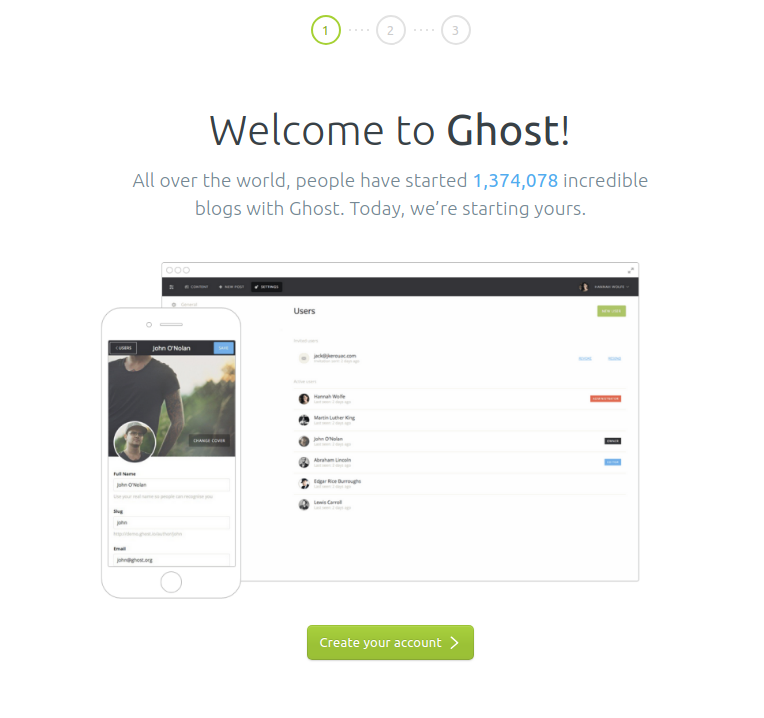
Ghost is a free, open-source professional publishing platform for making blogs. The main idea behind Ghost is to make a simple blogging platform without those extra un-used features. If you only want a simple blog which has a well-designed interface and is fast, go with Ghost.
If you want something complex like an eCommerce site or something like that, then It’d be better to go with WordPress.
Ghost uses Node.js for the back-end. This is the reason It is very fast. More on Ghost vs WordPress here.
Ghost has two versions:
- Self Hosted version – Free to download and use on your server
- Ghost(pro) – Hosted on Ghost servers
Starting a Ghost (pro) is very simple. You just have to visit the website, make an account, pay the price (there’s a 14-day trial as well) and your blog will be ready.
For a self-hosted version, you’ll need a server. You won’t be able to run Ghost on shared hostings as most of them don’t allow Node.js. Your best bet would be to get a $5 VPS from DigitalOcean or Vultr or Linode. This option would be cheap and great in performance.
The $5 VPS plan of all of the above 3 providers have almost the same specs
- 1GB Memory
- 1 CPU
- 25GB SSD Storage
- 1TB Transfer
- $5/Month
If you signup with DigitalOcean using this affiliate link, you’ll get $10 in DigitalOcean. DigitalOcean also provides Ghost as a one-click installation application. So you can just start a server, choose Ghost from one-click apps and your blog will be ready.
Ghost Requirements
Let’s take a look at Ghost official server setup requirements
- Ubuntu 16.04
- MySQL
- Nginx
- Systemd
- Node v6
- 1GB of Ram
- A non-root user for running Ghost commands
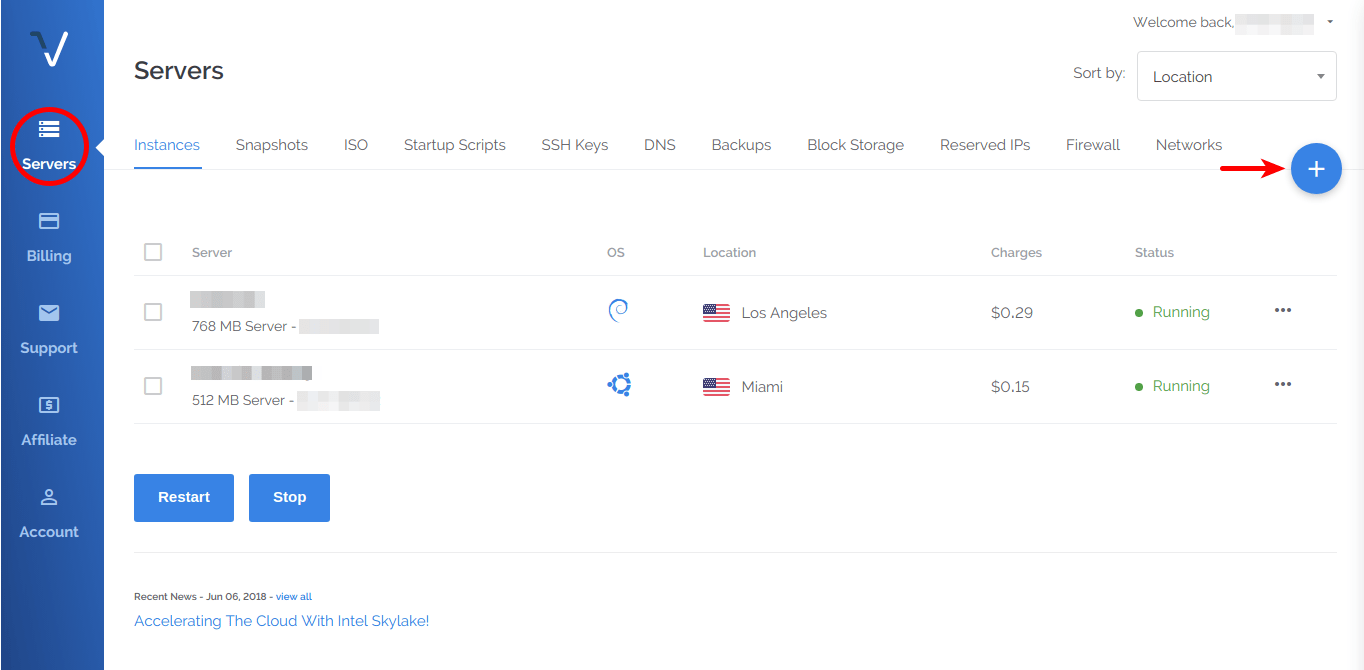
Making a VPS
For the sake of this tutorial, we’re going to use Vultr. You can use any of the above mentioned VPS providers. Everything will almost be the same.
- Sign up for an account on Vultr.
- Choose servers from the left menu and then click on the ‘+‘ sign.
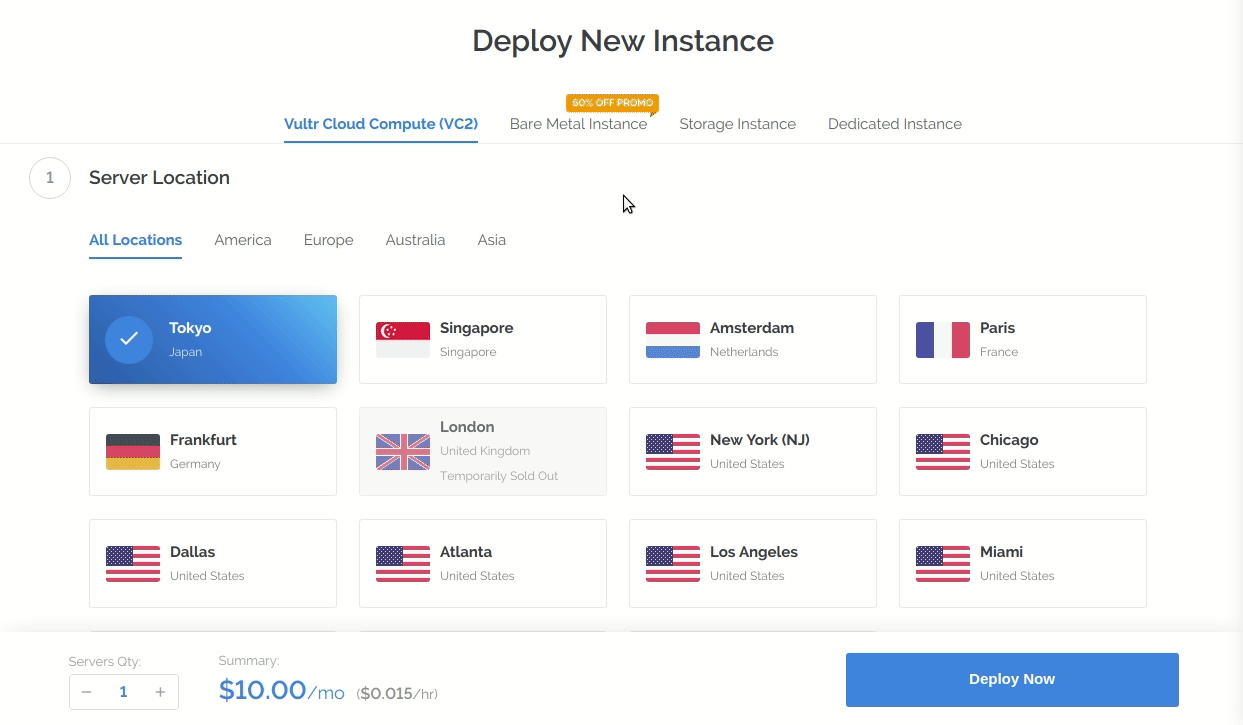
- Now choose your Server location
- Then choose the server type Ubuntu 16.04 in Server Type. I chose 64 bit OS.
- Select the $5/month plan
- Enter anything in server hostname and label and click Deploy Now.
Setup DNS records
If you want to apply a domain to your new blog (I’m sure you will) then point your DNS to Vultr.
Go to your Domain Registrar and point your domain’s nameserver to Vultr’s.

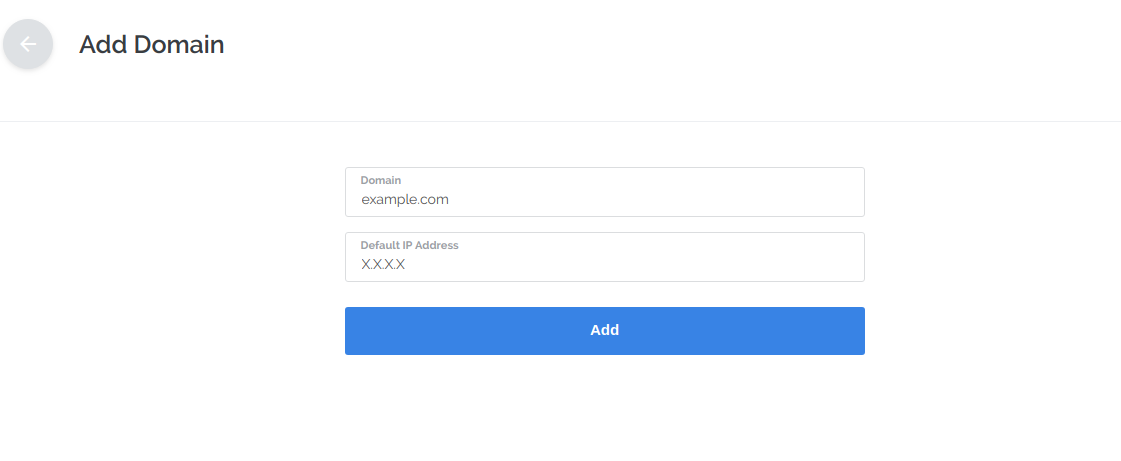
Add Domain to your Server
Click on Servers in Vultr, then choose DNS.
Now click on Add Domain.
Enter your domain name and your server IP address (the server which you created in the first step). Click Add and your domain will be added to your server.
Setting up server
Now we need to SSH into our server and run some commands to install everything required.
Copy your server IP address and open terminal and paste the following in the terminal.
ssh root@X.X.X.X
Replace X.X.X.X with your server Ip address. The password to log in as root is available on your server setting page on Vultr.
If you’re using Windows, you can also use PuTTY to SSH into your server.
1. Add a non-root user
First of all, let’s create a new non-root user. Run the following commands on your server. Make sure to replace omer and Omer Iqbal with your username and Name.
adduser omer --gecos "Omer Iqbal"
usermod -aG sudo omer
su - omer
- The first command will add a user with the username “omer”.
--gecoswill ensure that It won’t ask you further questions like Phone number etc. - The second command will give your new user superuser privileges
- The third command will log you in as your new user
2. Update and Upgrade your server
Run the following command in your server
sudo apt-get update && sudo apt-get upgrade -y
3. Install build-essential package
Run the following command to install build-essential package. It contains references to many tools like gcc compiler etc. which are needed by some npm packages.
sudo apt-get install build-essential -y
4. Install MySQL and Nginx
Next, we’re going to install MySQL and Nginx on our server.
For installing MySQL, run
sudo apt-get install mysql-server -y
While installing, It’ll ask you for the root password. Enter a strong password and remember It. We’ll need it while installing Ghost itself.
For installing Nginx, run
sudo apt-get install nginx -y
5. Install Node.js and NPM
Ghost official server requirements recommend
>=6.9 <7.* (Node v6 boron LTS).Although node version
>=8.9 (Node v8 carbon LTS) is also supported.Click here to check out Node supported versions by Ghost.
We’re going to install the recommended one. Run the following command
curl -sL https://deb.nodesource.com/setup_6.x | sudo -E bash -
and then
sudo apt-get install nodejs -y
Now we’ve successfully installed Node.js and NPM.
6. Installing Ghost-CLI
We’ll be using ghost-cli to install ghost on our server. It is the official program and configures everything for us.
Install ghost-cli using NPM.
sudo npm install ghost-cli@latest -g
This will install the latest ghost-cli globally (-g).
We’ll place ghost in the recommended installation location. Run the following command to make a new directory
sudo mkdir -p /var/www/ghost
Change the directory’s ownership to your user by running
sudo chown omer:omer /var/www/ghost
Make sure to replace omer with your own username.
Run the following command to give your full permissions to your user and read/execute for everyone else.
sudo chmod 775 /var/www/ghost
7. Installing Ghost
Now we’re at the final step of installing ghost. Navigate to
/var/www/ghost by runningcd /var/www/ghost
and run
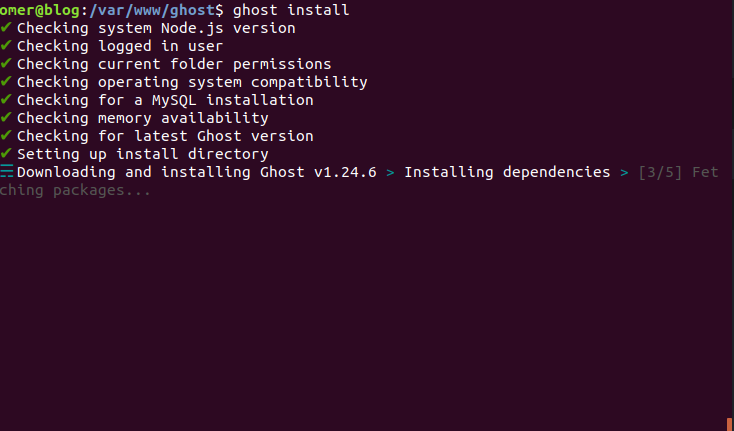
ghost install
It’ll start to download and install Ghost for us.
After that, It’ll start asking us some questions. Answer them according to your needs.
? Enter your blog URL: https://example.com? Enter your MySQL hostname: localhost? Enter your MySQL username: root? Enter your MySQL password: [hidden]? Enter your Ghost database name: ghostdb? Do you wish to set up "ghost" mysql user? Yes? Do you wish to set up Nginx? Yes? Do you wish to set up SSL? Yes? Enter your email (used for Let's Encrypt notifications) youremail@example.com? Do you wish to set up Systemd? Yes? Do you want to start Ghost? Yes
Some important things to consider regarding the above questions:
- Enter your domain which you want to use with ghost instead of
example.com - Keep MySQL hostname to
localhostand username toroot - Type the password for MySQL root user which you created while installing MySQL
- You can enter anything in the database name, I use
ghostdb - It is up to you whether you want to set up SSL or not. It is recommended and I’ve set It up.
Systemdmakes sure that Ghost will start running on boot
Ghost is now installed and running.
Visit
https://example.com/ghost to configure your user and start using your new blog.