


Ubuntu is a free, open-source Linux distribution based on Debian. Different derivatives which are also known as Ubuntu flavours are available for Ubuntu. All of the flavours are focused towards their own sector, from education to multimedia editing etc. Each flavour comes with default software and packages which are related to that area. One of the flavours of Ubuntu is Ubuntu Mate.
Ubuntu Mate is an official derivative of Ubuntu which uses Mate desktop environment instead of GNOME (used in regular Ubuntu). Ubuntu Mate is a stable and easy to use OS which is more focused towards older computers. It can make your old computers which are too slow for new operating systems, reusable.
In this post, we’ll be showing you how to install Ubuntu Mate on Raspberry Pi. If you haven’t heard of Raspberry Pi’s, have a look at What is Raspberry Pi? Specs and Components
We’re using Raspberry Pi 3 B+ for this tutorial. It works on both the Raspberry Pi 2 & 3.
Things Required
Hardware
- Raspberry Pi 2/3
- SD Card and SD Card Reader/Writer
- Keyboard and Mouse
- Monitor to attach your Raspberry Pi to
Software
- Ubuntu Mate (for raspberry pi)
- Etcher
Step 1: Download Required Stuff
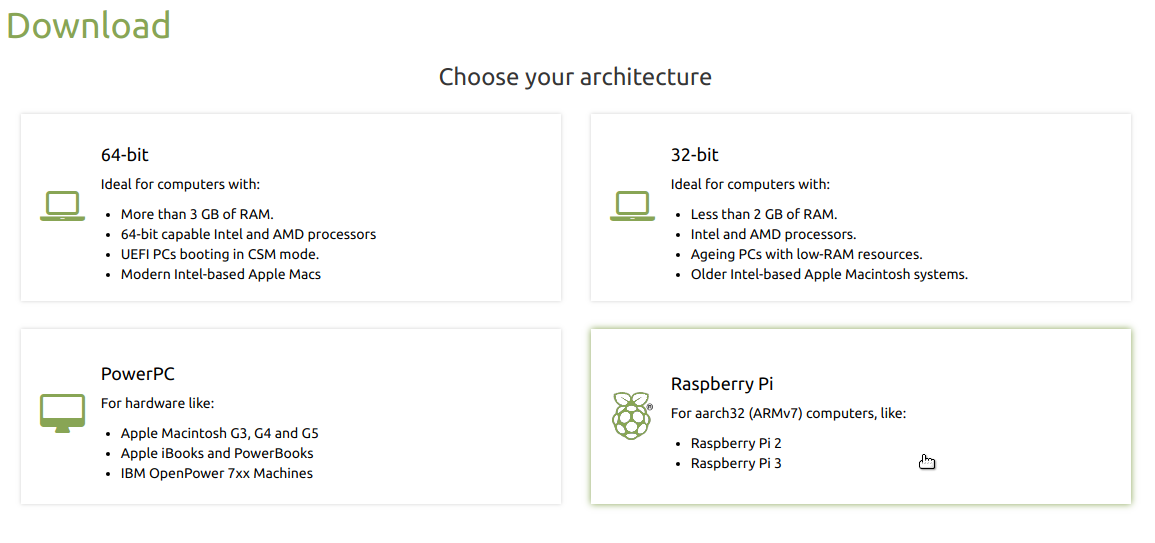
Visit https://ubuntu-mate.org/download/ to download the latest Ubuntu Mate for Raspberry Pi.
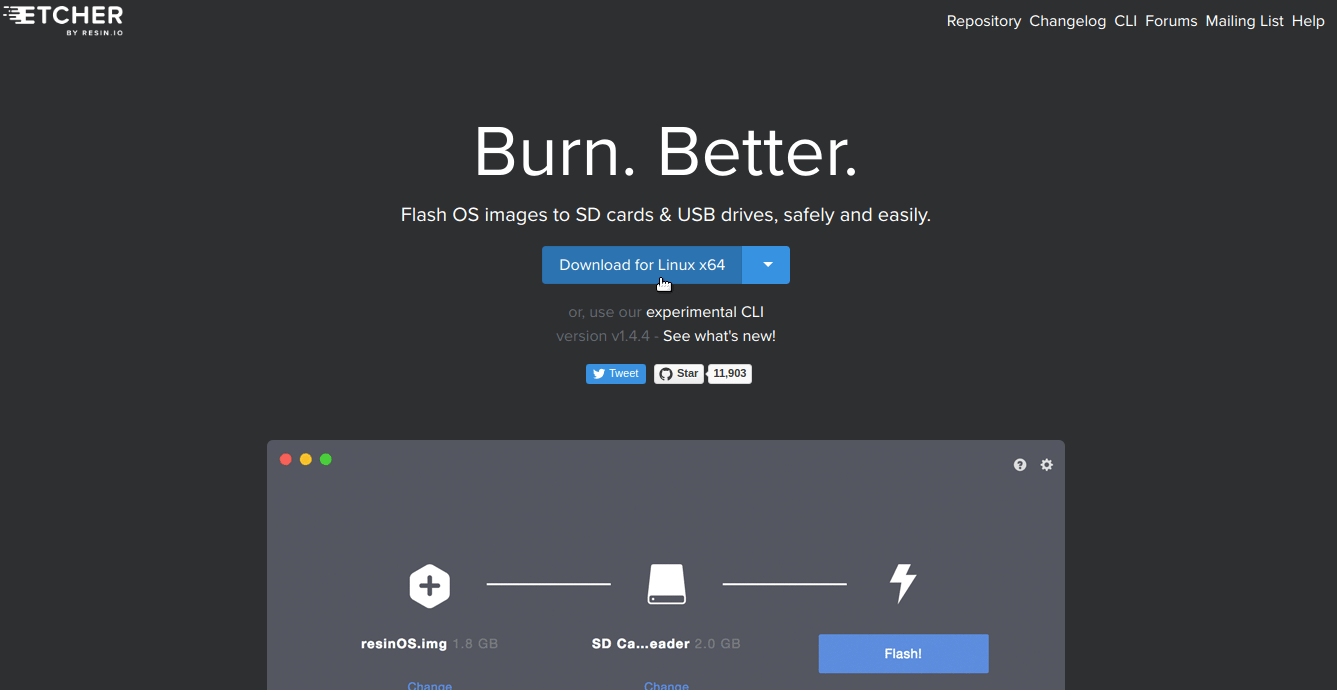
Now visit https://etcher.io to download Etcher. Etcher is a free software used for burning images to SD Cards and Flash drives. It works on Windows, macOS and Linux operating system.
Step 2: Prepare SD Card
The next step is to prepare your SD card.
Plugin your SD Card into SD Card Reader/Writer and attach It to your computer.
Now open up Etcher, choose the Ubuntu Mate image which you’ve downloaded in step 1. Then choose the SD Card and click the Flash button.
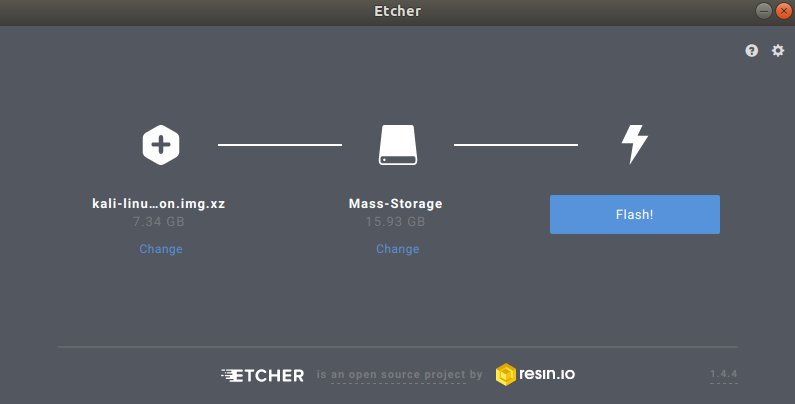
It’ll take a couple of minutes to complete the process.
Step 3: Power On Raspberry Pi
Plug in the SD card into your Raspberry Pi. Attach a Keyboard/Mouse to It. Connect it to your monitor via the HDMI port and power It on.
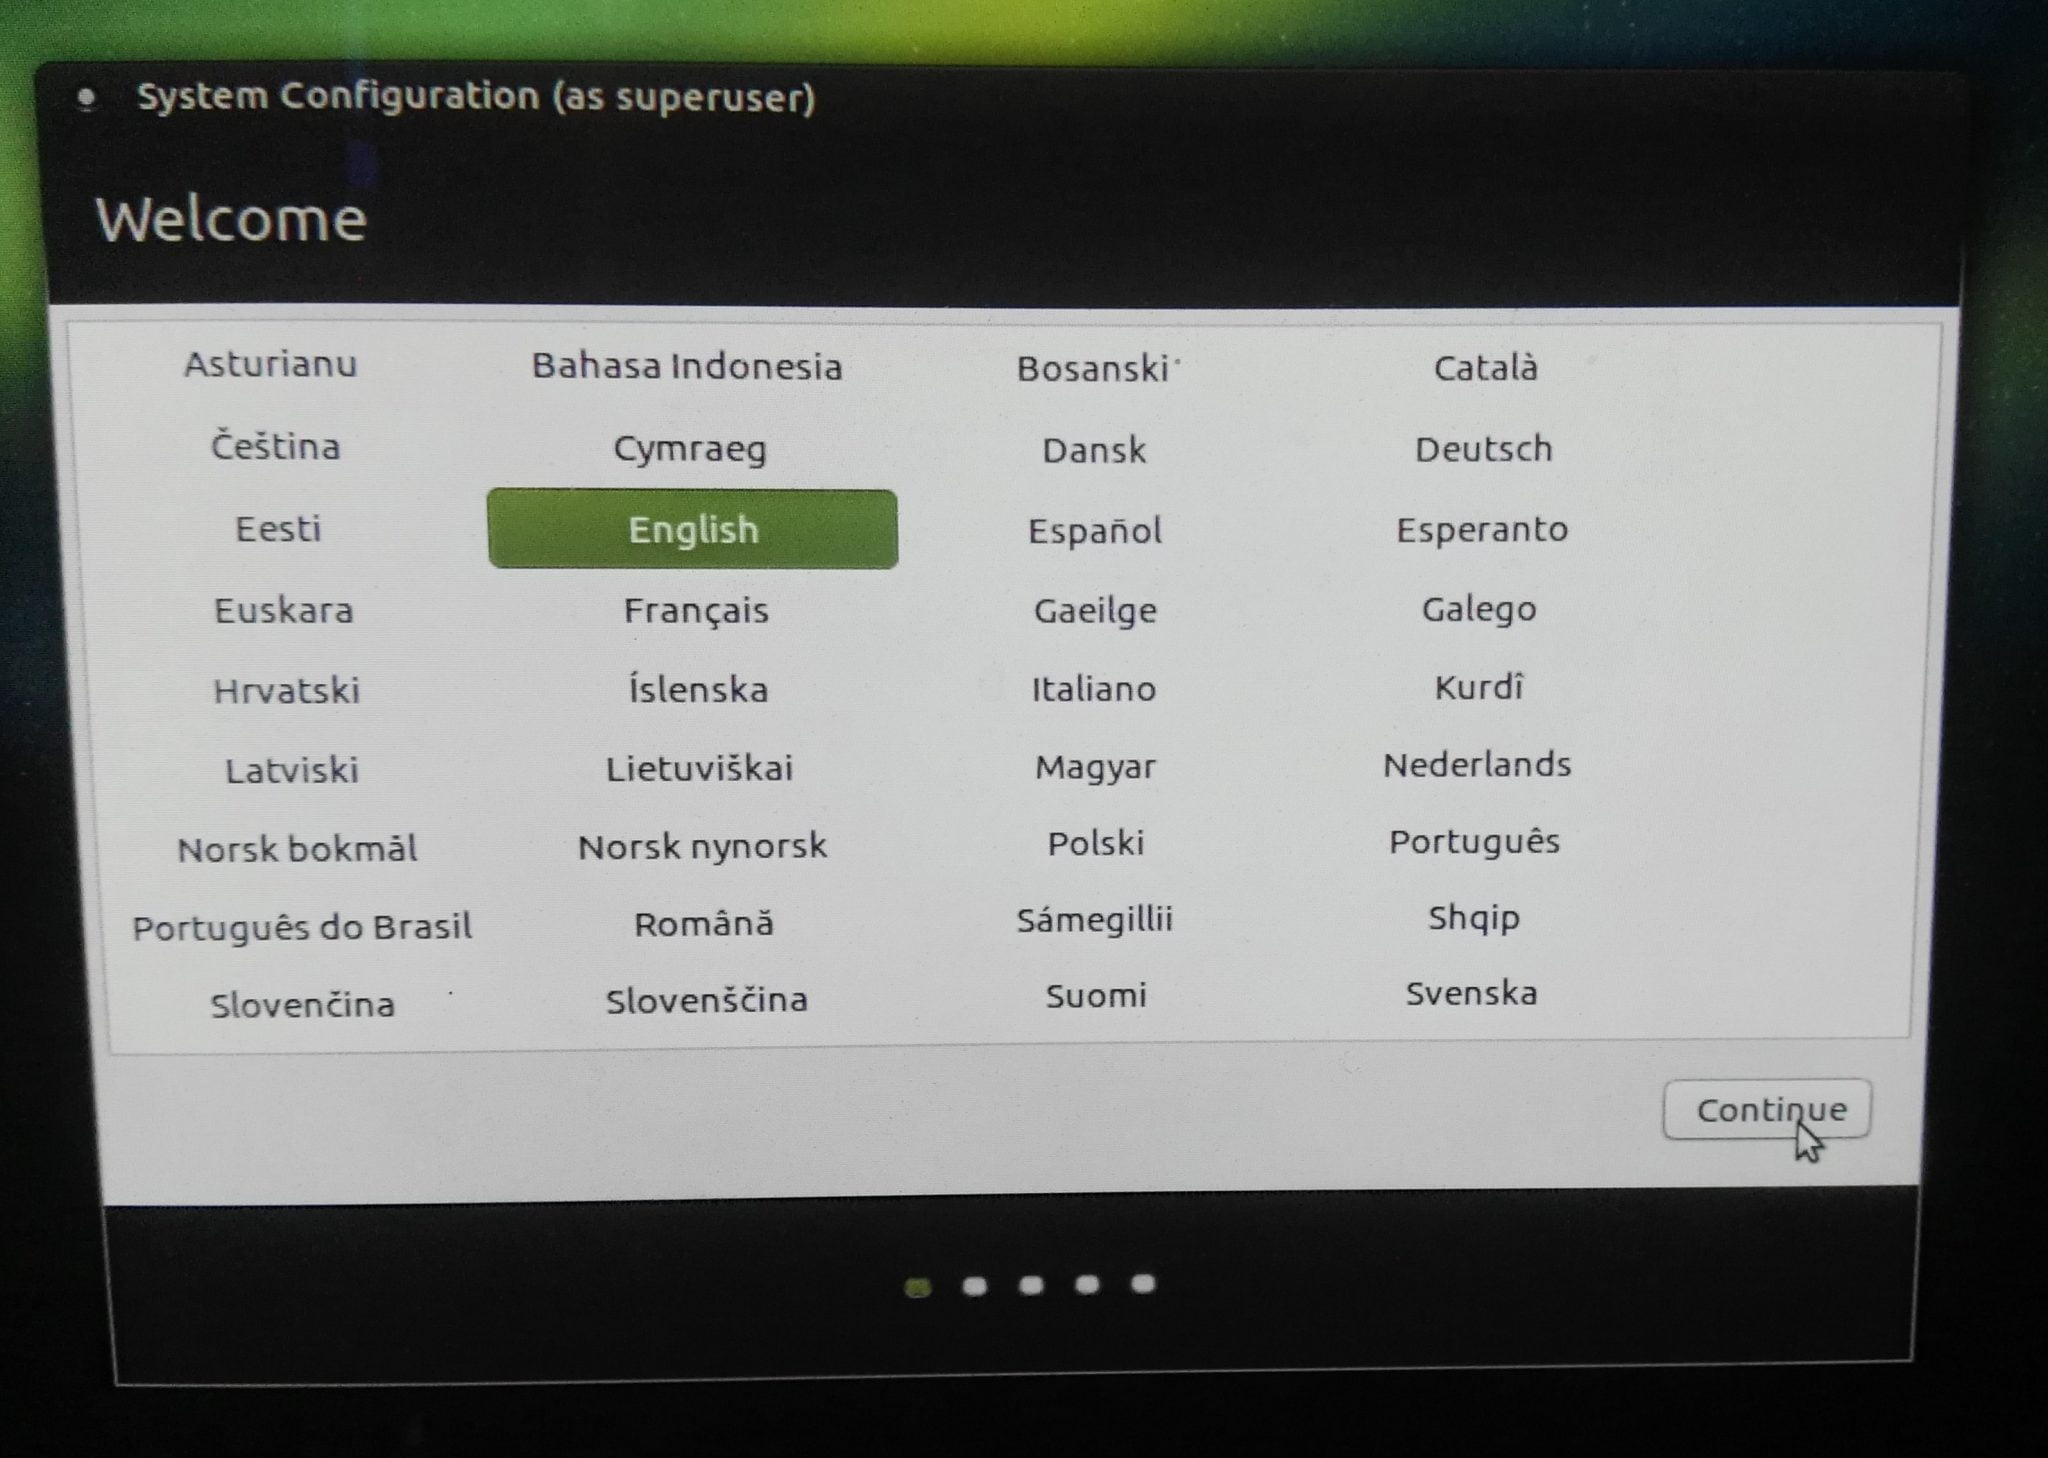
You’ll be booted into Ubuntu Mate automatically. Then you’ll be presented with the installer.
Step 4: Install Ubuntu Mate
Select your language and click Continue.
After that, you’ll be asked to connect to your WiFi. Choose “I don’t want to connect to a wi-fi network right now“.
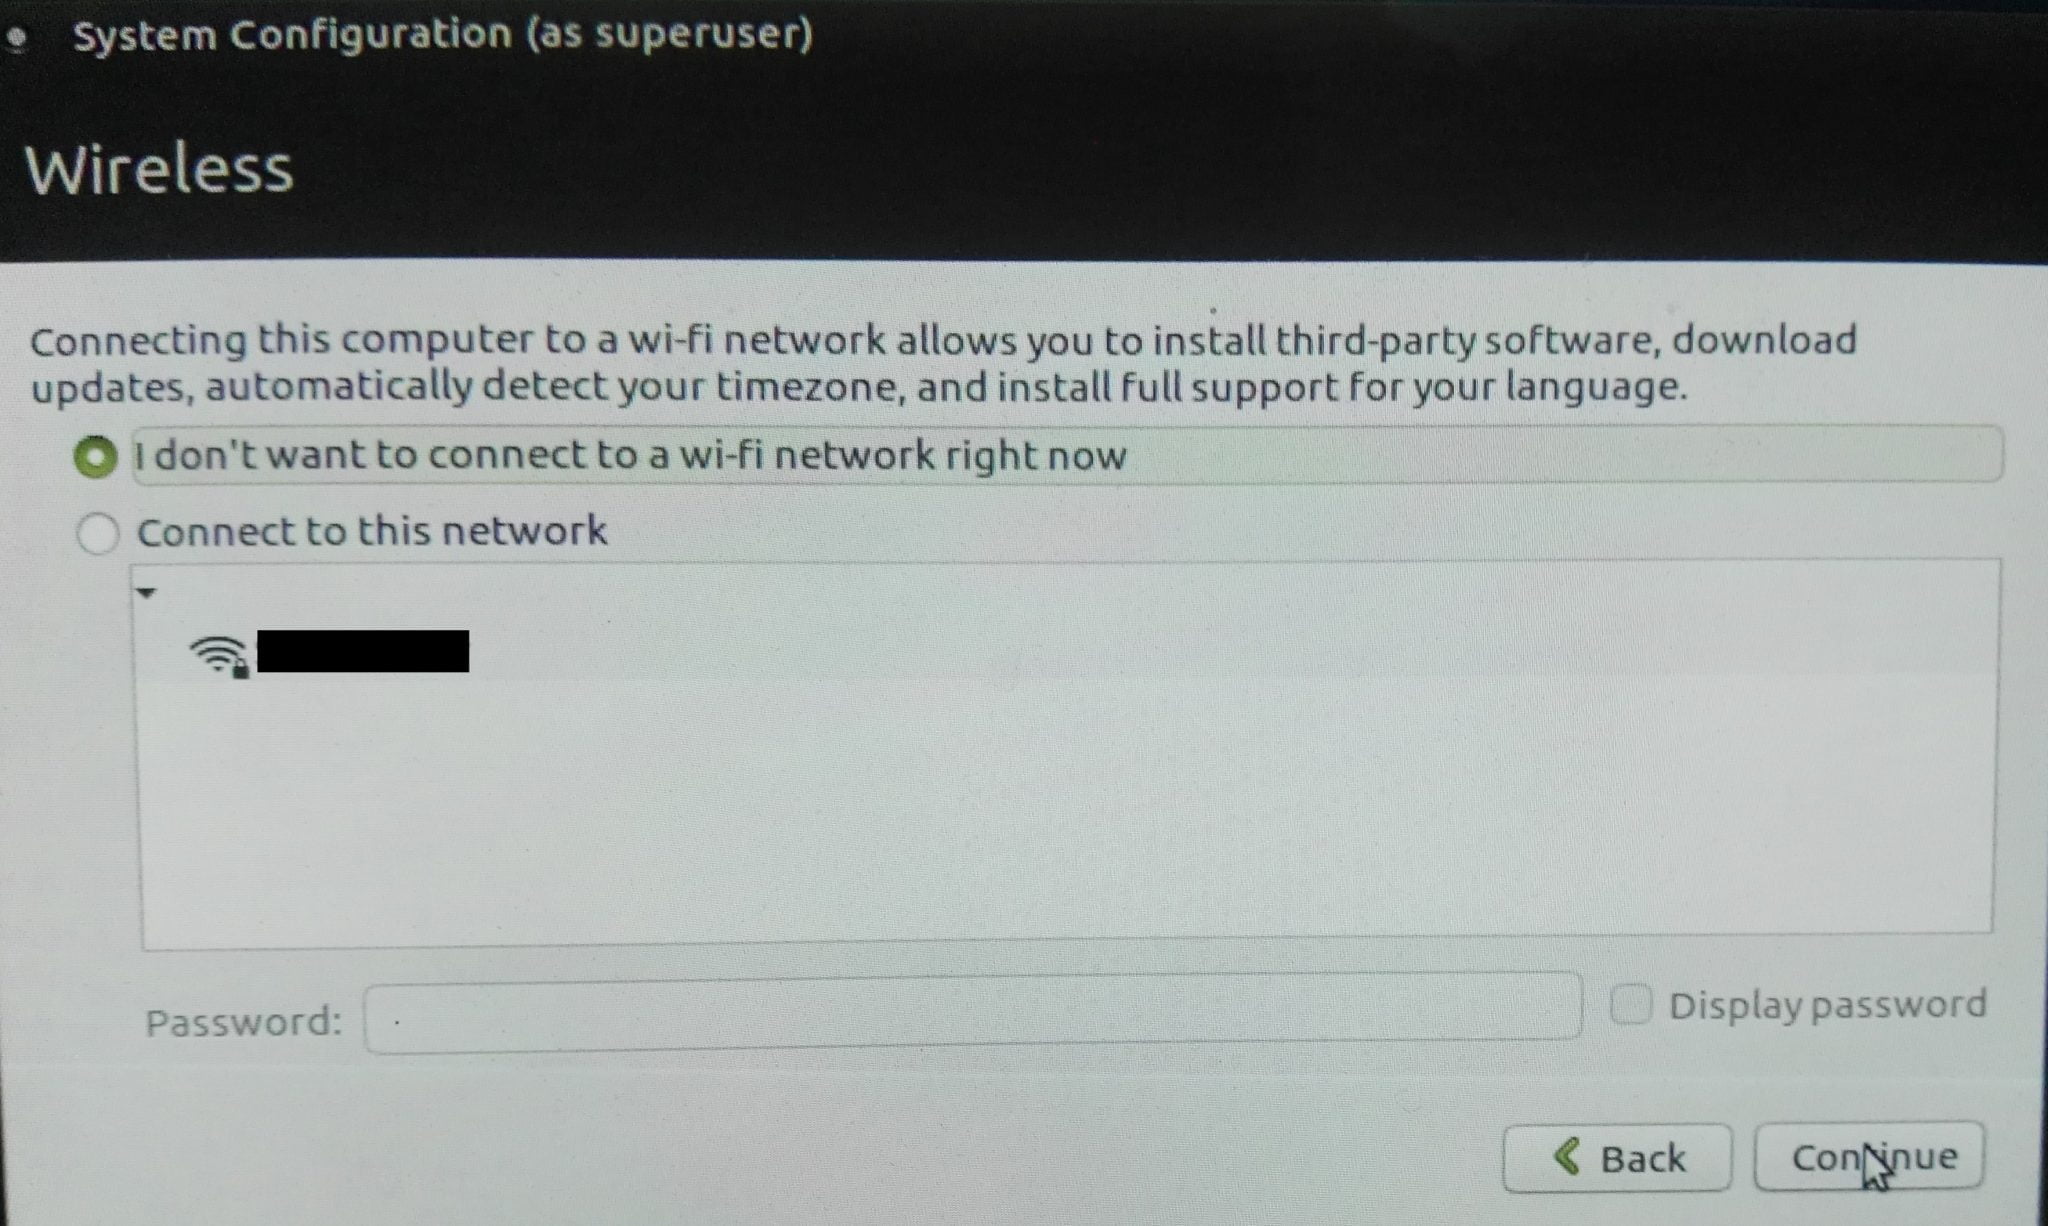
We’ll connect to our WiFi later in this tutorial.
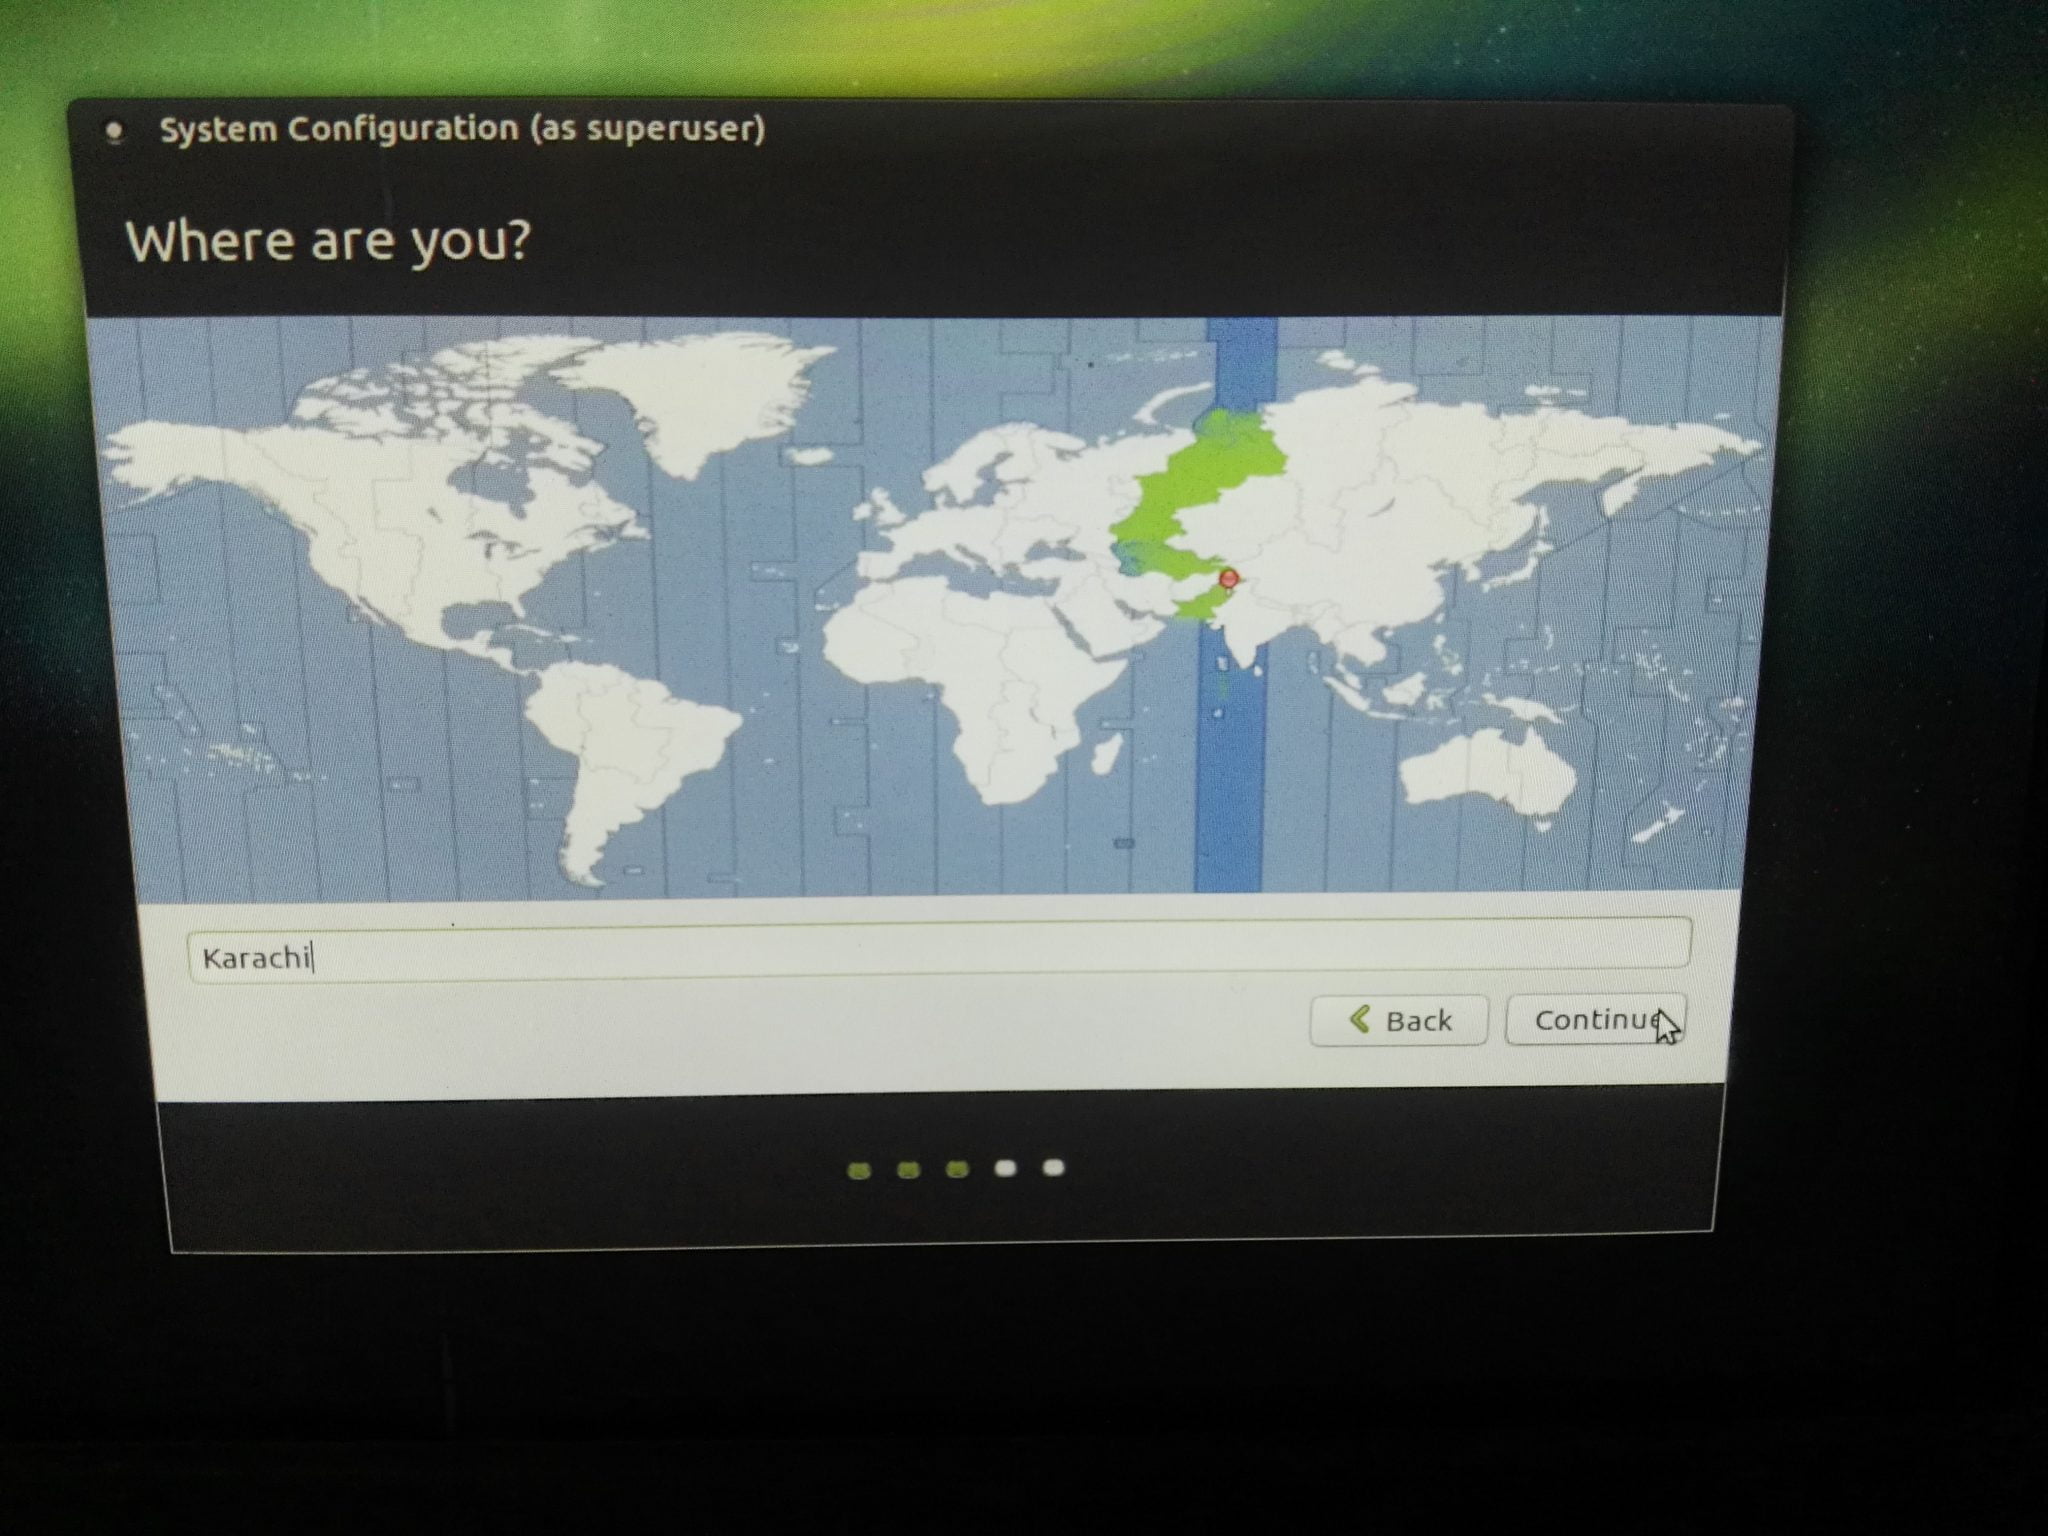
Now choose your location and hit Continue.
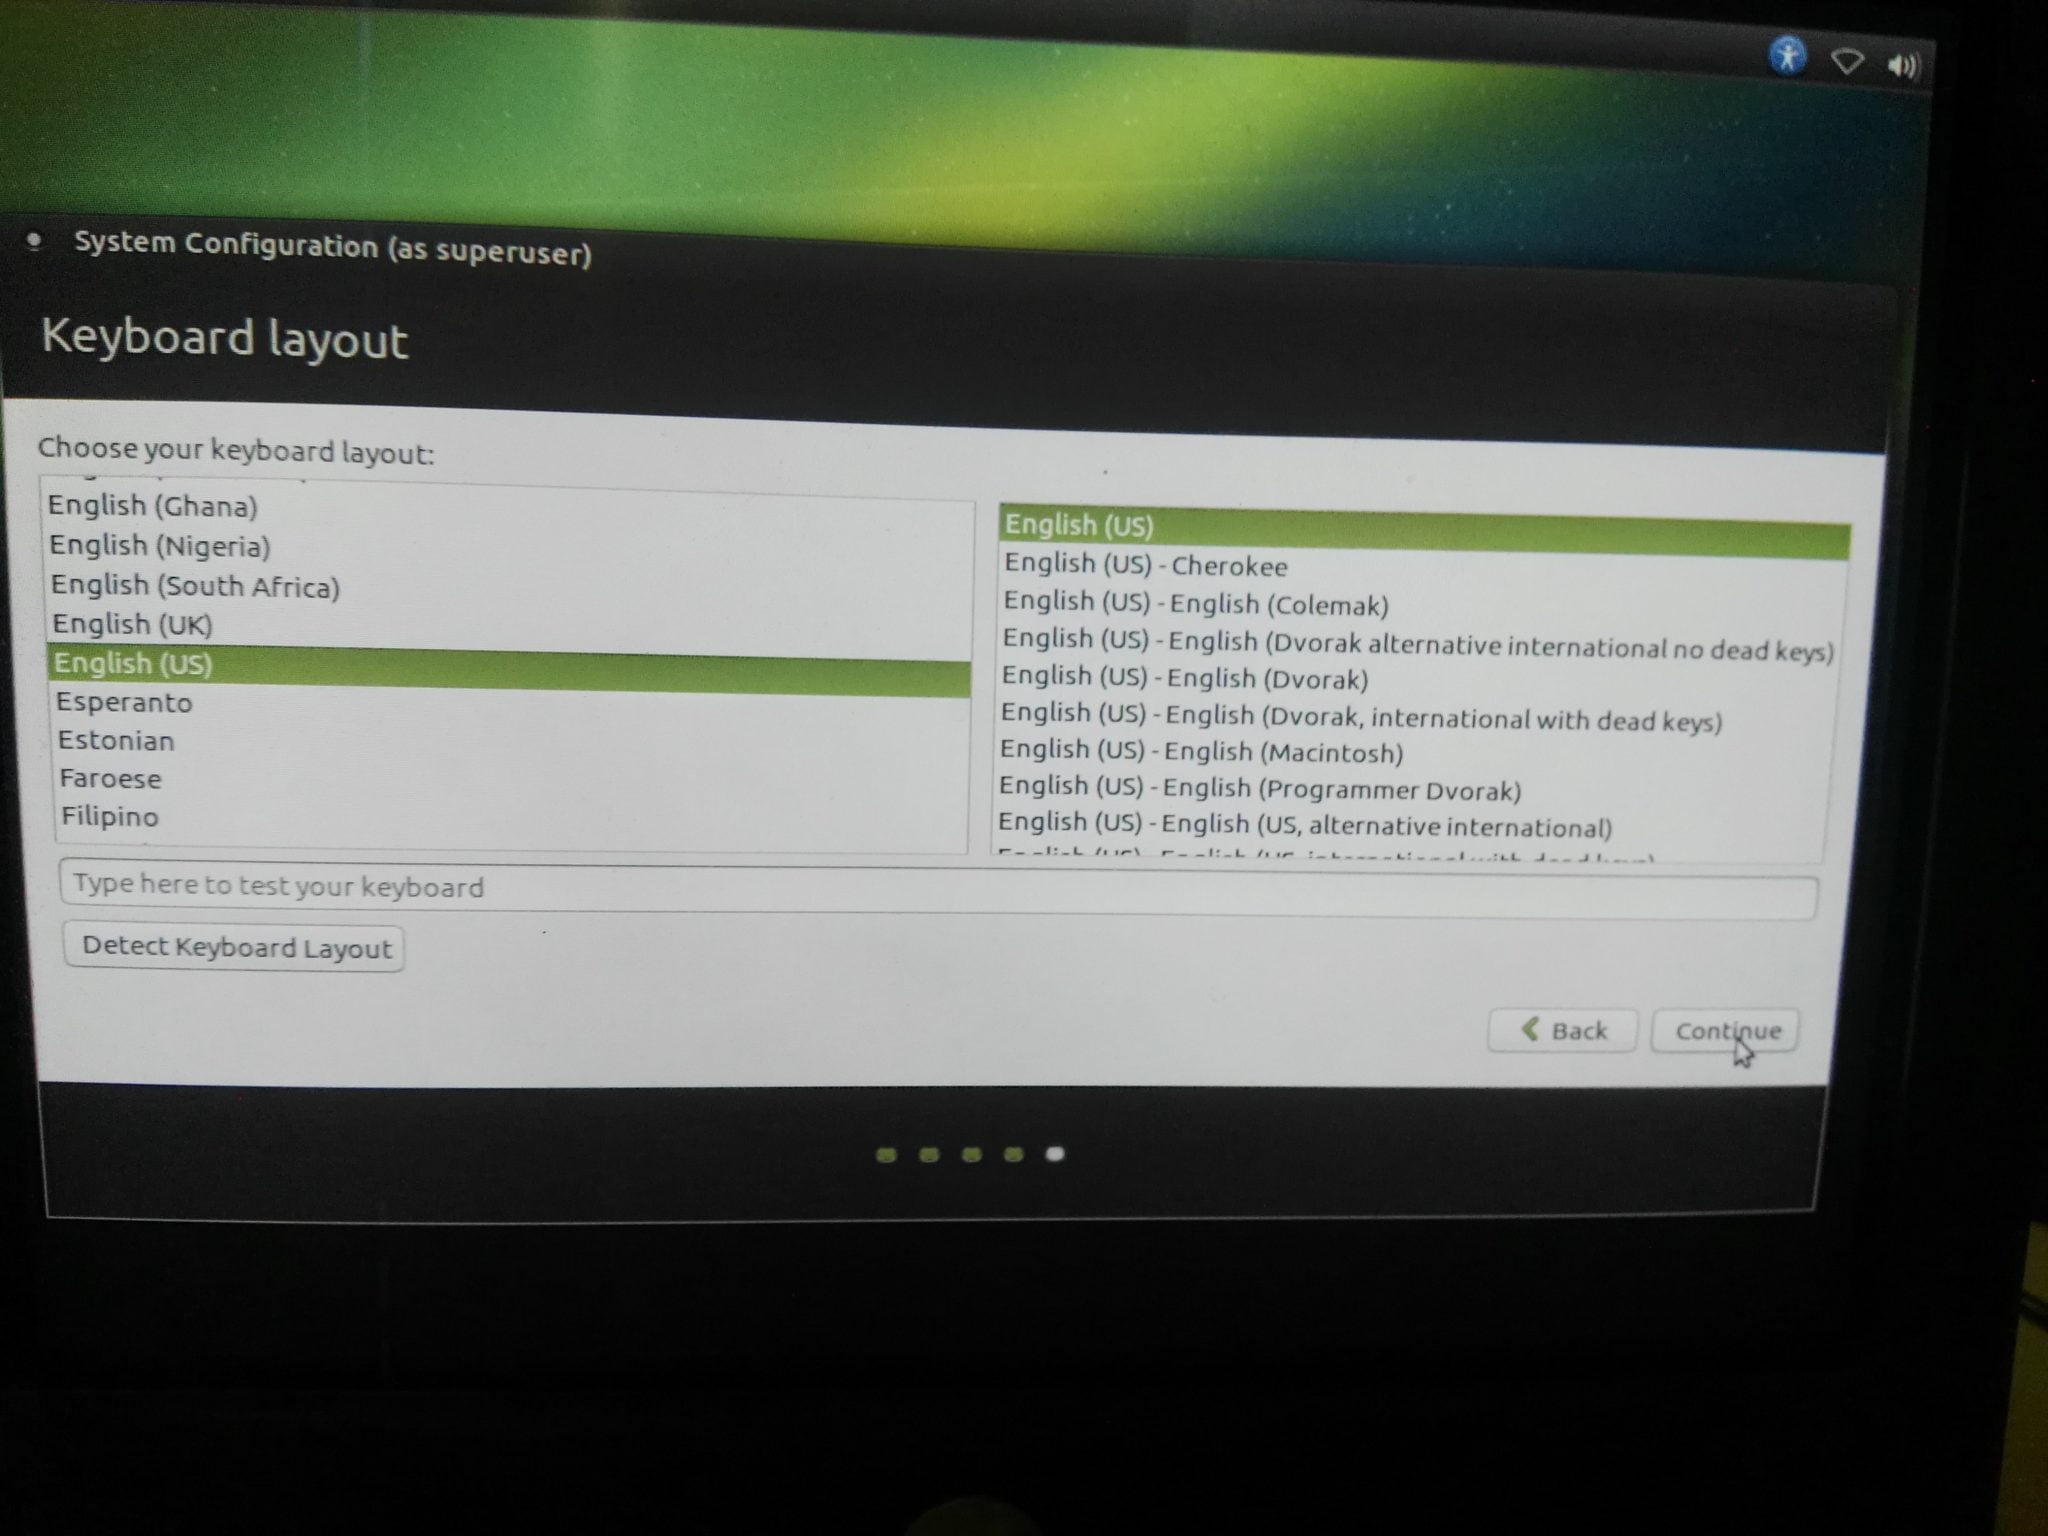
Choose your keyboard layout and click Continue.
Now It’ll ask you for your Name, PC name, password etc. Enter the required information and hit Continue.

Now It’ll start installing Ubuntu Mate on your Raspberry Pi 3. It will take a couple of minutes before completing.
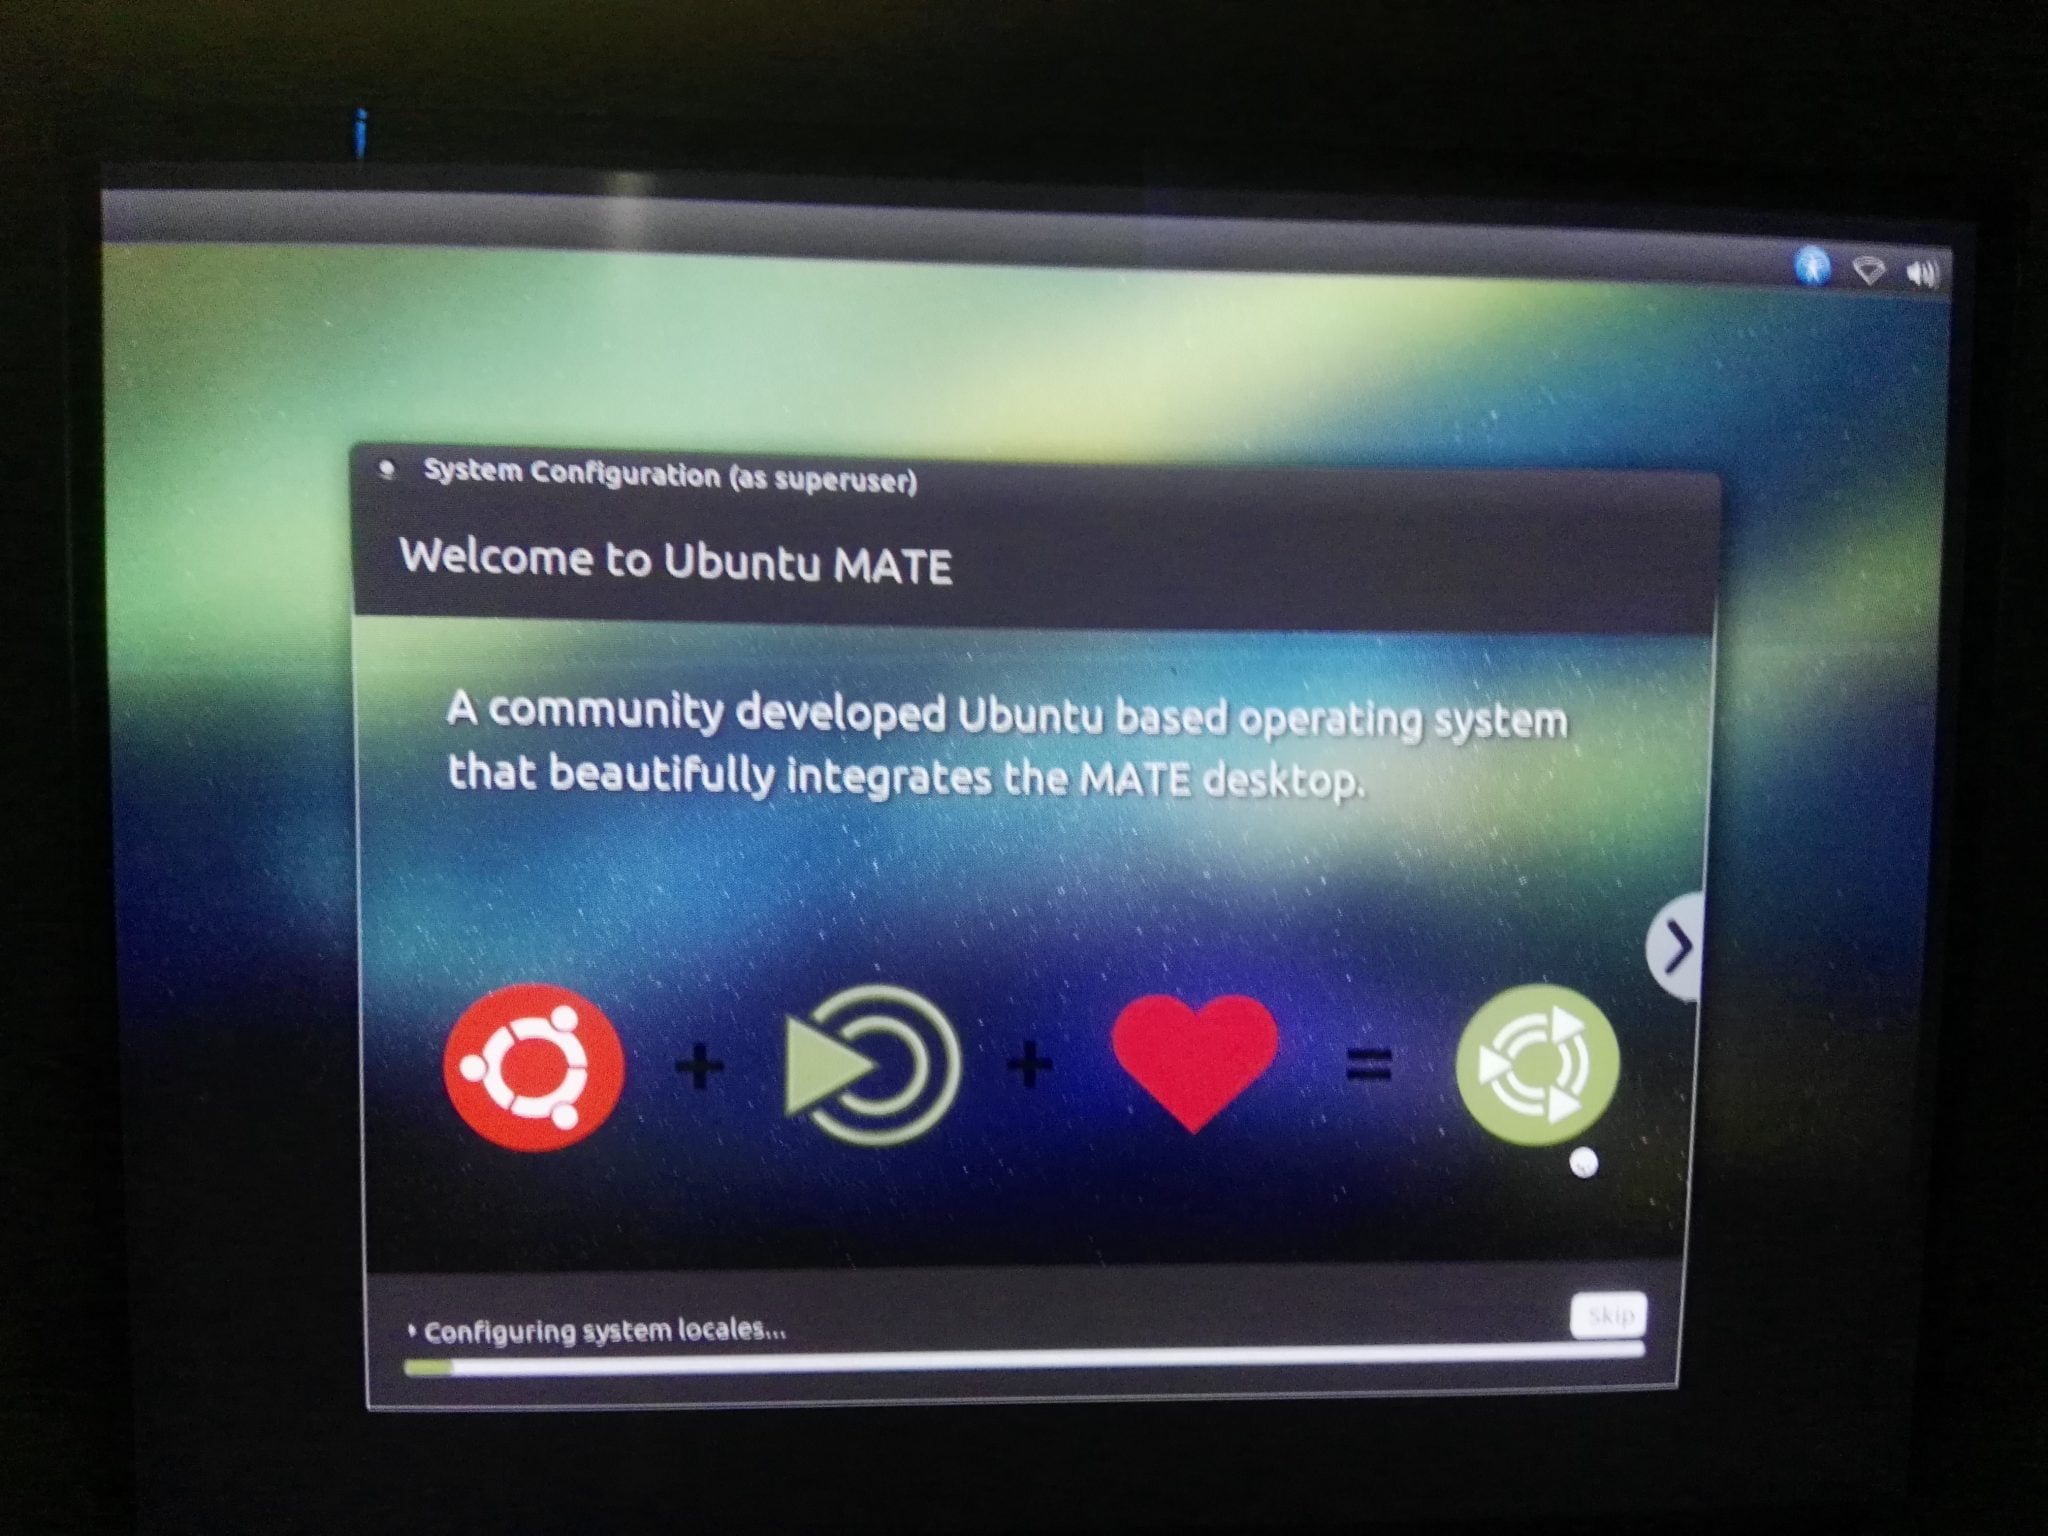
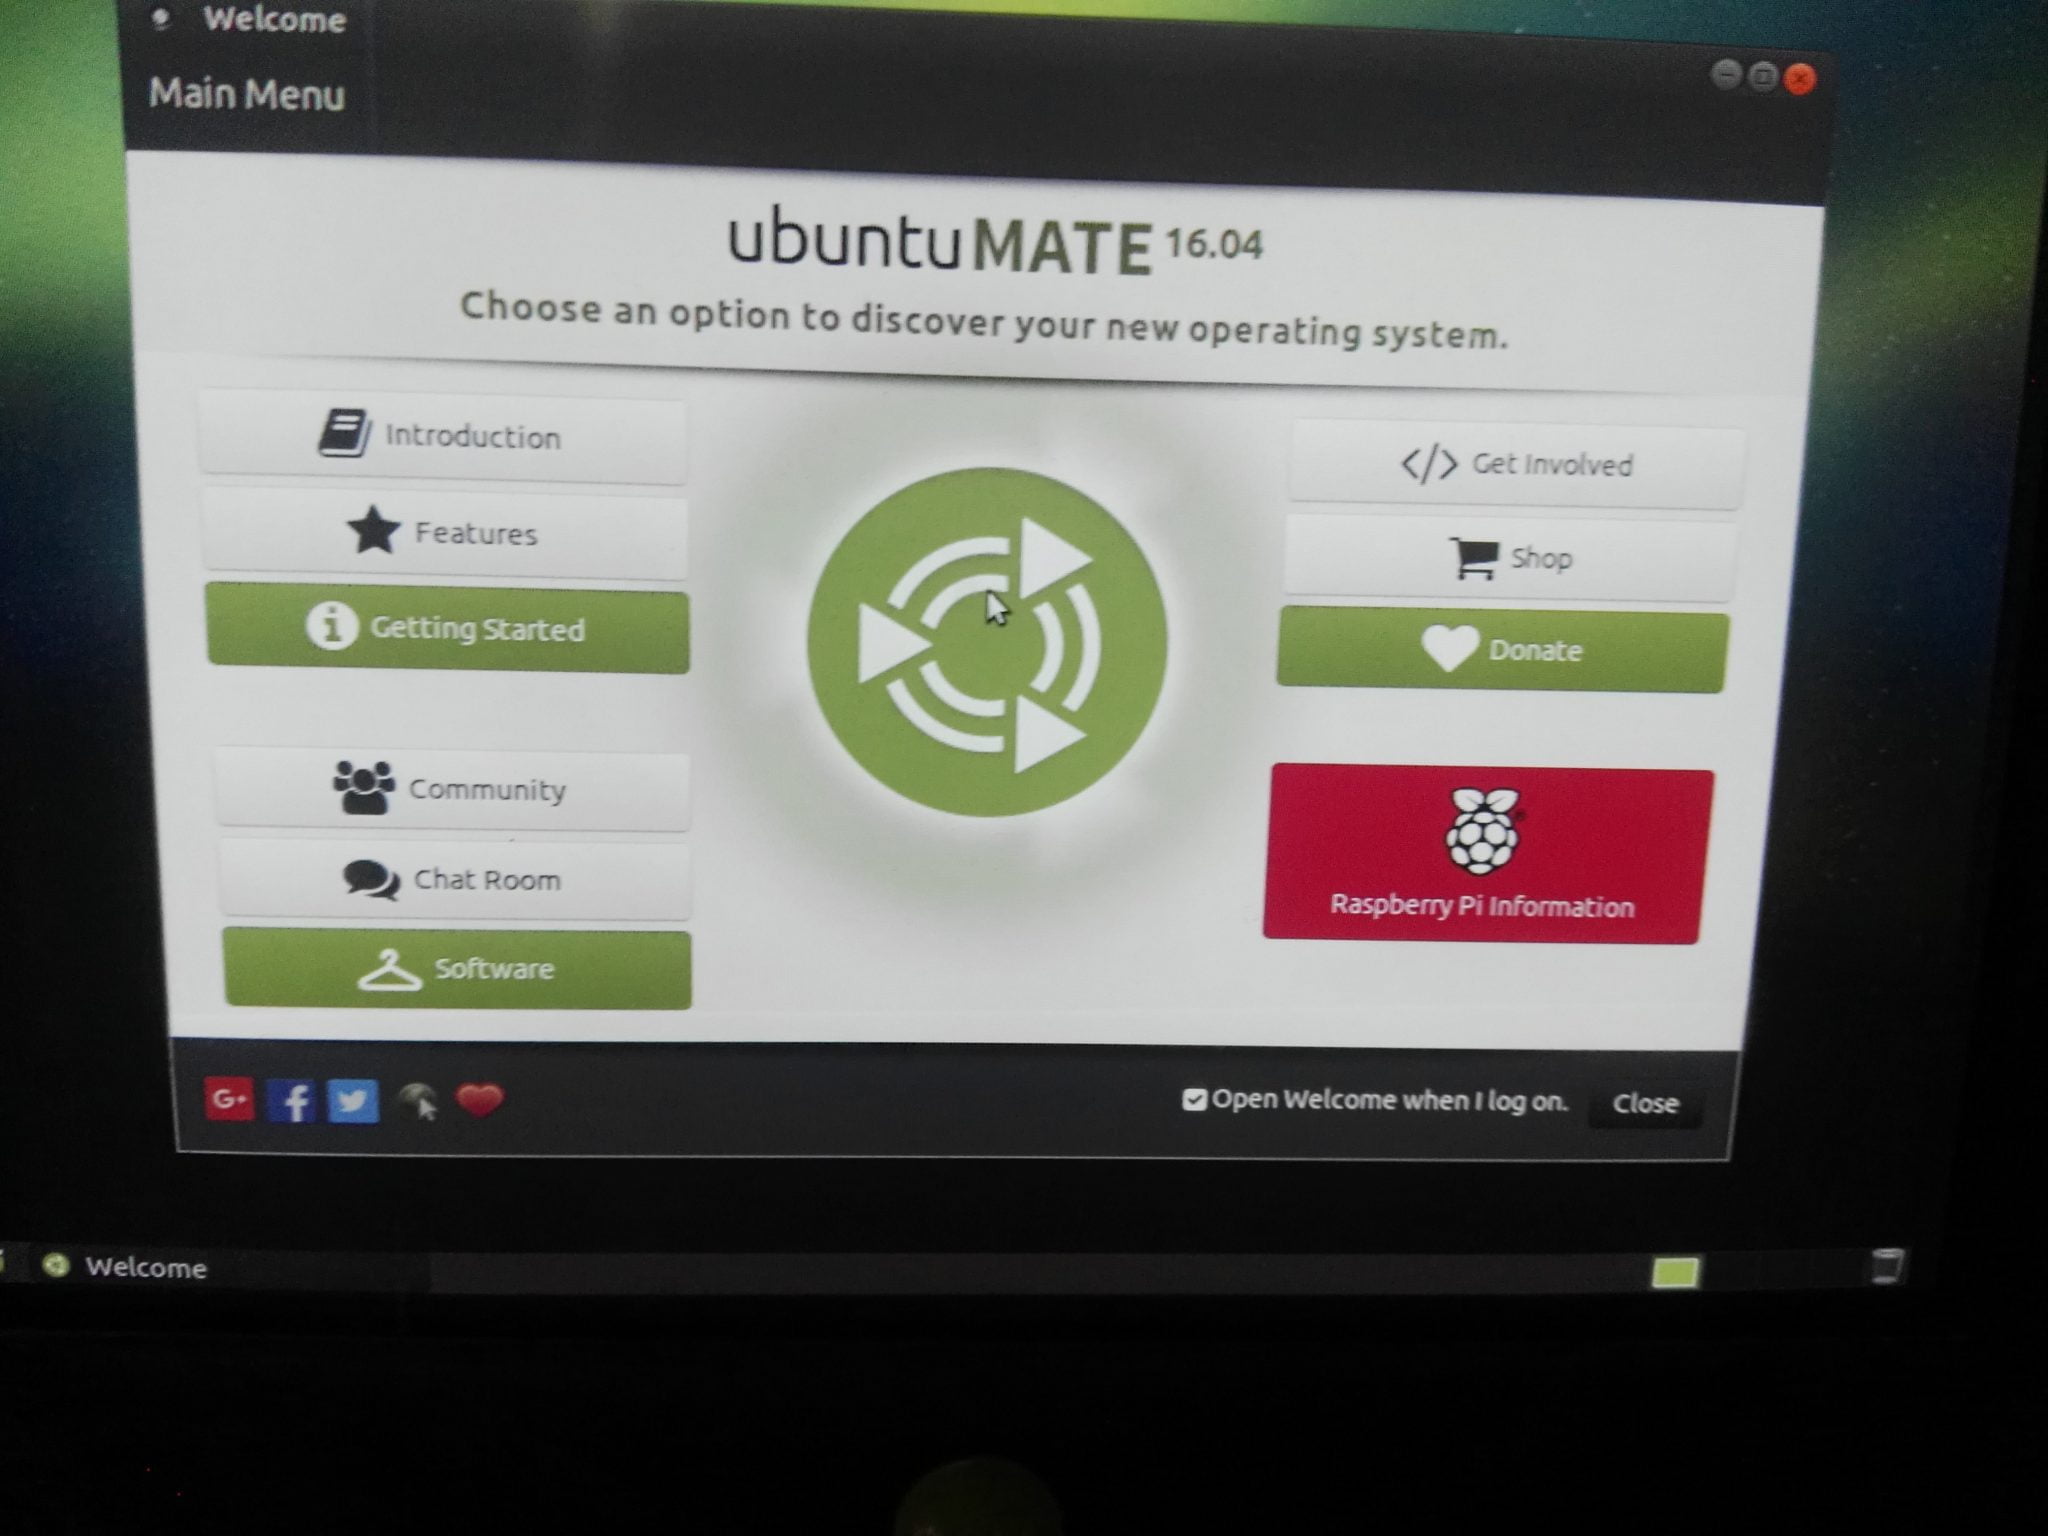
When the installation is finished, the following window would appear.
Step 5: Enabling Wi-Fi
The reason we kept the Wireless option to “I don’t want to connect to a wi-fi network right now” is because Wi-Fi won’t work unless you restart your Raspberry Pi.
So go ahead and restart your Raspberry Pi.
After restarting, you’ll be able to connect to your Wi-Fi network without any problem.
Just select your network, enter the password and you’re good to go.

Step 6: Enabling SSH
Your installation is complete and you can start using Raspberry Pi as a normal computer. The only thing you won’t be able to do is SSH. SSH is disabled by default. To enable SSH, open up terminal and type.
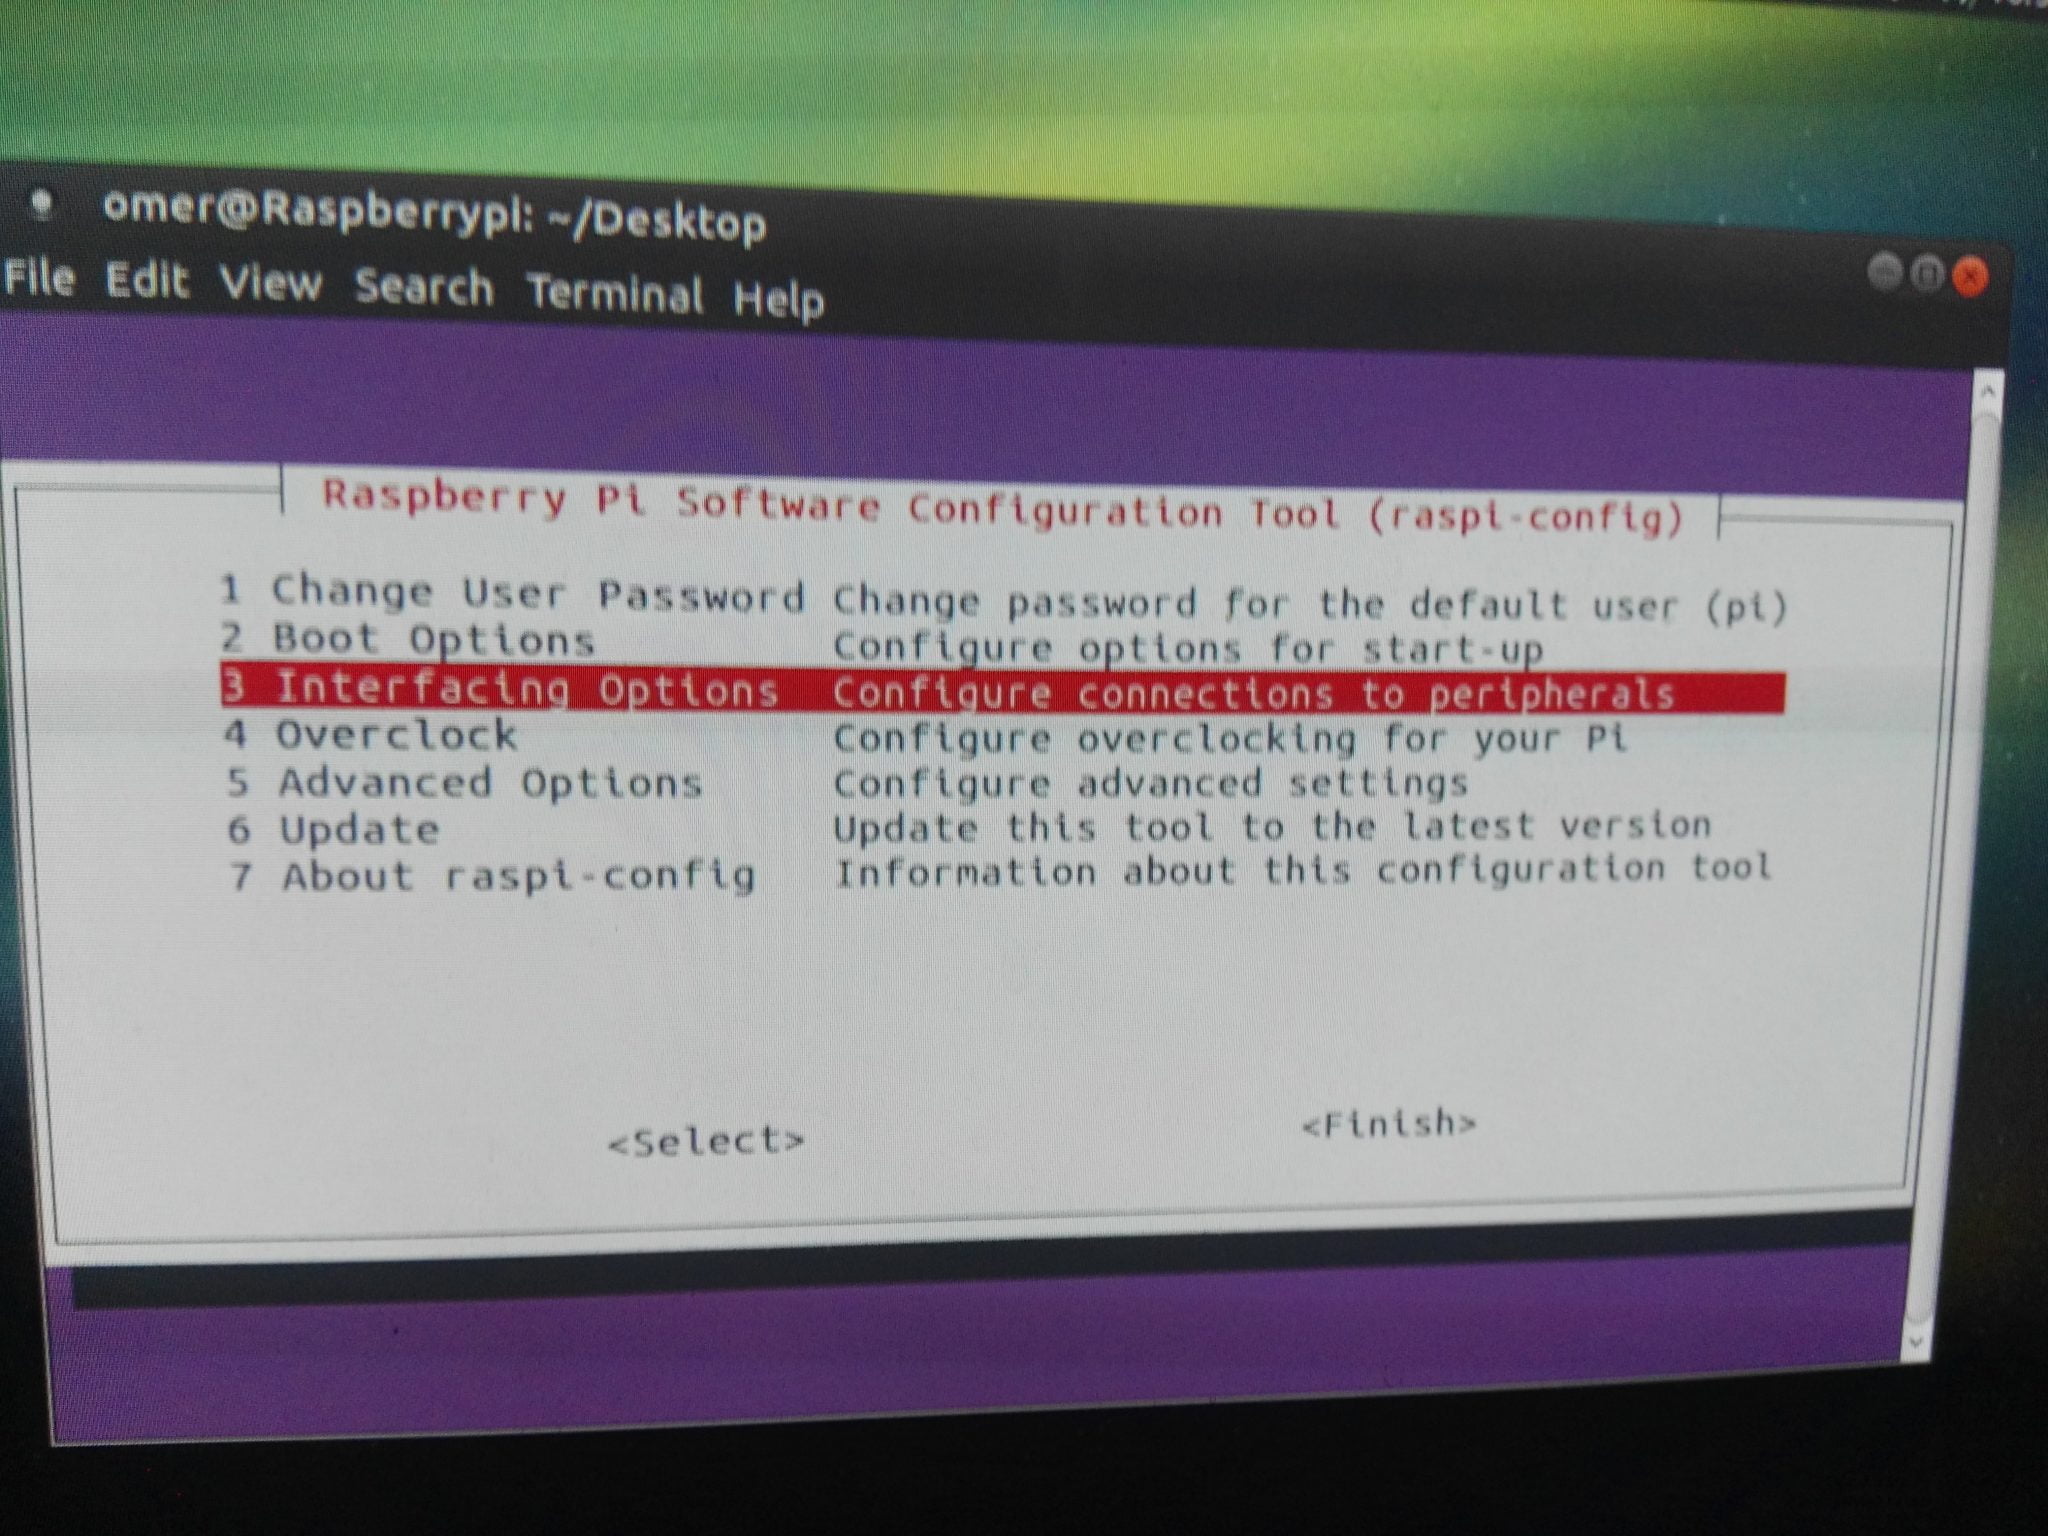
sudo raspi-configYou’ll be presented with a couple of options. Select the Interfacing Options and hit Enter.
Then go into SSH.
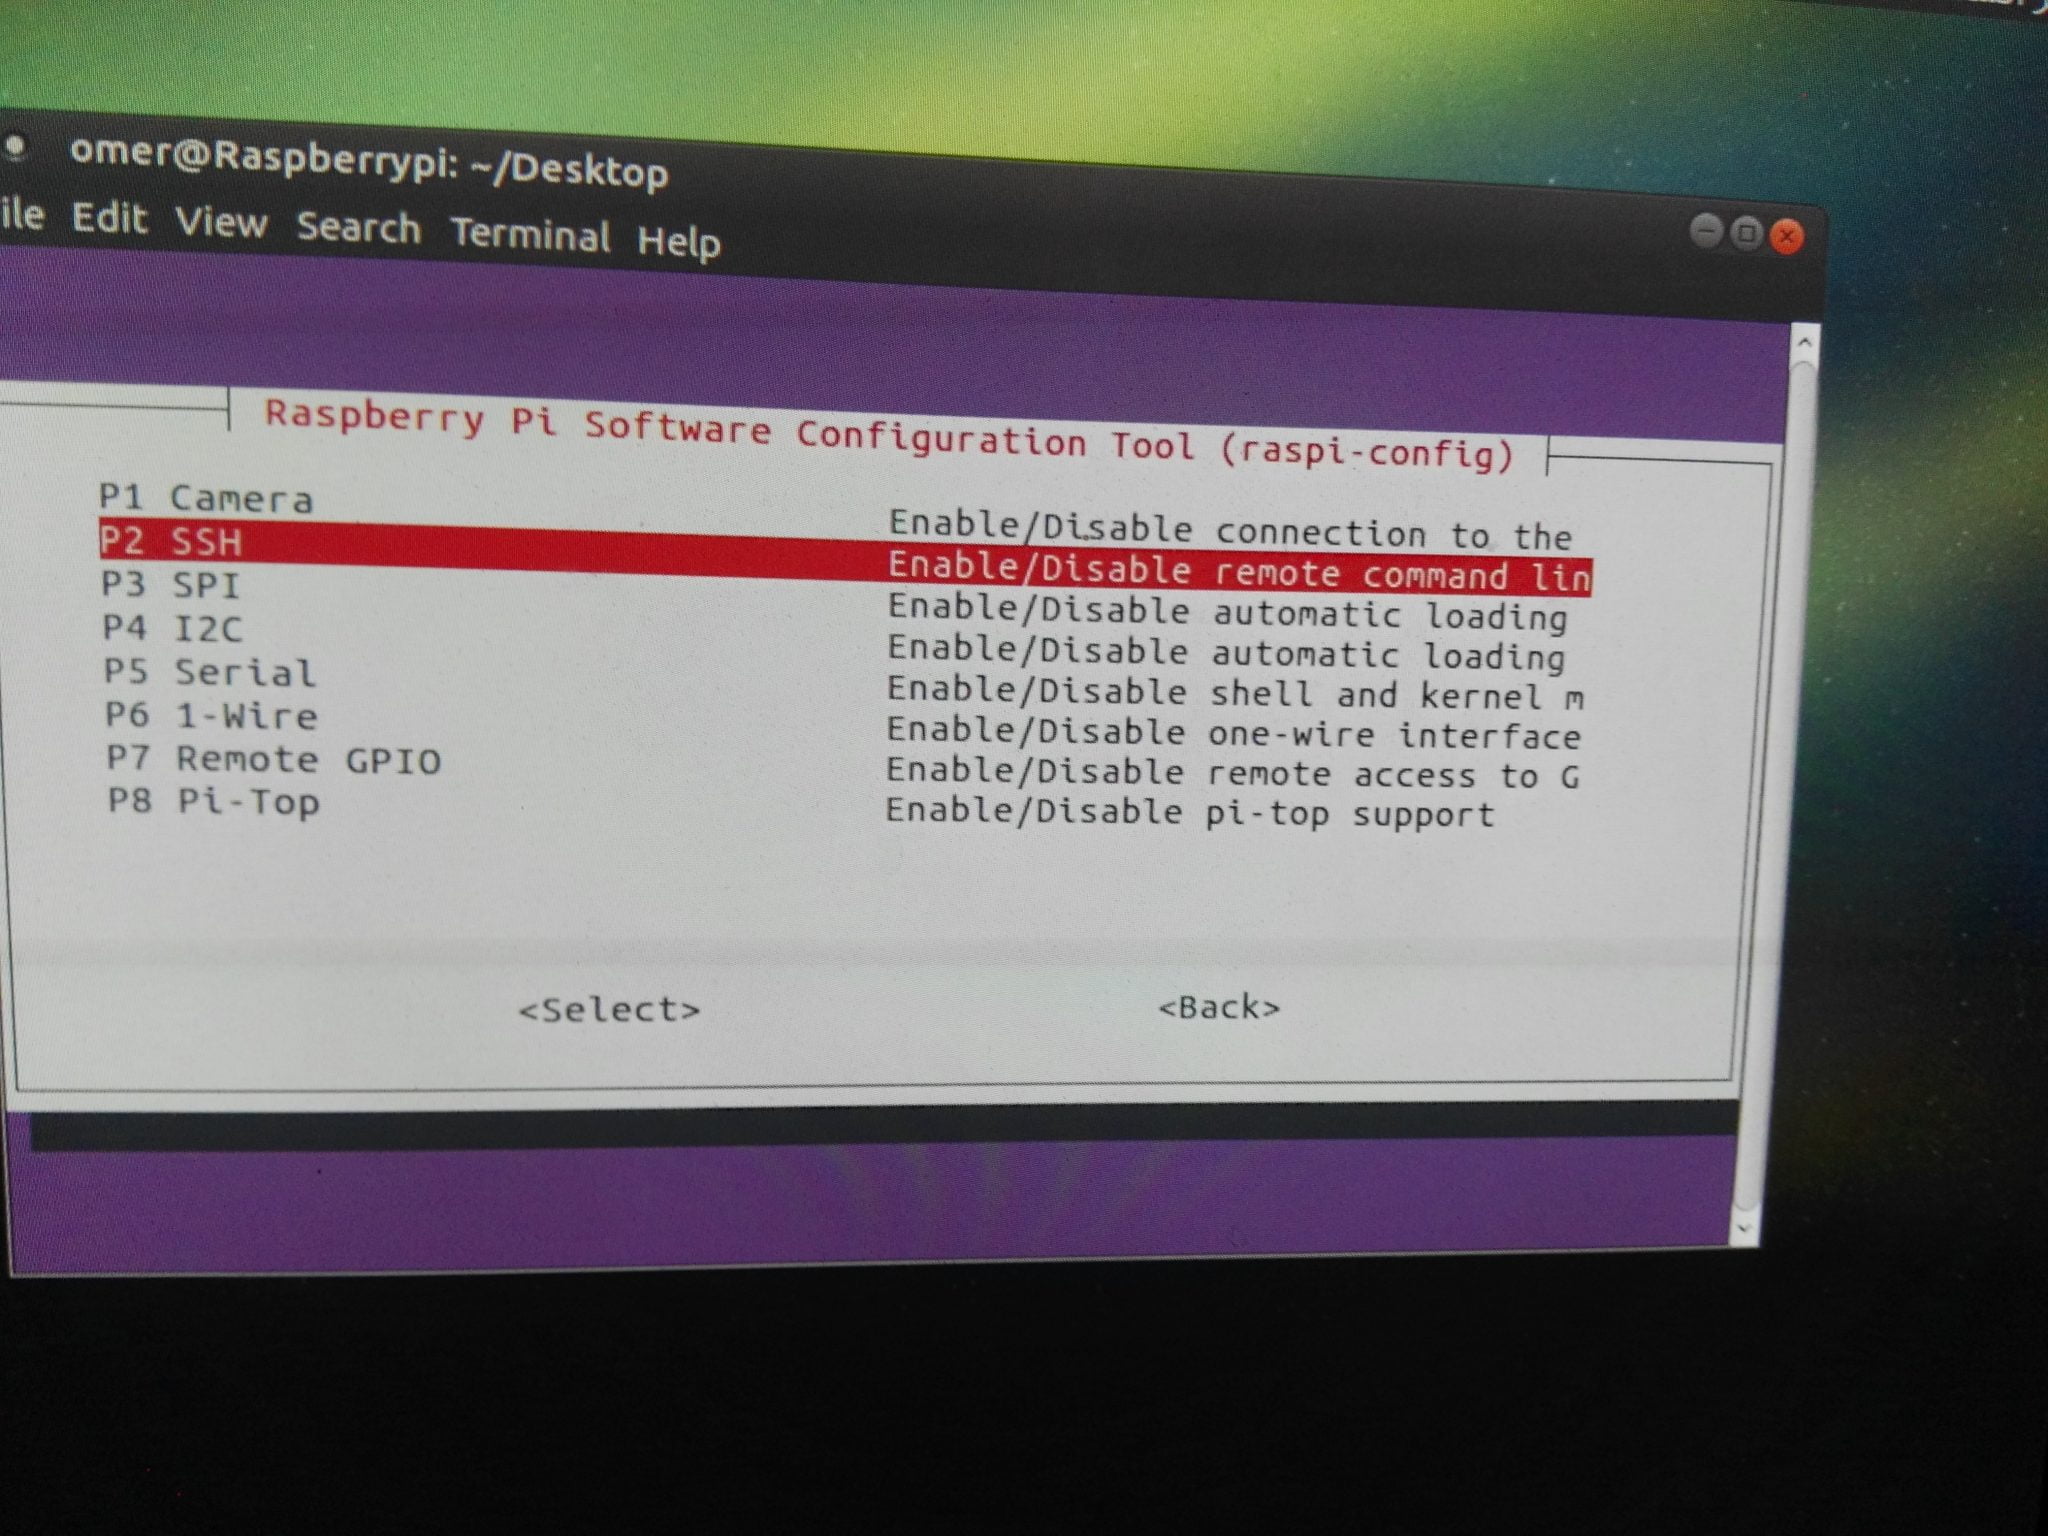
and enable it.
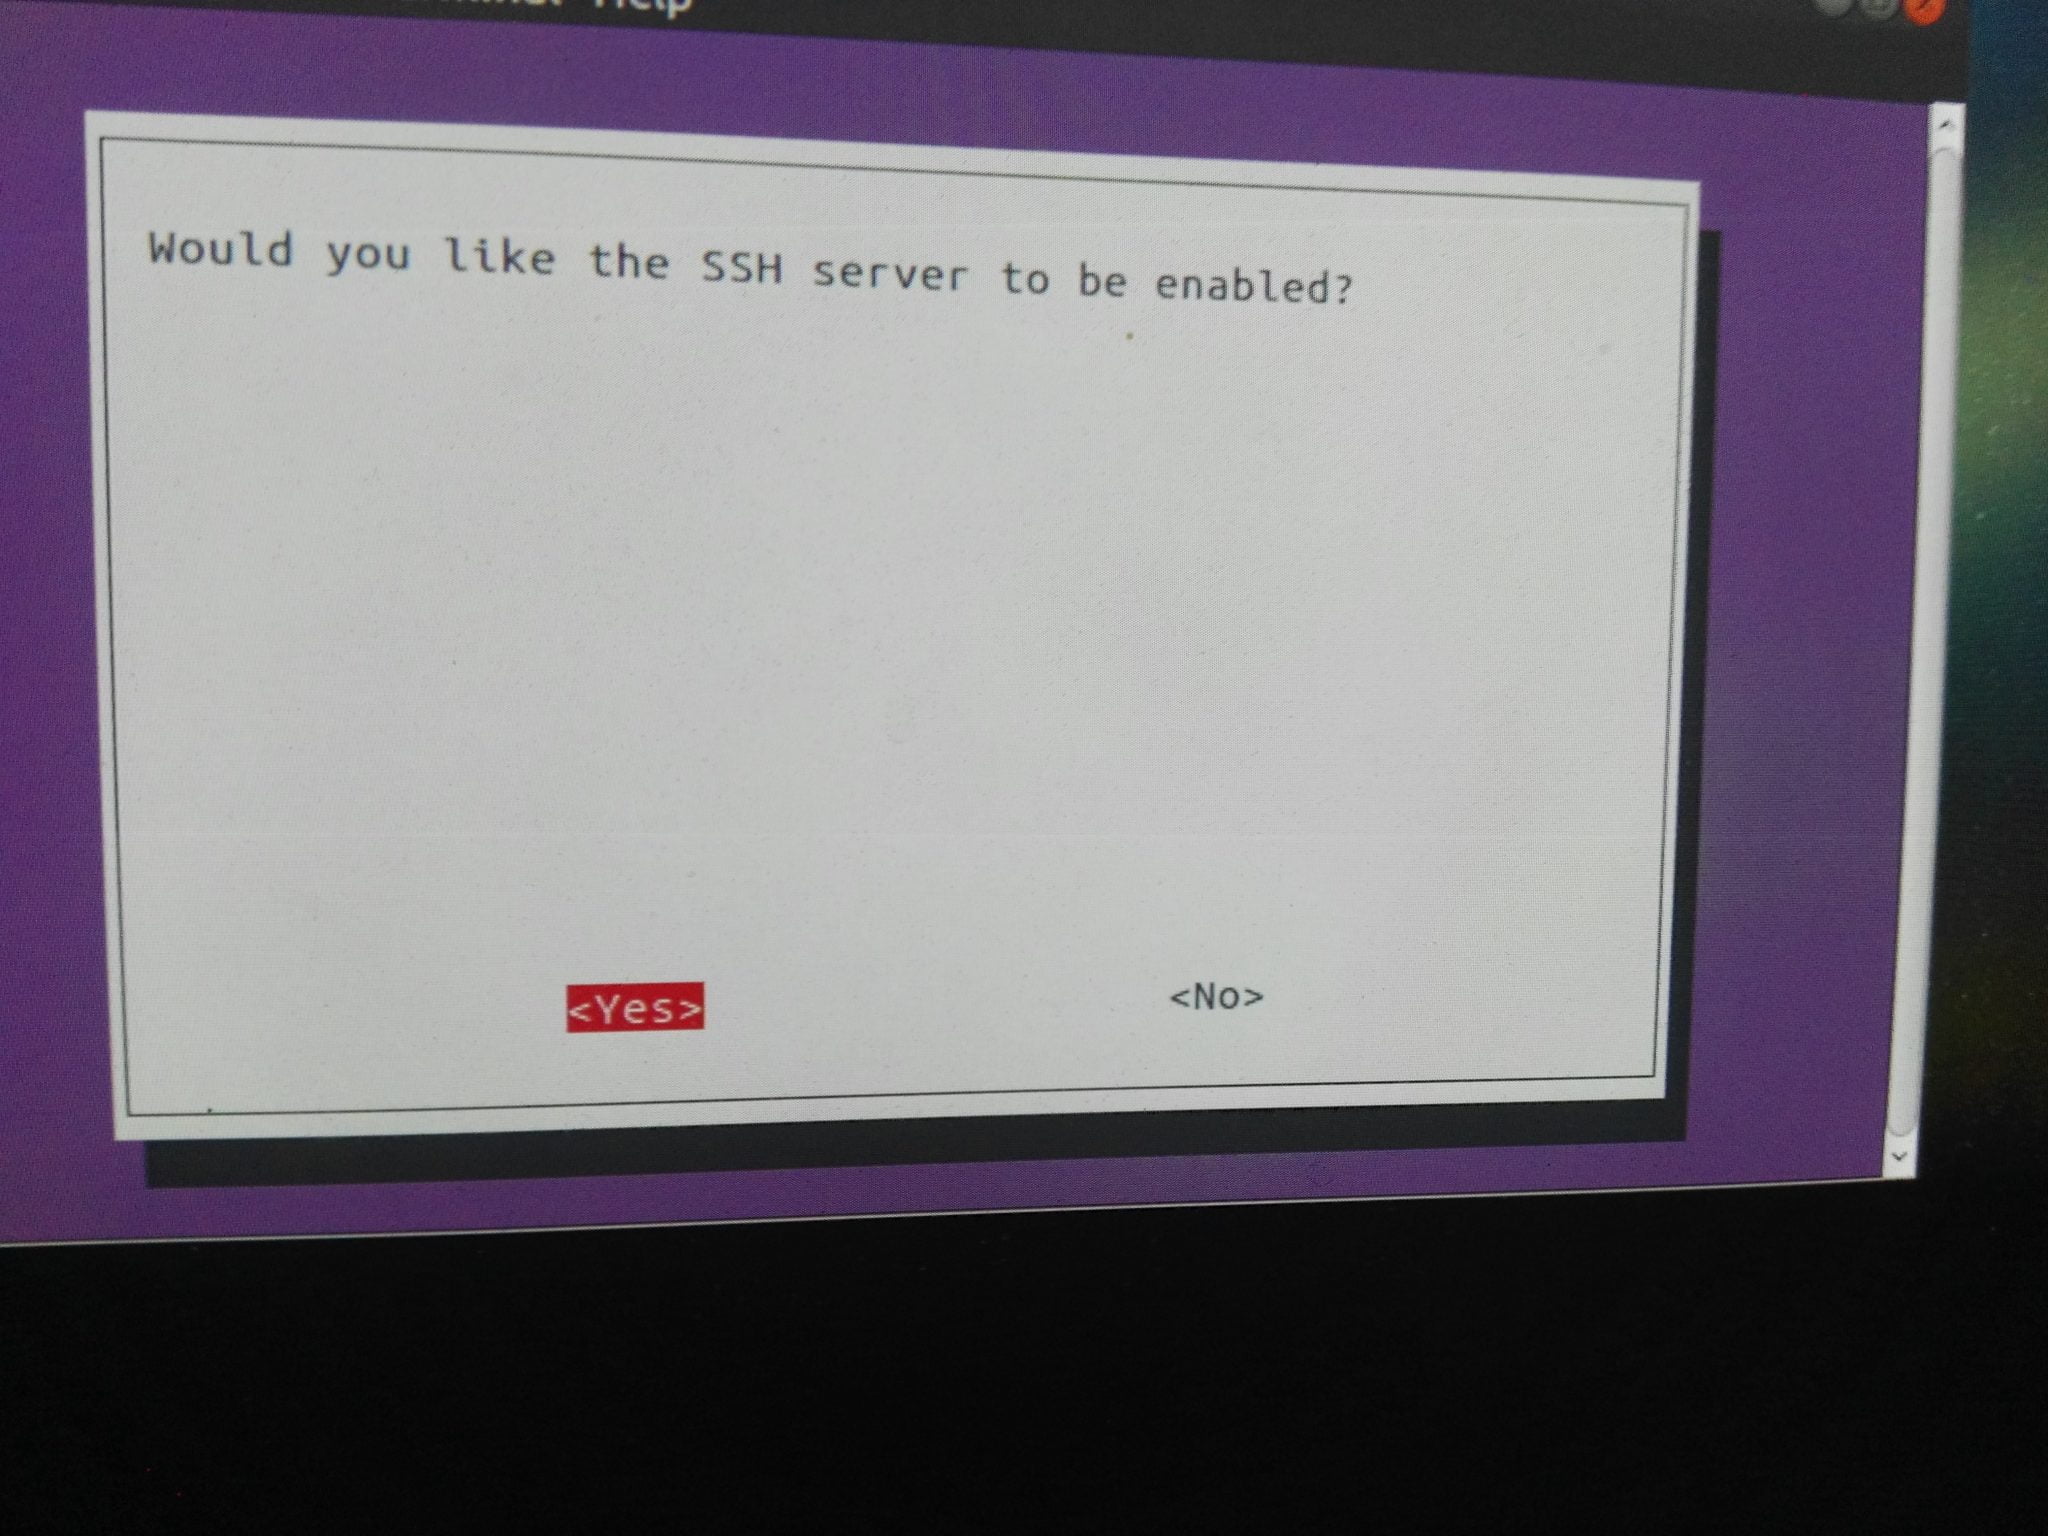
You’ll now be able to SSH into your Raspberry Pi without any problem.
That was it. If you have any questions regarding this tutorial, ask us through the comments section and we’ll try our best to answer them.